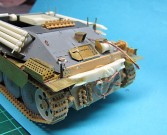
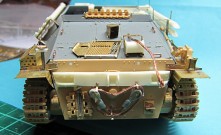
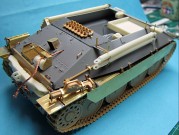
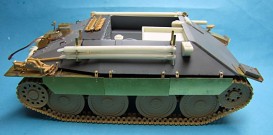
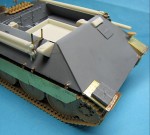
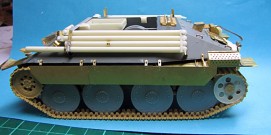
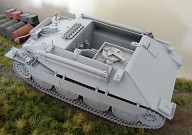
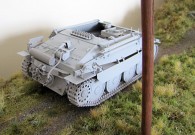
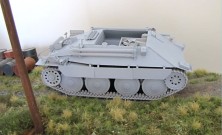
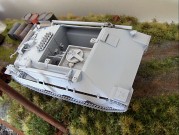
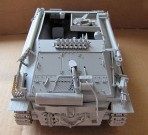
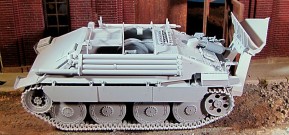
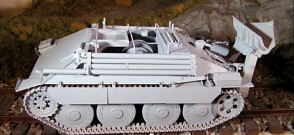
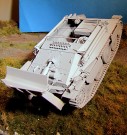
Bergepanzerwagen 38(t) / Bergerpanzer 38(t) was a recovery vehicle based on Hetzer’s base, with lower open-top superstructure, manufactured by BMM company in Prague. The plans were approved in September 1944 and called for production of 170 vehicles until the end of 1944. In fact just 101 vehicles were built. To meet the production plans it was decided to convert 64 Summer production´s Hetzer into armoured recovery vehicles, but it is unknown how many were actually converted. Production was much slower than plans, and total number of about 180 vehicles was produced until the end of the war.
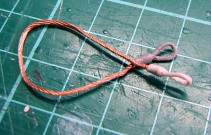
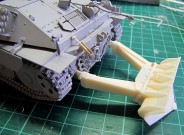
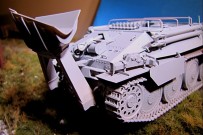
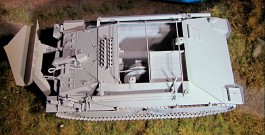
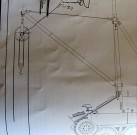
The Bergepanzer was equipped with two-ton folding jib crane used to handle engines and other heavy components. Additionally the recovery vehicle was equipped with five-ton winch of Baumgarten company. The winch was driven by the vehicle´s engine through transmission system. At the end a blade was instaled at the rear of the hull, but it is again unclear how many vehicles were equipped with it. There were also some development works to install the blade at the front of the vehicle, as seen in the company blueprints, but probably these plans were never realized.
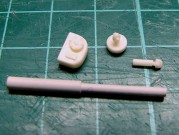
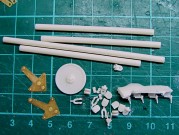
LZ models will bring a coversion to be used with Tamiya middle Hetzer kit or with Dragon late version. There will be also actually two kits, first an early version of Hetzer with the crane (can be mounted on in working or disassembled position), which will be more suitable for Tamiya kit, but will fit also on Dragons one, and then a late version of Hetzer with crane and blade, suitable more for Dragon´s late kit, but also side late wheels as an option will be provided for guys having Tamiya kits bought already
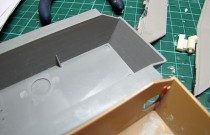
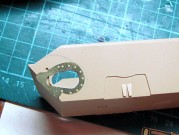
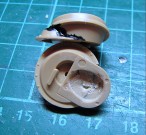
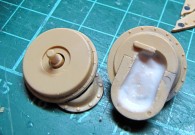
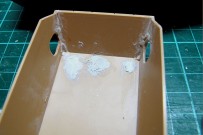
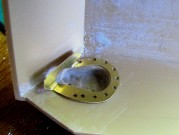
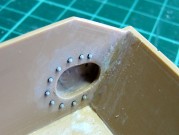
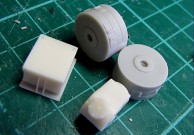
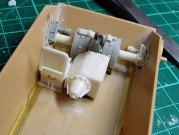
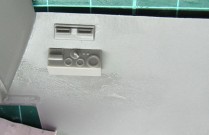
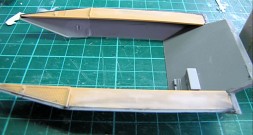
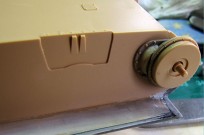
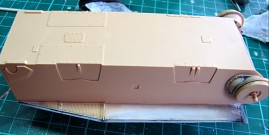
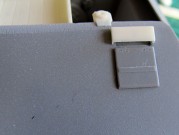
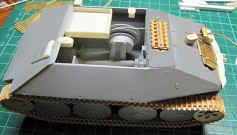
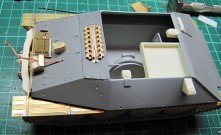
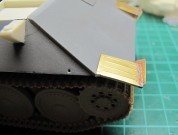
Preparations started. There is a bit of more work needed on Tamiya lower hull (yellow), with Dragon kit (grey) this step should be easier. I used a PE template provided in the kit (not perfect yet here, because the opening is too long, but fixed for production) and made holes in hull sides. Any hand drill will work great on this job. The PE template will be used to mark position of resin bolt heads inside the hull then. Finally I cut off all plastic not needed inside the hull and some pin marks and other areas are filled and will be cleaned with sand paper. Then I completed the final drive castings from the kit - used once again my favorite black loctite glue to fill gaps and get cast-like surface (its excess is easily washed out with debonder, once cured) - and with a rotary sanding bit I made an opening in their inner side. Now the kit parts D 68+D 69 - towing lugs - are suitable for early version of the Bergepanzer, for late vehicle they have to be changed (will be shown in my next step)
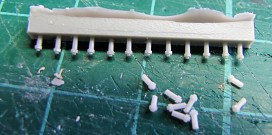
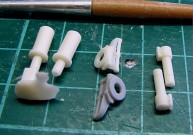
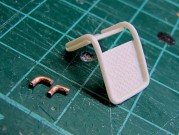
First here are changed kit bits for late version of the Hetzer, and glued on. Then I used PE template to mark positions of bolt heads in the hull, and these resin pieces were also glued on. Meanwhile I got ready few more parts needed soon. The driver´s seat could not be cast in one piece, but it will be completed together with short bit of wire.
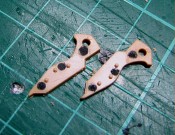
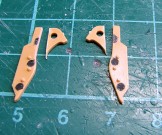
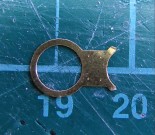
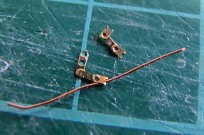
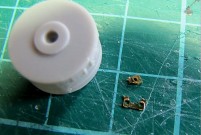
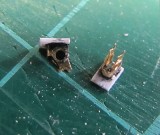
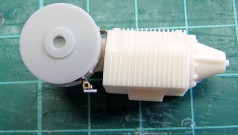
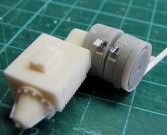
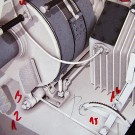
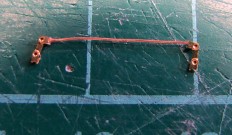
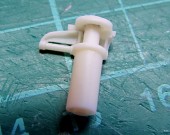
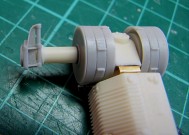
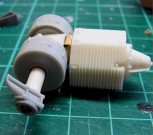
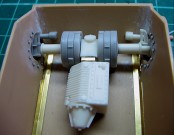
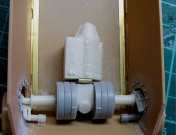
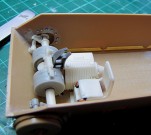
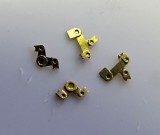
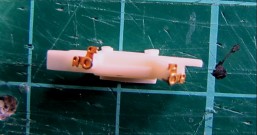
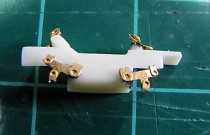
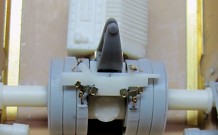
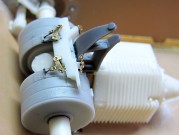
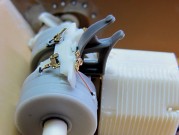
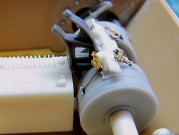
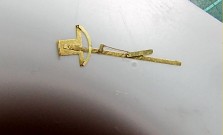
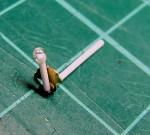
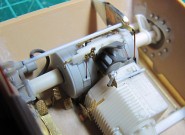
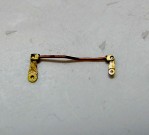
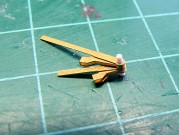
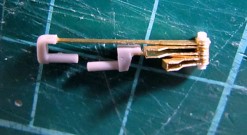
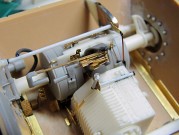
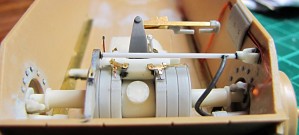
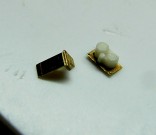
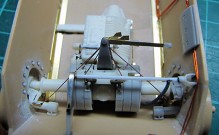
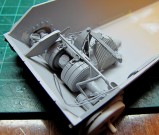
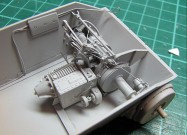
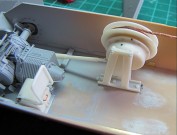
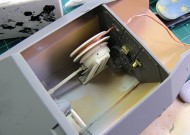
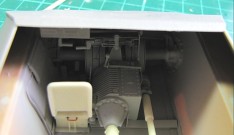
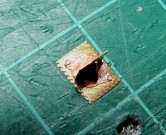
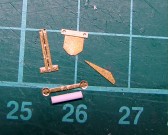
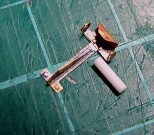
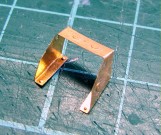
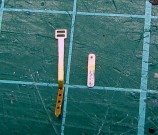
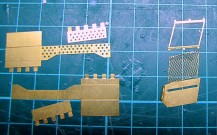
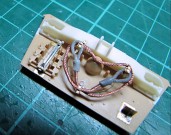
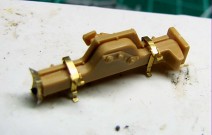
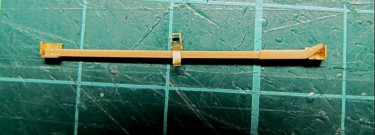
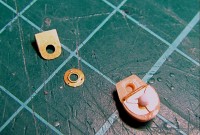
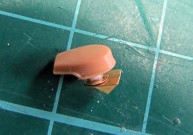
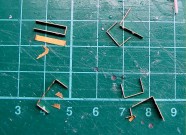
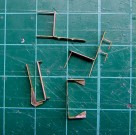
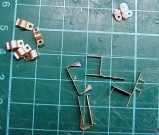
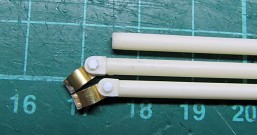
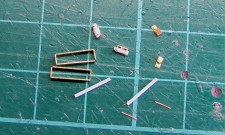
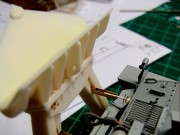
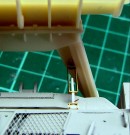
Marks on PE "18" show how to bend it, then the bit was assembled between two parts of the gear box and all glued together. PE "8" and "9" are tiny, but easy to work with, to bend them properly I used 0,3mm wire stuck in the middle hole, which helped to fold second half of it 180°to the back. My tweezers worked well to shape PE mountings, and these were glued on 1x2mm plastic strip, and whole thing finally assembled on brake belt. Its right position is visible in the pictures. Oposite part made the same way. The both pieces assembled on the gear box, and 0,6mm about 18,5mm long wire (I used plastic) connected both moutings together, pulled out a bit on driver´s side - where a pedal will be assembled later as shown in reference picture. Finally I connected together earlier prepared PE bits - 0,3mm wire 16mm long used - and whole thing was glued on plastic bases, just at the front of mountings on both sides
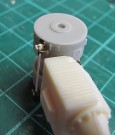
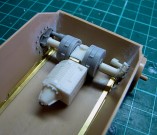
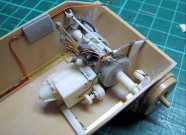
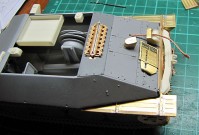
Now I added PE "angles" inside the hull and two small bits on the front. Continued with axle tubes assembly. These have to be cut off the feeder as long as possible - two small bits glued on their ends exactly same way. Then I assembled left tube with the gear box and whole thing placed in the hull. Right shaft was stuck between opening in the wall and gear box - and at the end glued together, and also whole gear box was glued on the floor.
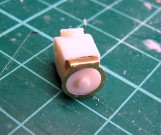
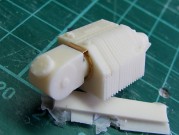
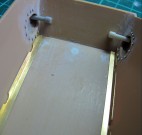
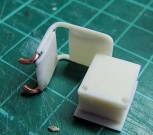
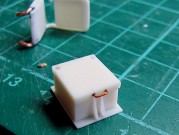
I used 1,2mm drill bit to enlarge holes on the top of the box - just to make seat assembly even easier. 0,3mm wire was used to make a handle at rear side - then I glued parts together. Driver´s is my next task....
Continued on transmission gear details. PE shaped and glued on the bar, first one side, then another. The pins at the lever´s side appeared not to be in exactly right positions, so I corrected the bar master for production - moved both pins slightly to the left and righ.
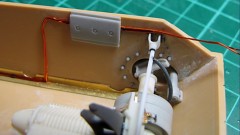
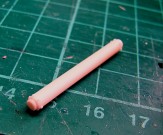
I used solder to complete PE holder, which was then glued on its opposite resin part, then other parts were added - PE arm and 1mm diameter rod 27,4mm long + its resin holder - and whole thing mounted on the hull walls.
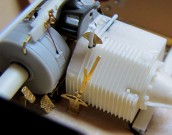
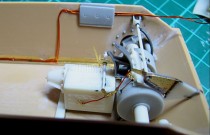
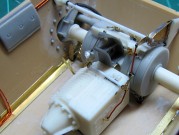
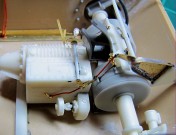
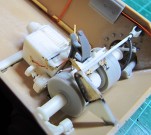
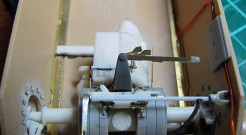
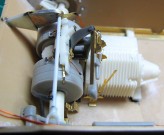
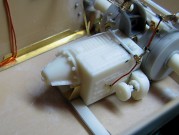
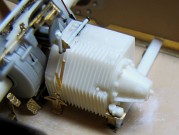
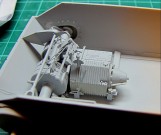
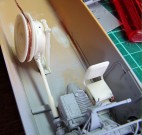
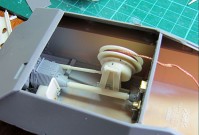
More PE parts and details added, pedals and levers. Assembly is shown in pictures. The ball on the lever mounted on the top of the gear box is made of C/A glue - the rod top was stuck a few times in extra thick glue. Also small gear box for the winch shaft mounted on the main transmission box.
Levers and PE rings assembled on 0,8mm wire or rod 2,7mm long, resin handles added and whole thing mounted in place. Once again some other details added, but there is still good few left to be assembled....
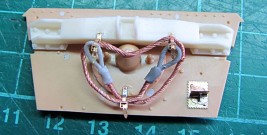
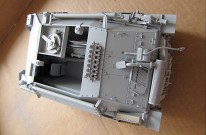
All the wiring and rest of details added at the front of the hull, and first surfacer coat applied to see what needs to be cleaned more and fixed
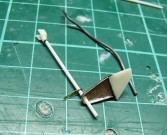
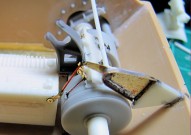
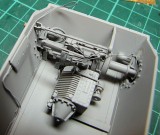
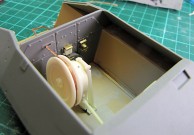
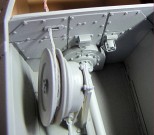
Then details added on the rear wall and The winch assembled together
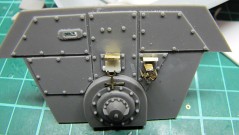
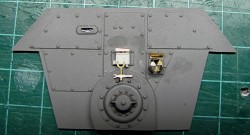
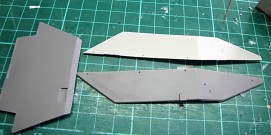
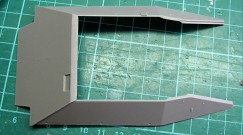
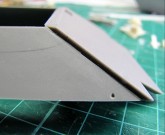
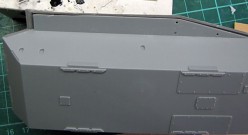
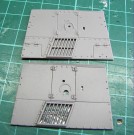
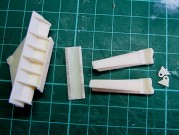
Upper hull was originally designed in one piece, but there were some issues during casting and for that reason I desided to cast it in separate parts. These are easy to glue together and work with in one piece, but some guys might prefer to assembly side walls one by one. They fit great on Tamiya kit, if Dragon´s one is used, some more filling and sanding will be needed as shown in pictures - anyway, this kind of work is a need if worked with mist conversion sets I have seen (and often when building some OTTB plastic kit)
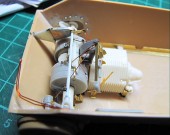
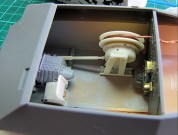
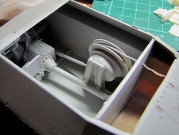
Now the winch is assembled and connected with the gear box (its shaft has to be cut to required length, depending how accurate was previous work)
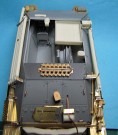
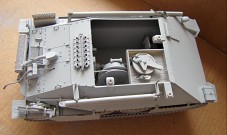
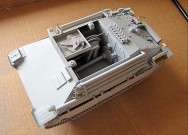
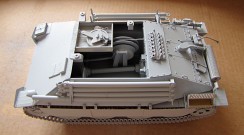
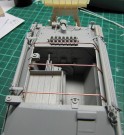
The rear wall added, and the main transmission shaft stuck in between (there are little holes on both ends, I just used bigger grilling bit to get comfortable assembly with the pins provided on opposite parts ). Once again small filling and sadsing might be needed around the back wall and on the plastic edges of the lower hull. Now the interior is almost completed.
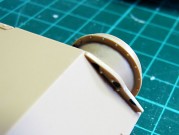
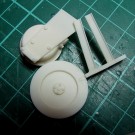
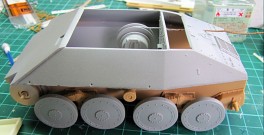
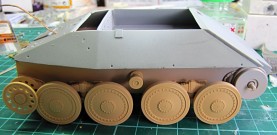
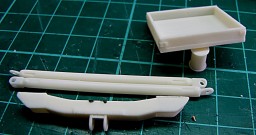
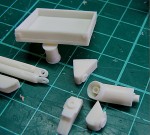
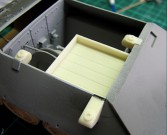
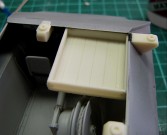
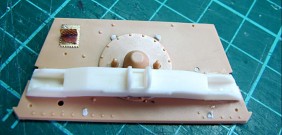
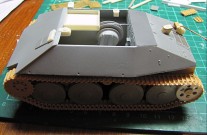
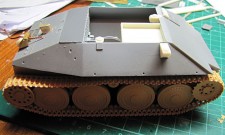
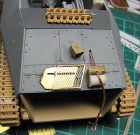
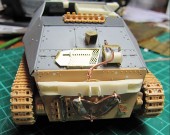
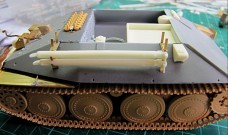
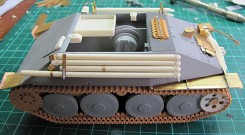
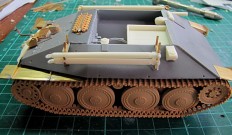
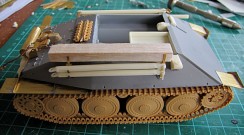
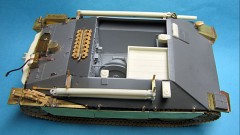
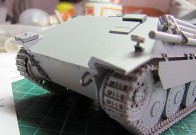
I did some work on the kit itself, completed most of suspensions, added wheels - early on one, late on another side - and got ready more conversion parts for assembly. Now crane attachment bases are mounted on the upper hull and tray placed on its position. Also masters for late wheels are almost finished
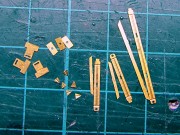
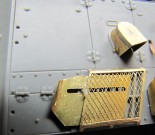
I have done many small jobs on PE parts, and some small things placed in their position. Where the parts are different for early and late kits, I show both variants.
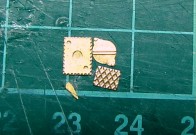
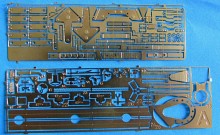
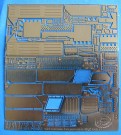
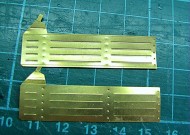
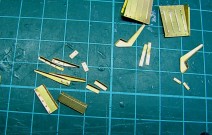
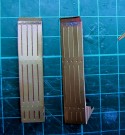
All the PE parts used in my build are "test ones" made on 0,15mm thick sheet, in the kit the first PE sheet will be made of 0,3mm thickness, and the rest of 0,16mm thickness
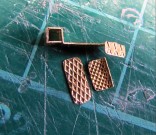
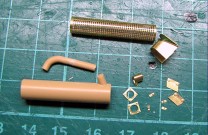
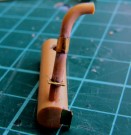
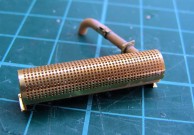
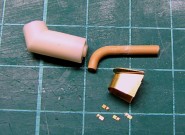
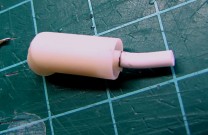
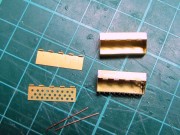
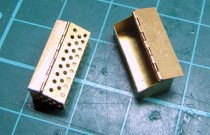
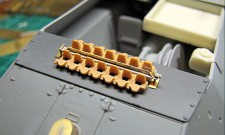
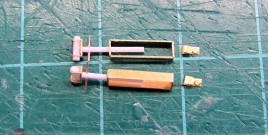
I have completed suspensions, wheels and tracks, and another progress done on PE parts. The conversion kit contains 2 variants of metal containers, and many various holders etc. to upgrade the build.
Once again worked with PE parts, and some visible progress done.
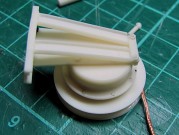
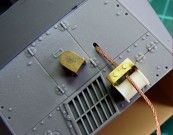
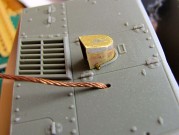
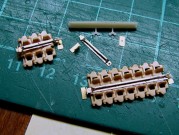
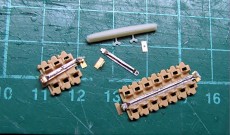
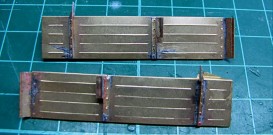
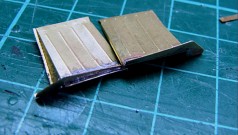
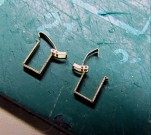
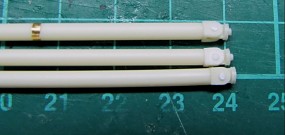
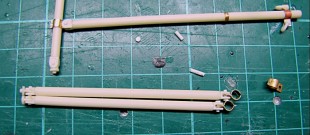
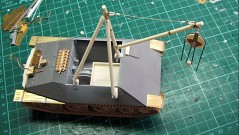
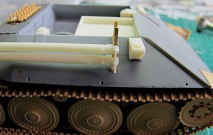
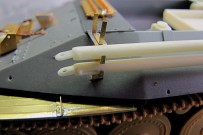
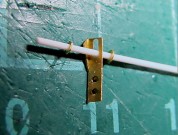
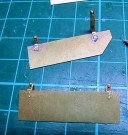
Some more small details completed, and I also started the crane construction. In between I soldered holders for the crane and towing bars. First I will show Hetzer with the crane in working position, then I will stick the crane into its holders
Once again I want to mention that PE parts (especially these for the crane and holders) will have double thickness 0,3mm in the kit, and will look just like they are supposed to......
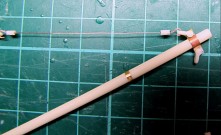
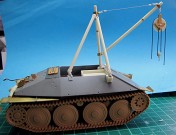
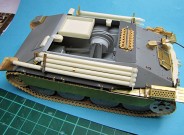
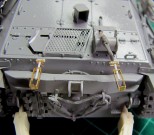
I completed the crane and try to dry-fit on, just to make that everything is all right for version with the crane in working position. Then I disassembled it and placed on the holders, together with towing bars at opposite side. The holders for wooden stick have to be fixed (I finished it late night - early morning, and for sure I was really tired ![]()
I have almost finished build now, some parts still missing will be added when surfacer coat is applied
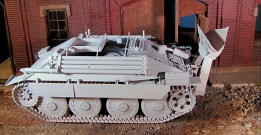
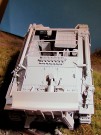
Second variant in surfacer. My test build is finished, and both - early Bergehetzer with crane and winch, and late Bergehetzer with crane, winch and blade - will be available from LZ models in second half of September
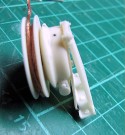
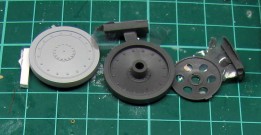
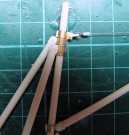
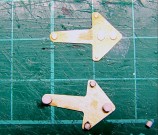
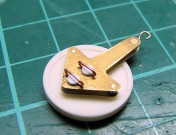
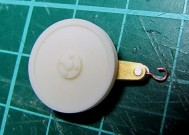
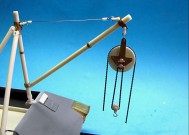
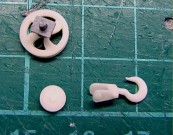
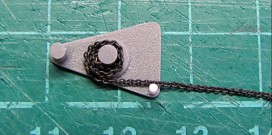
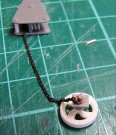
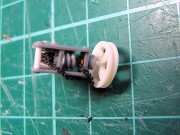
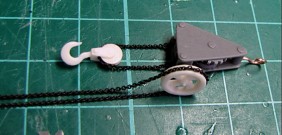
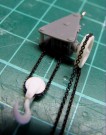
Some say the pulley presented in this build was used only to release a vehicle trapped in the mud, but not
as a part of the crane, but some references show also this pulley hung on the crane as seen in pictures.
Because of lack of the references there is another common German pulley included in the kit together with this one, and everyone can make a choice
