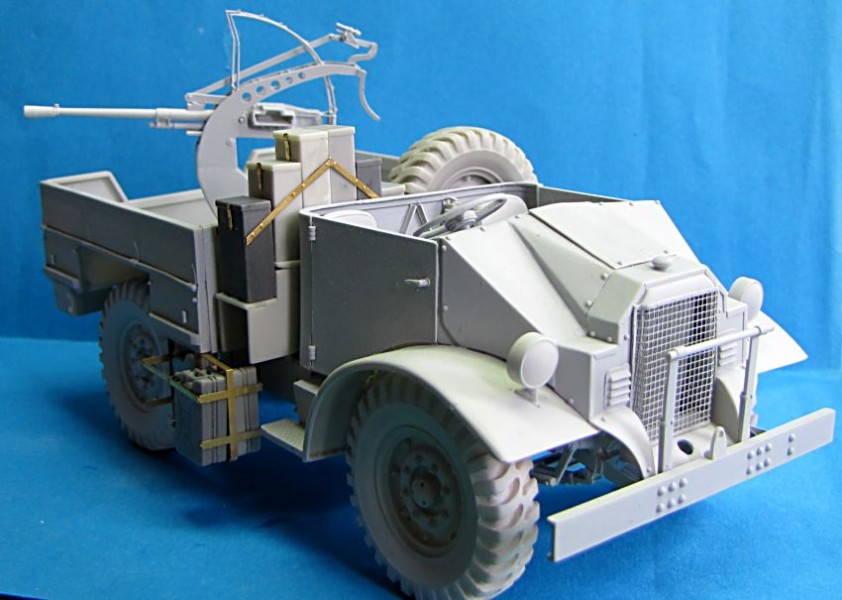
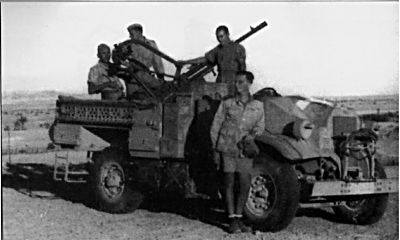
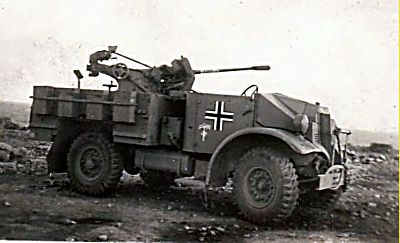
I have just started my work an another LZ models kit, Canadian Military Pattern Ford F15. There was many various vehicles in production, and I want to do full line of them, starting with CMP Ford F15 with Cab 11 and 2B1 body. There will be also kit options with Italian 20mm Breda gun mounted, and also German variant with Flak 30.
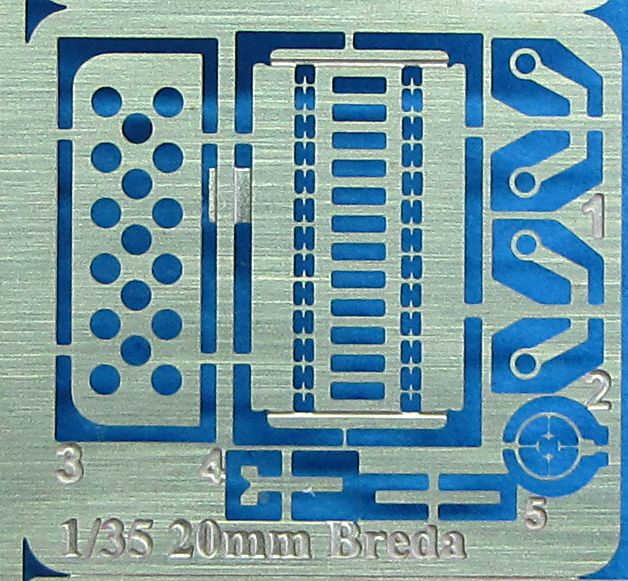
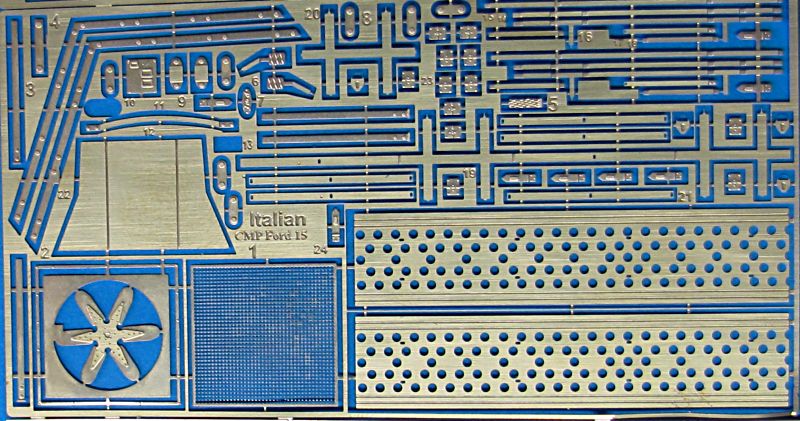
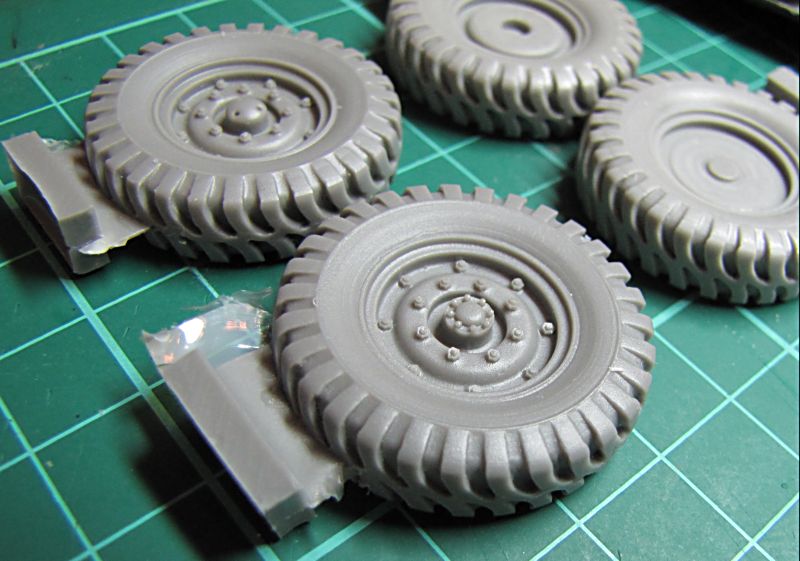
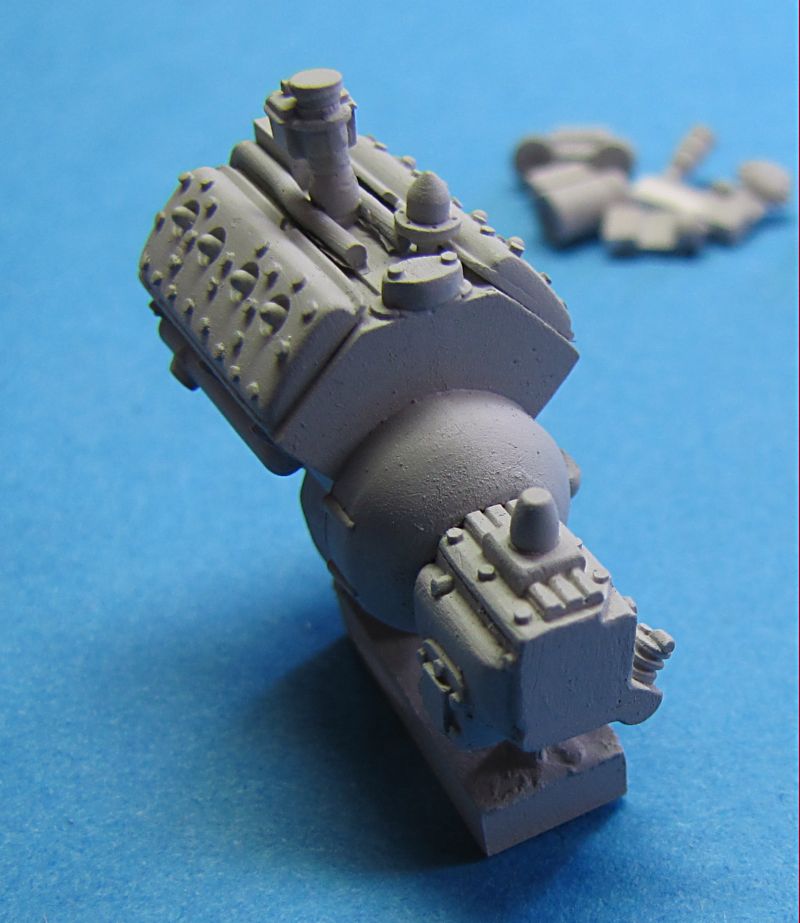
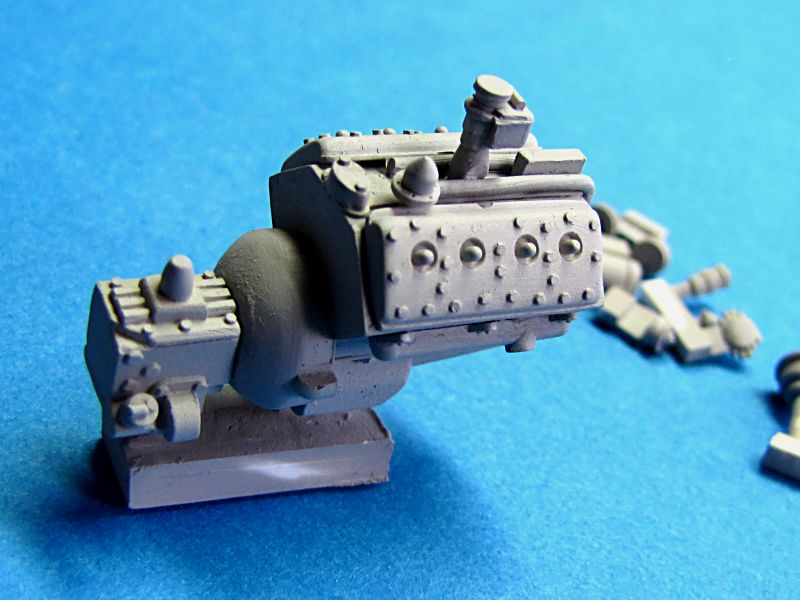
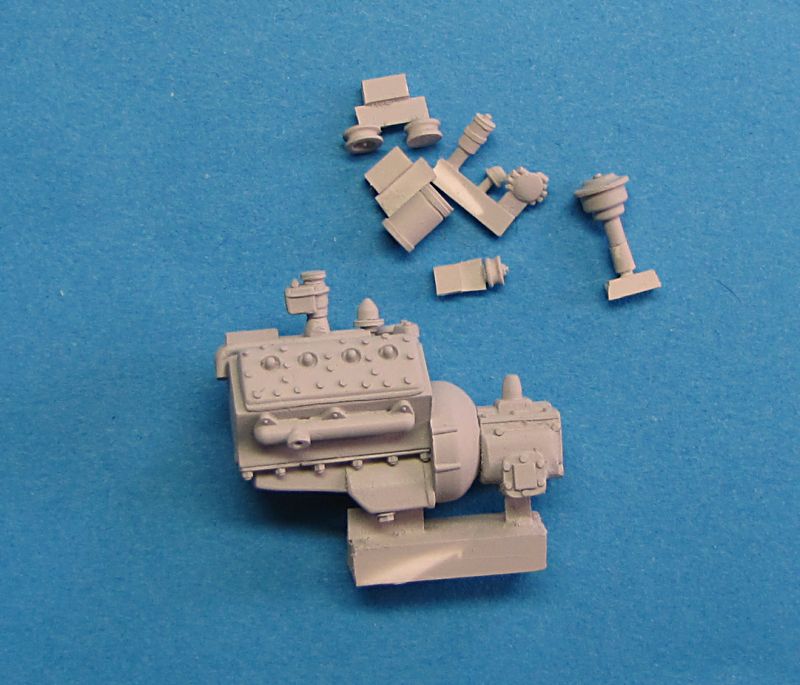
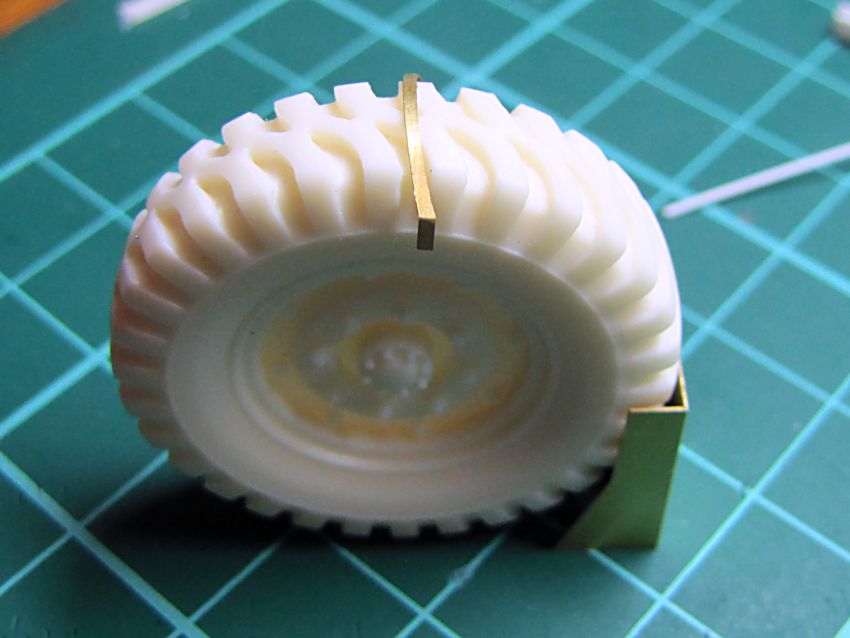
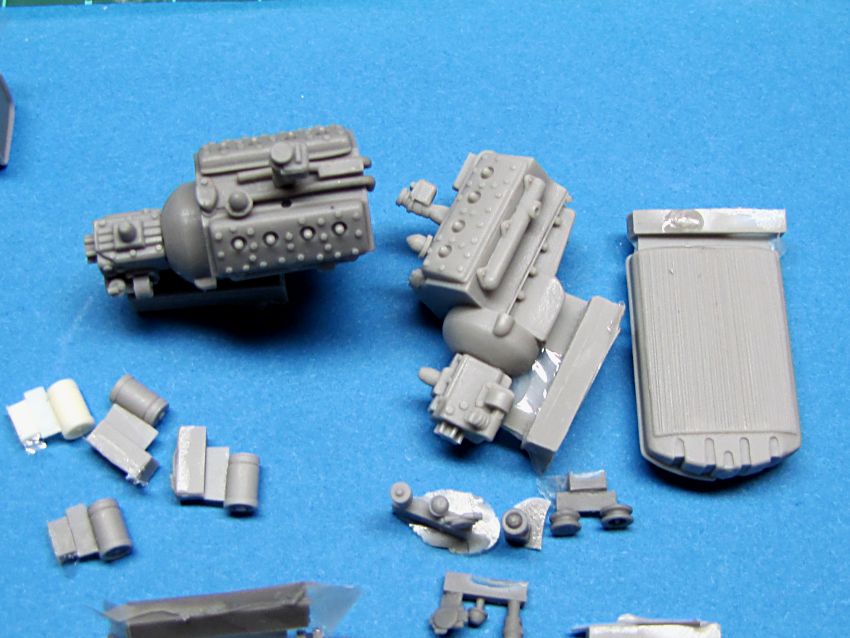
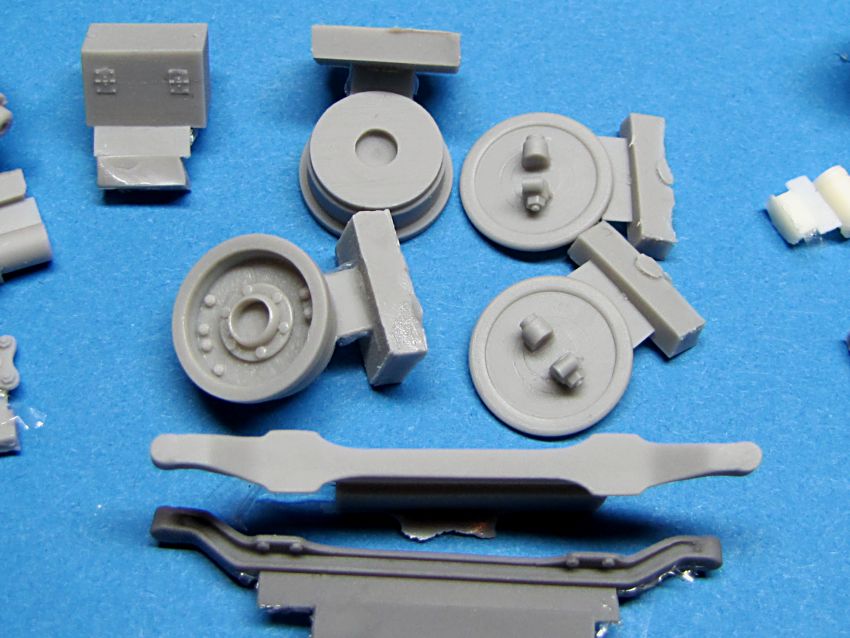
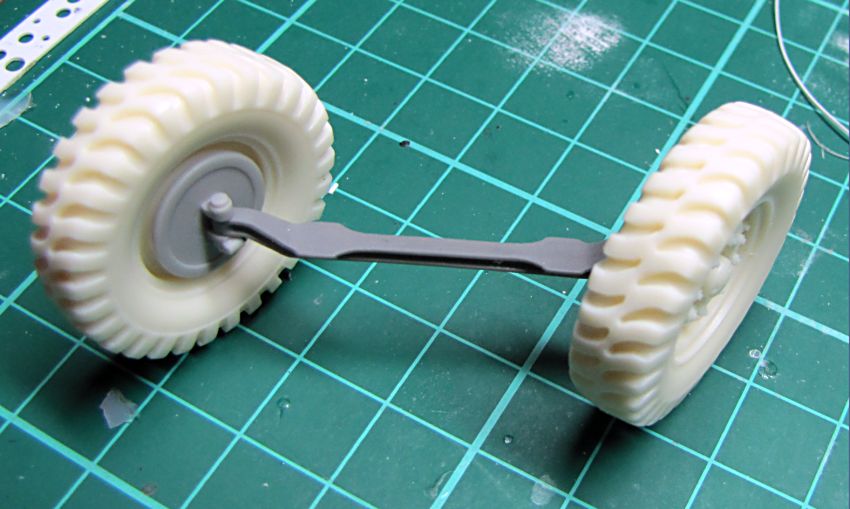
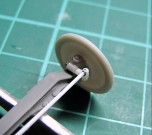
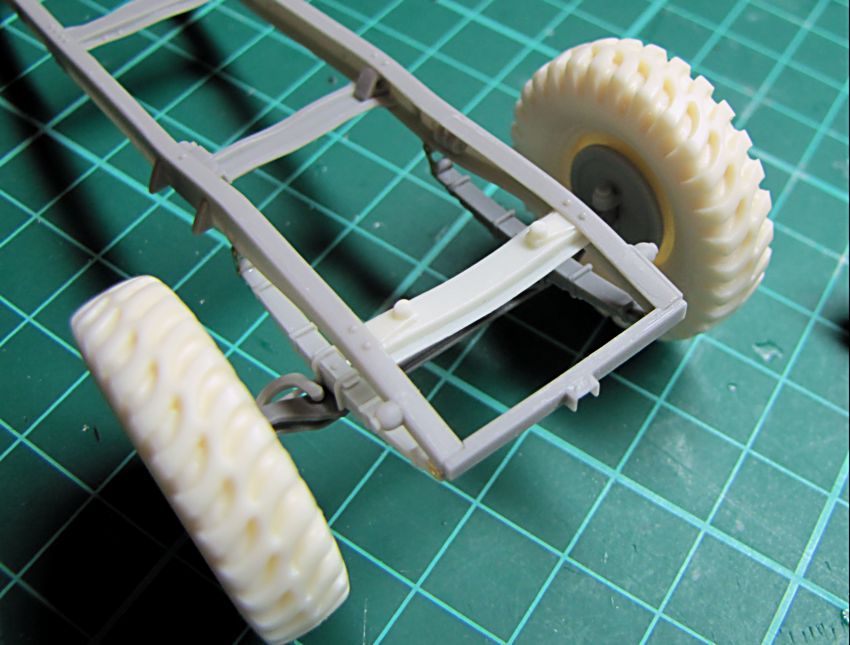
I have already received Italian Ford PE test sample, and another small sheet for Breda gun, which will come with Brass turned barrel. I started with wheels, which I expected to take some time to create - and they actually did. 8V engine is almost finished, and a few additional small parts as well. I have also done some bits for the chassis, and the rest is getting ready on my bench. Once these are finished, I will start my test build and add more pieces once their masters are finished. I will keep my usual details on the kit, but its assembly will be very easy and not many PE parts involved - I guess this is the right model to open "Easy line" of LZ models kits.


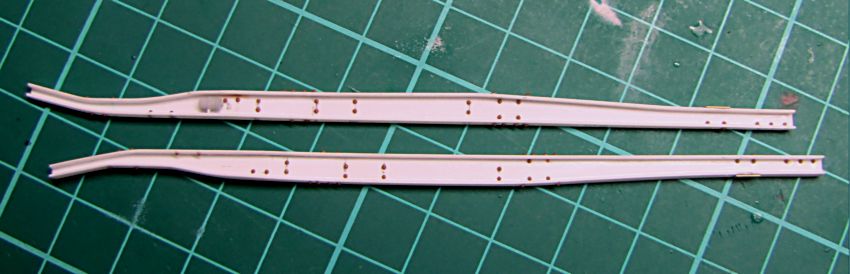
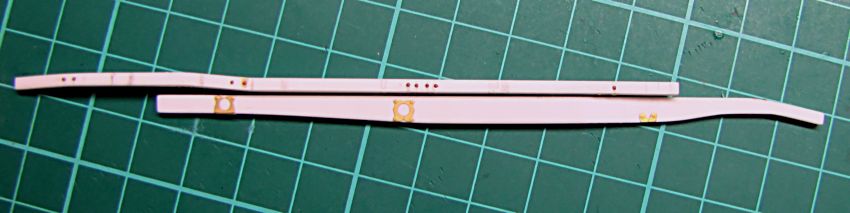
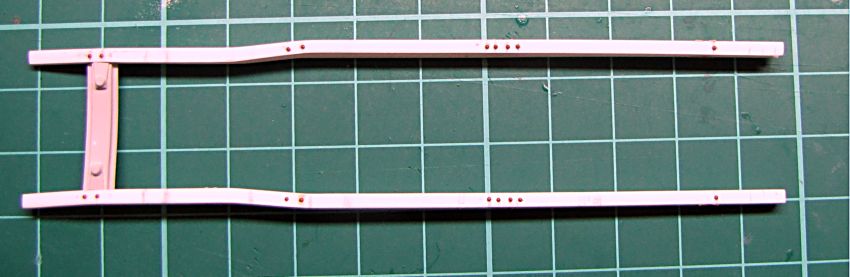
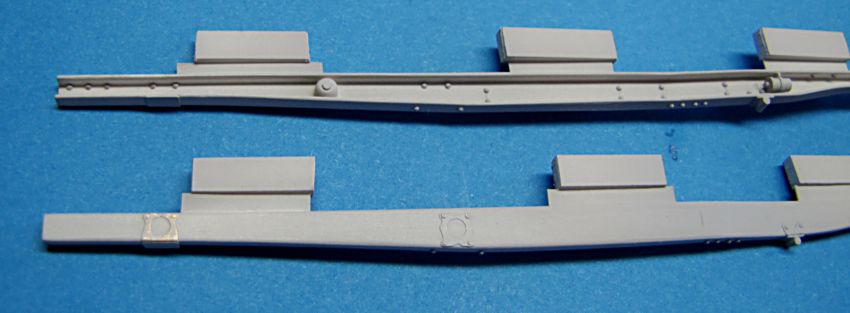
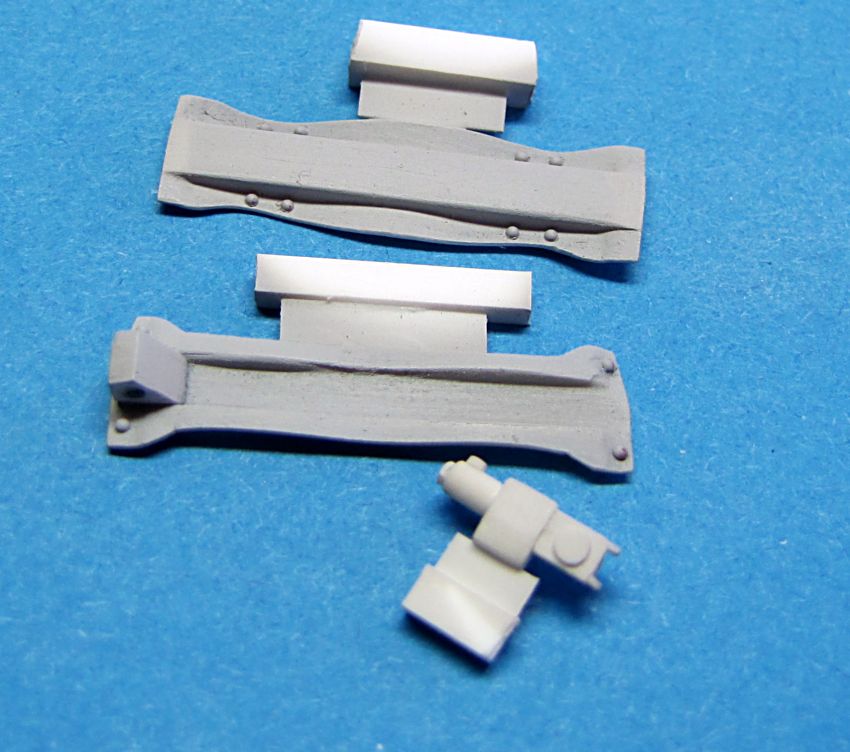
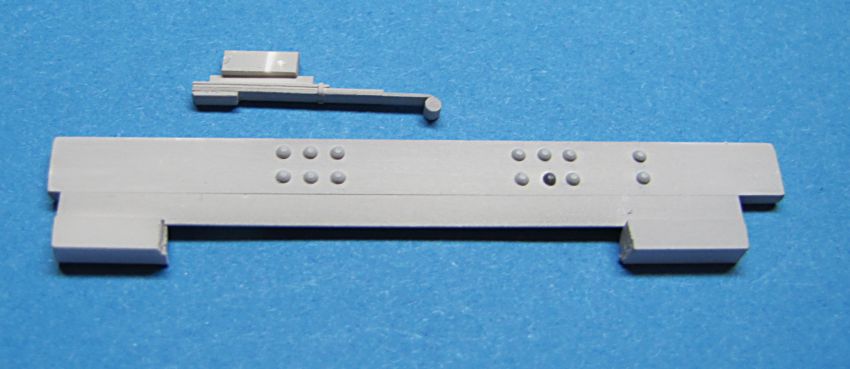
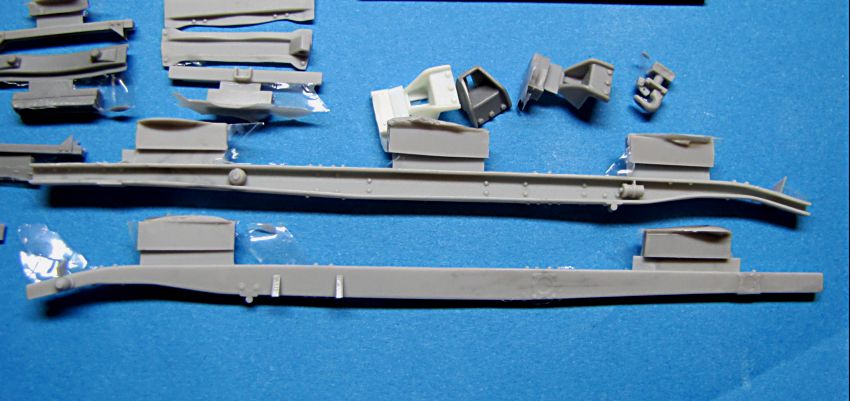
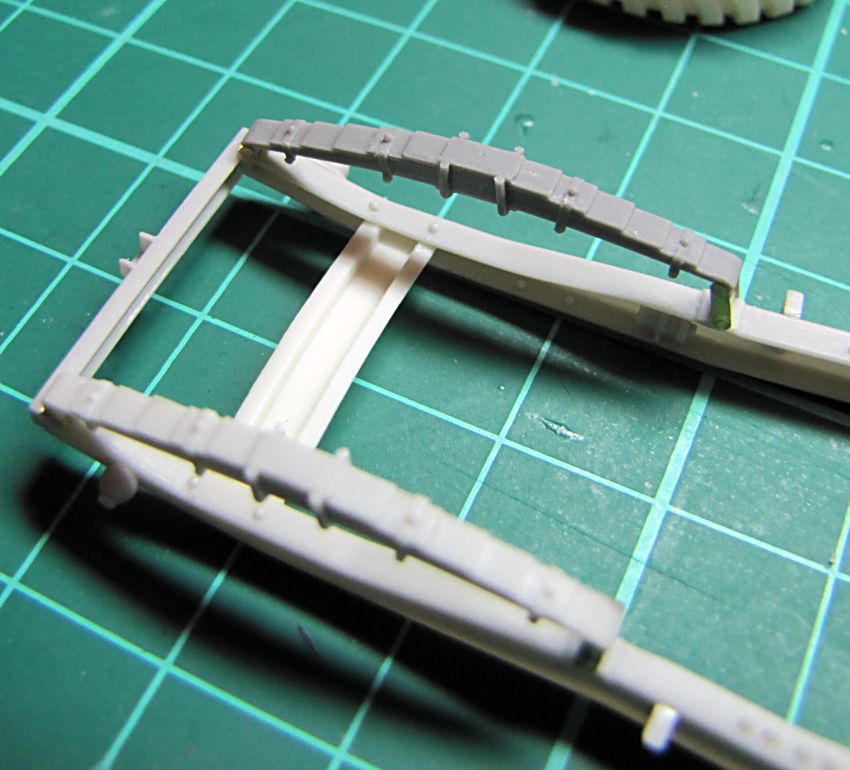
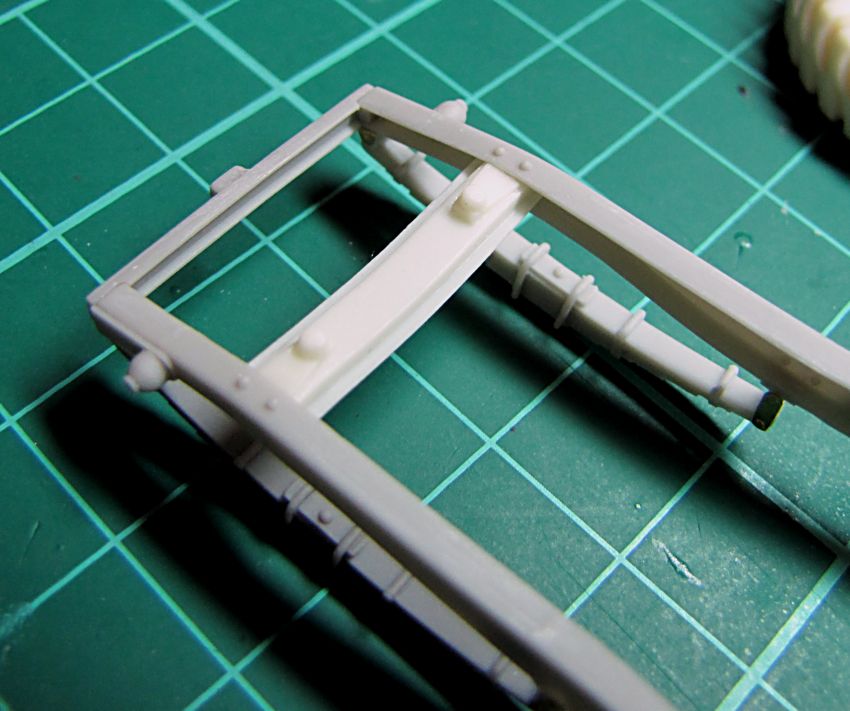
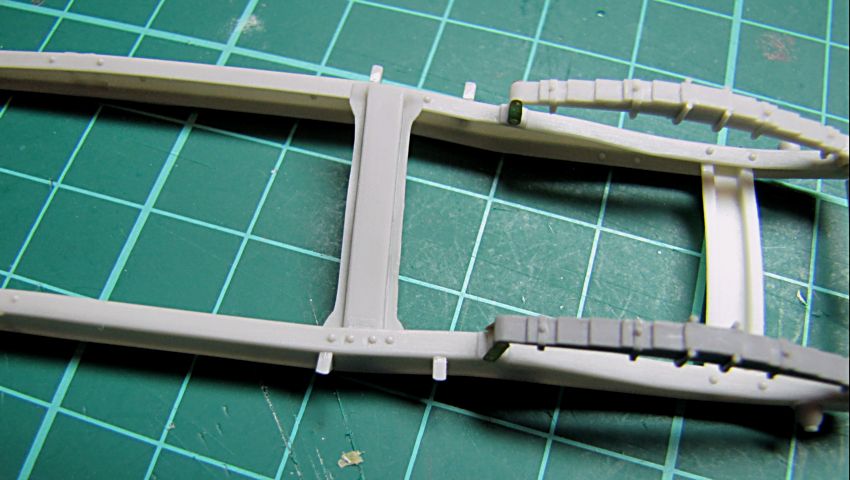
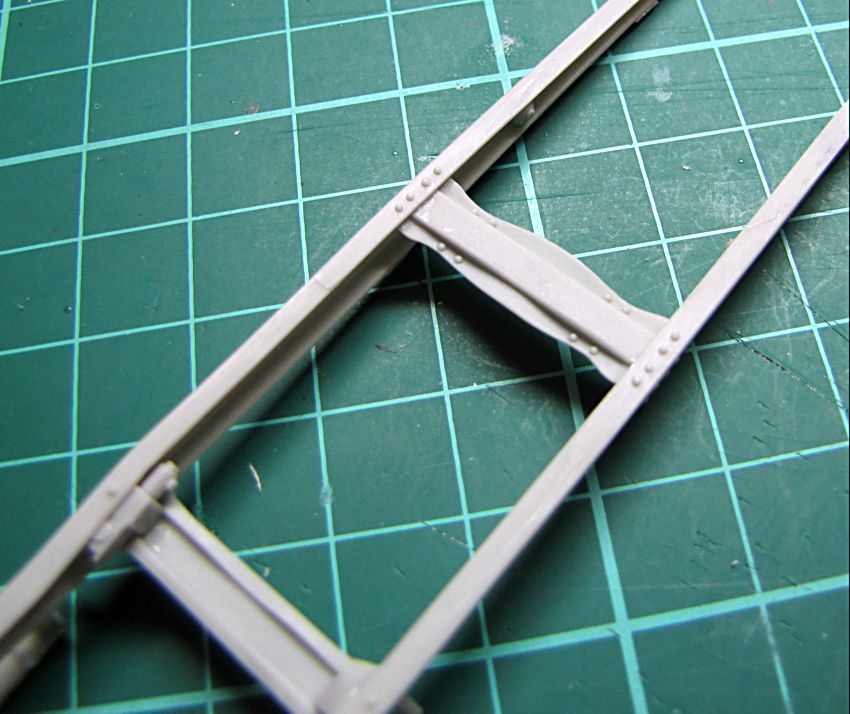
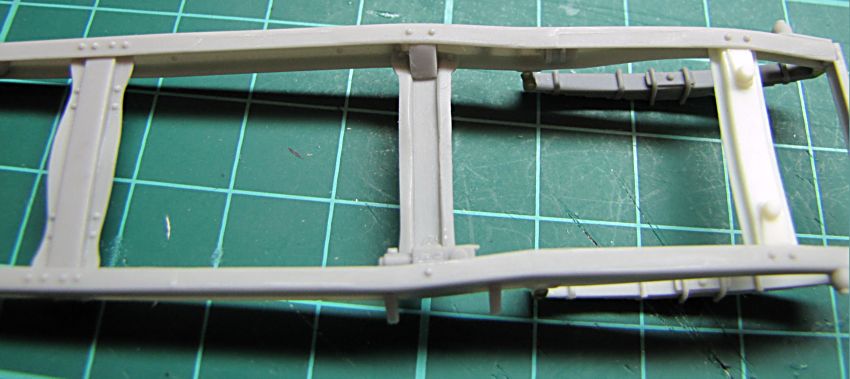
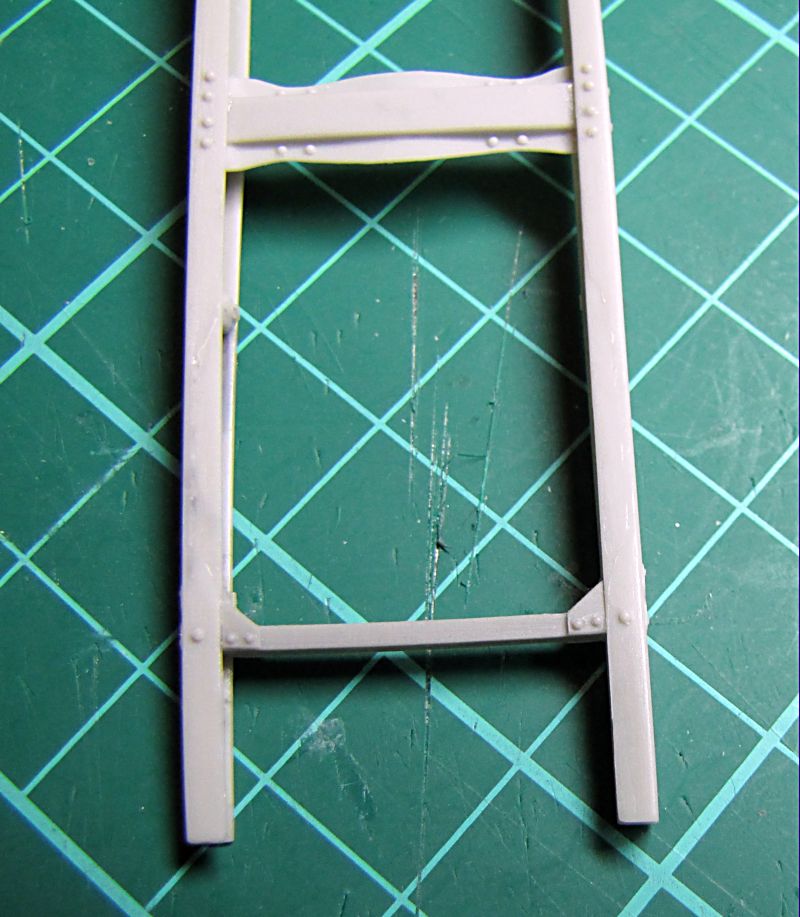
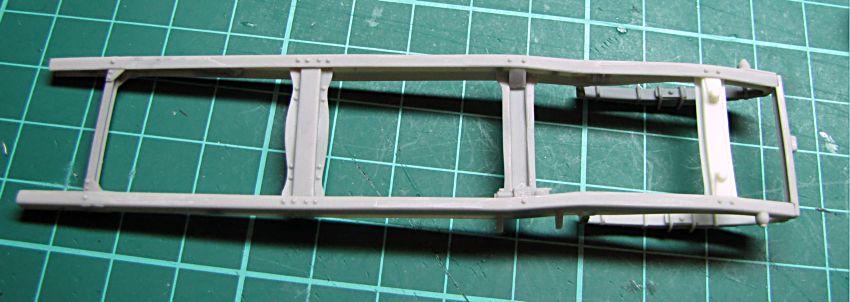
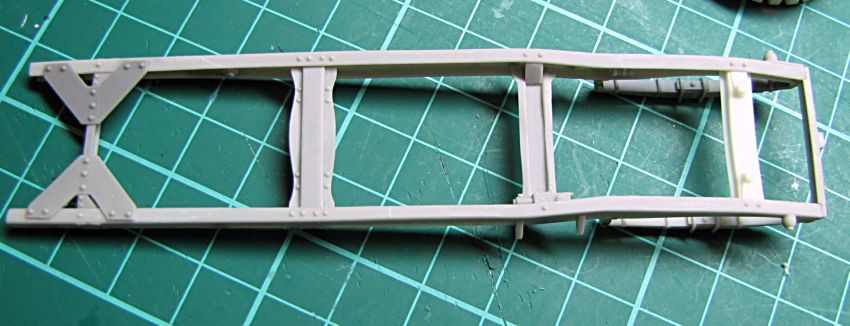
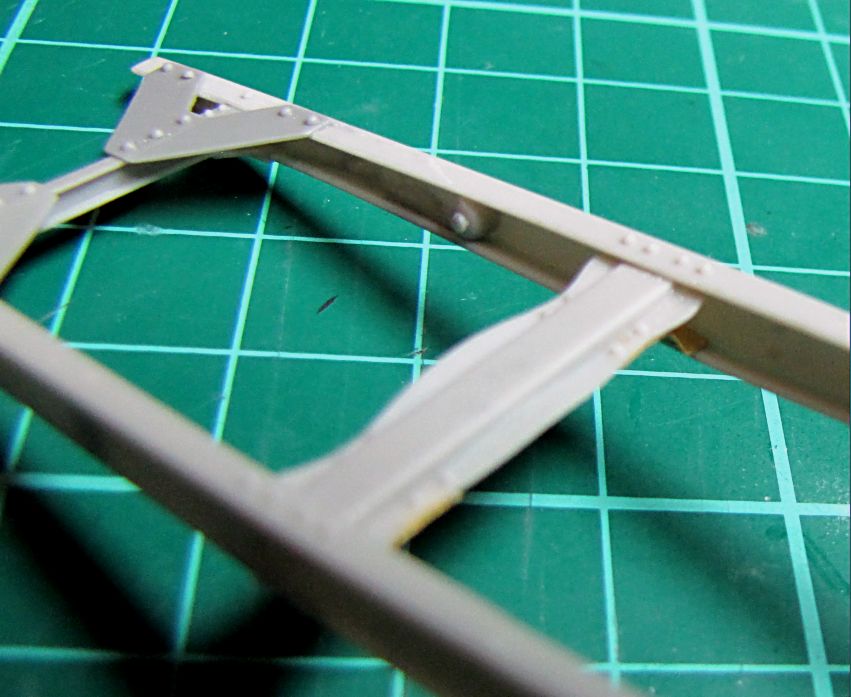
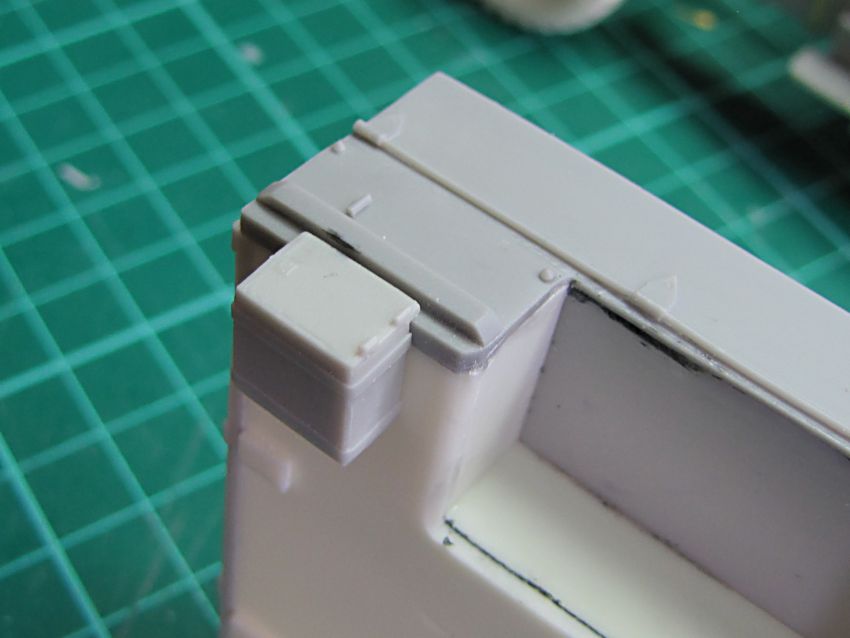
Both sides of the main frame are finished and ready for surfacer and polish....
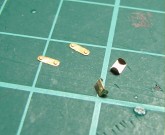
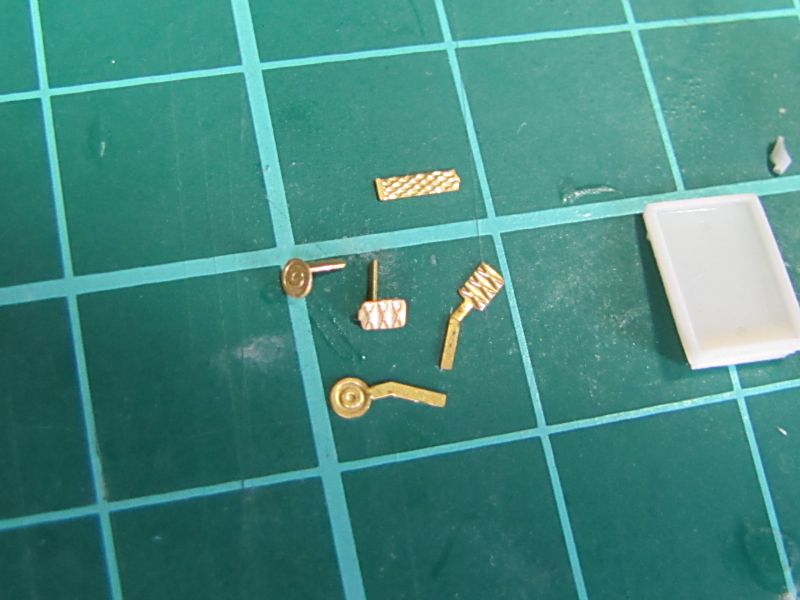
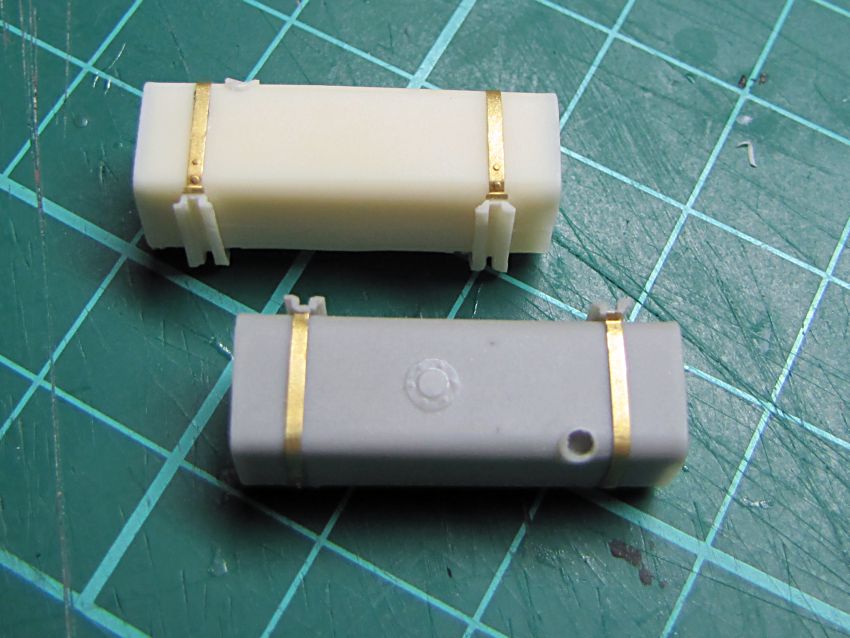
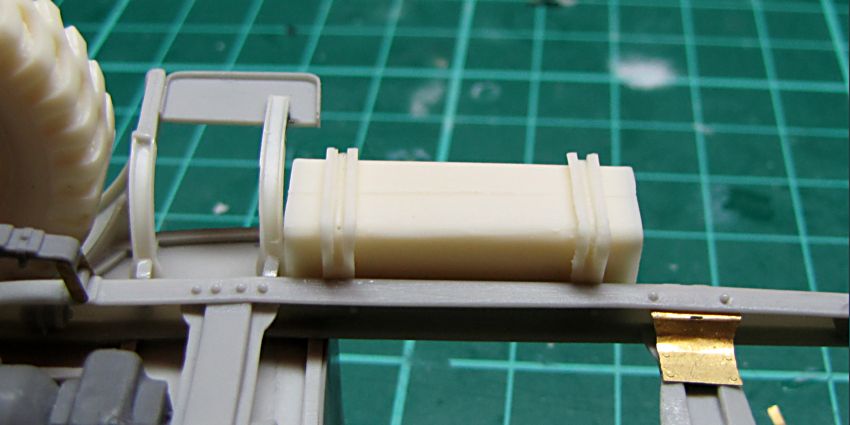
Today I was testing most of PE parts for fit before the production batch is ordered, and completed together an Italian jerry can. There will be six of them in the kit, and they can be assembled in three PE holders mounted at the sides or back of the vehicle
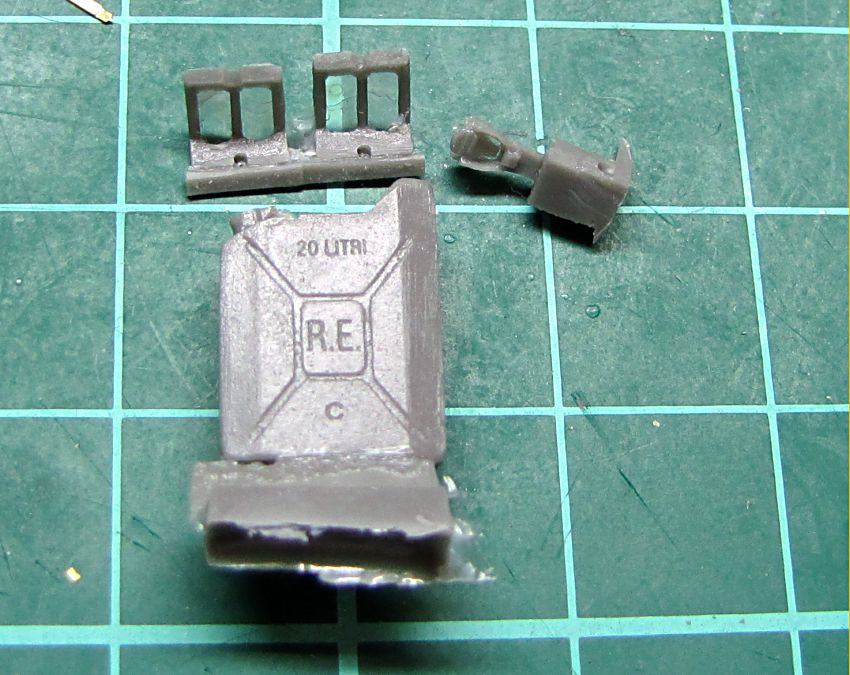
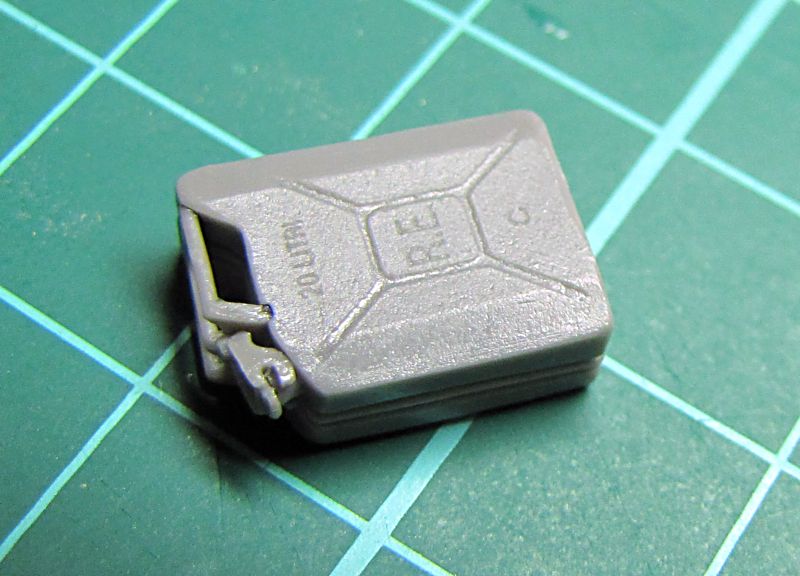

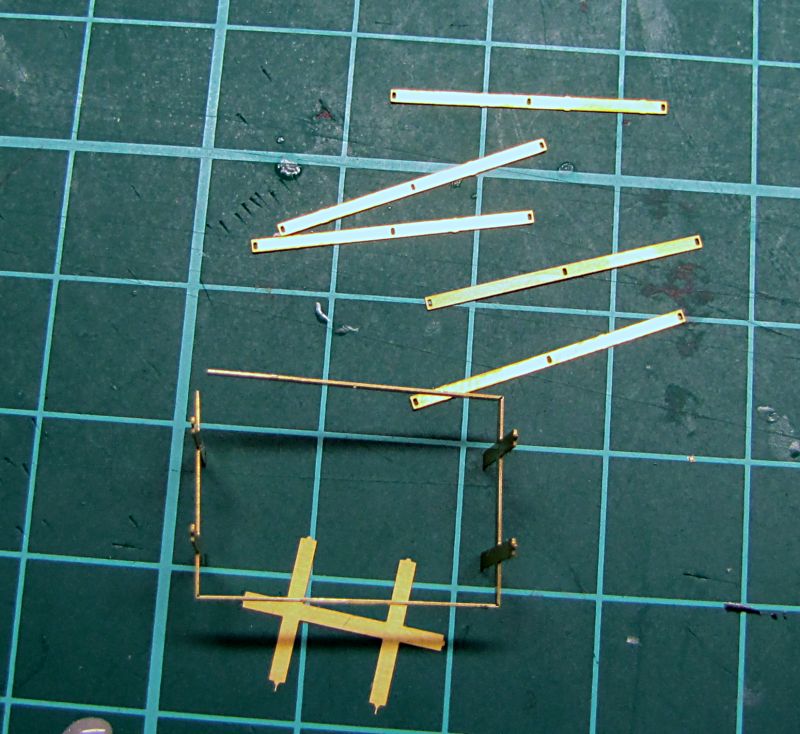

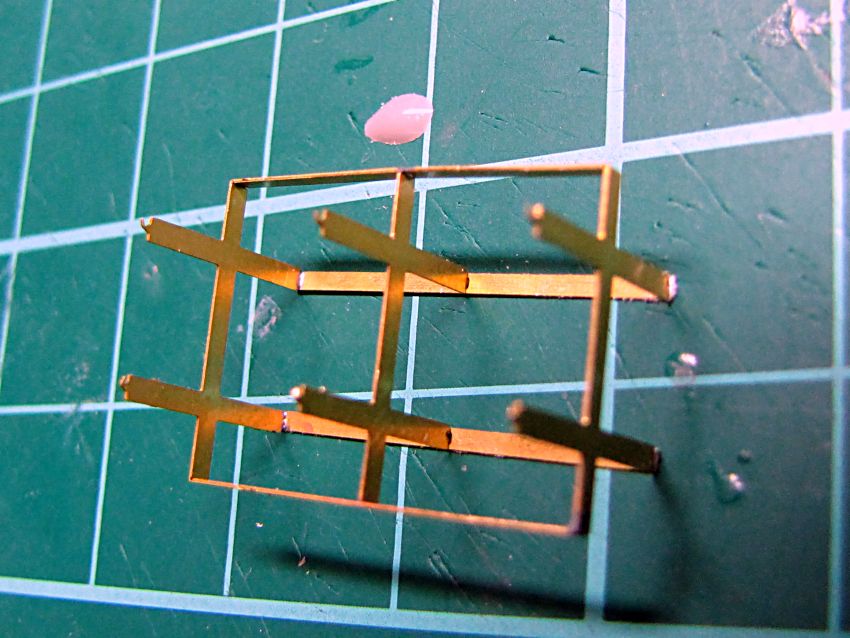
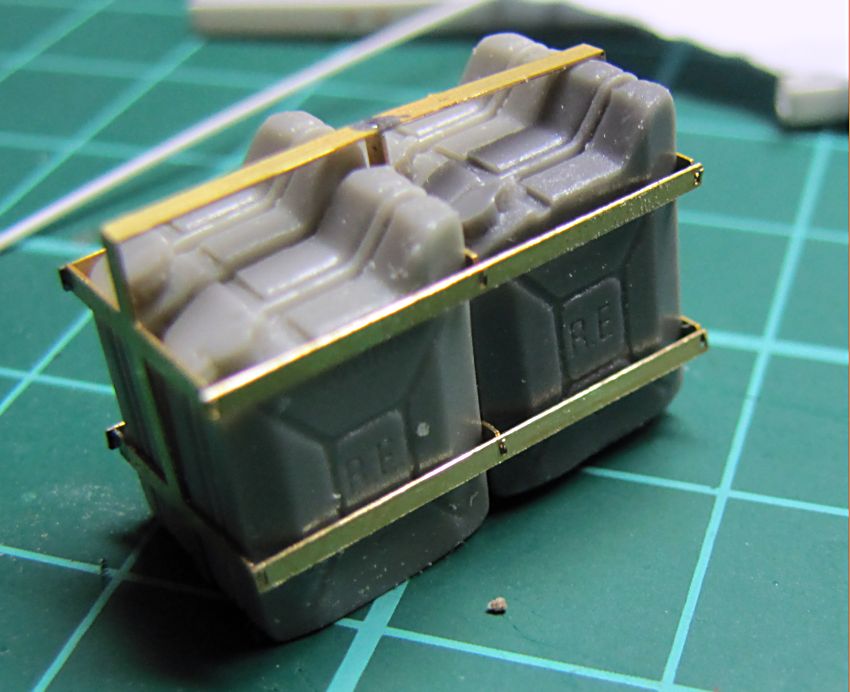

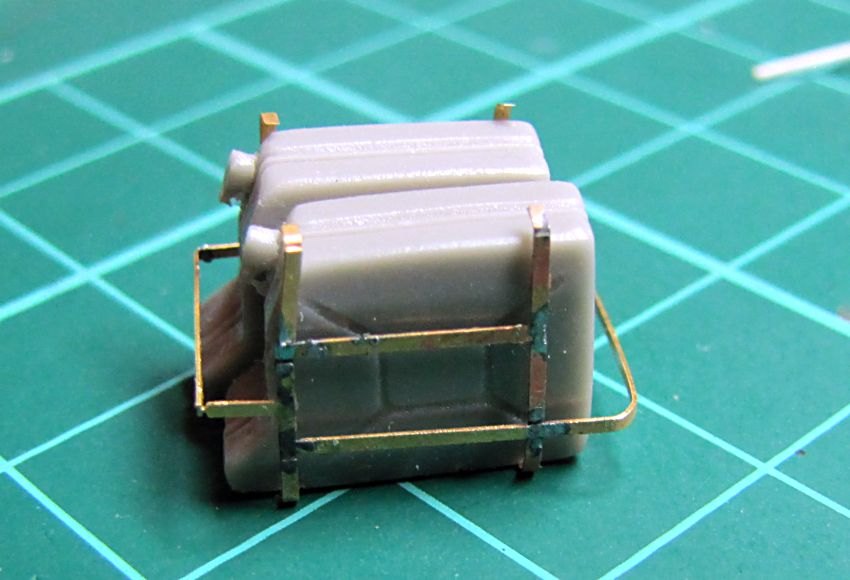
.
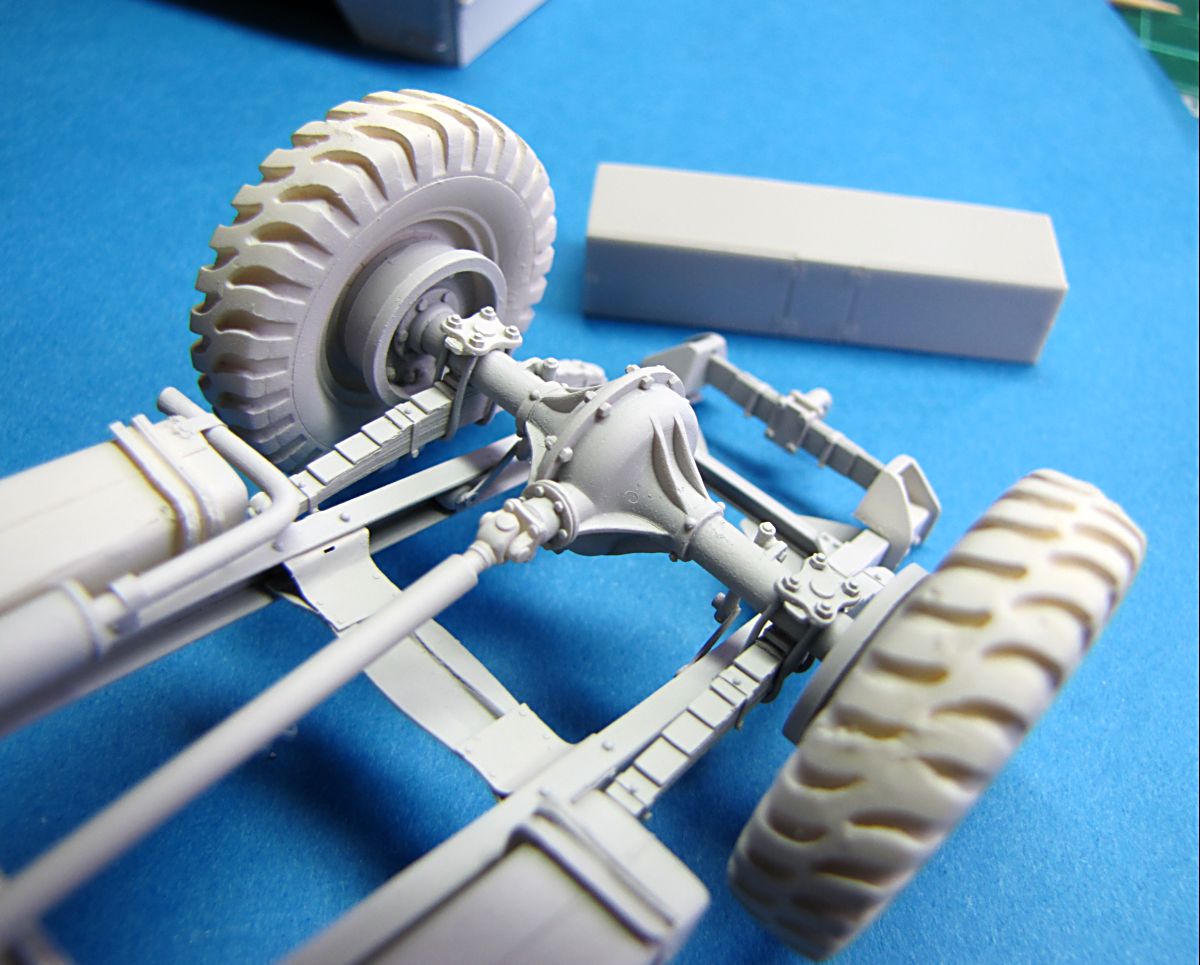
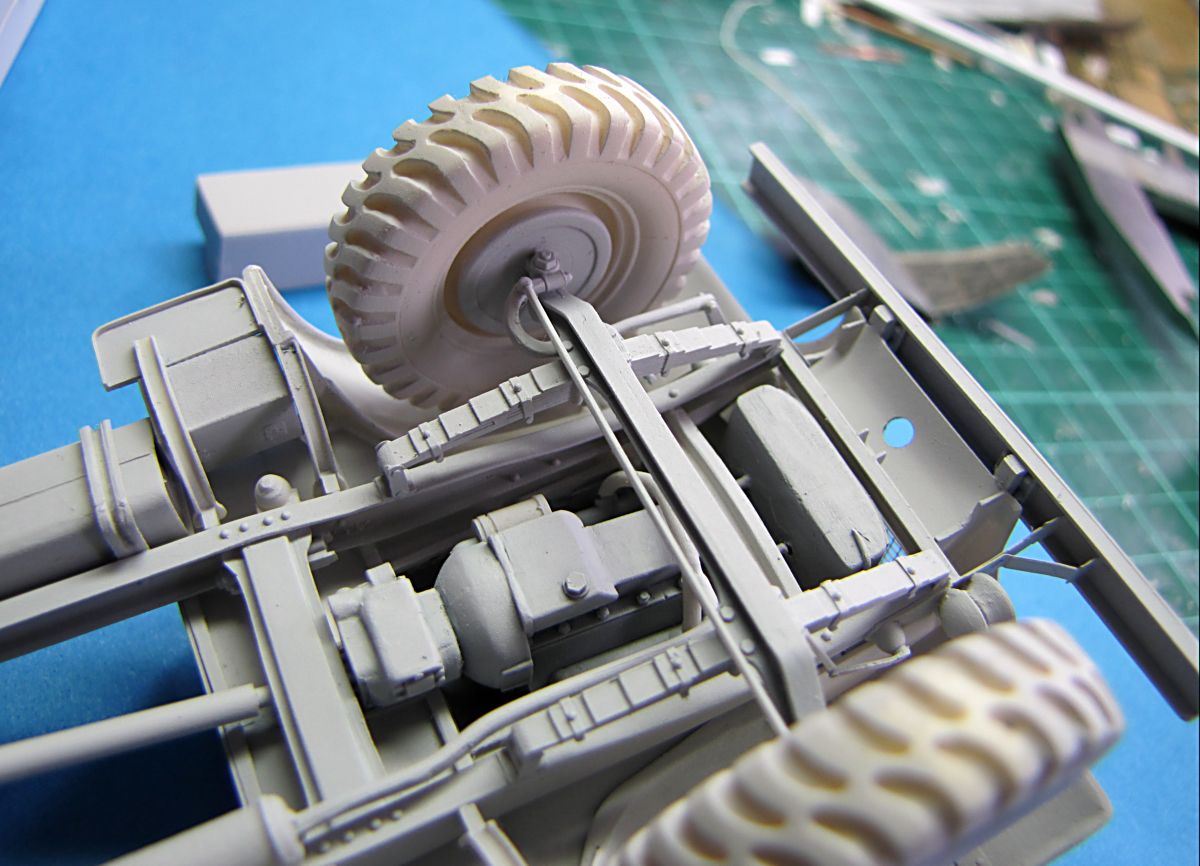
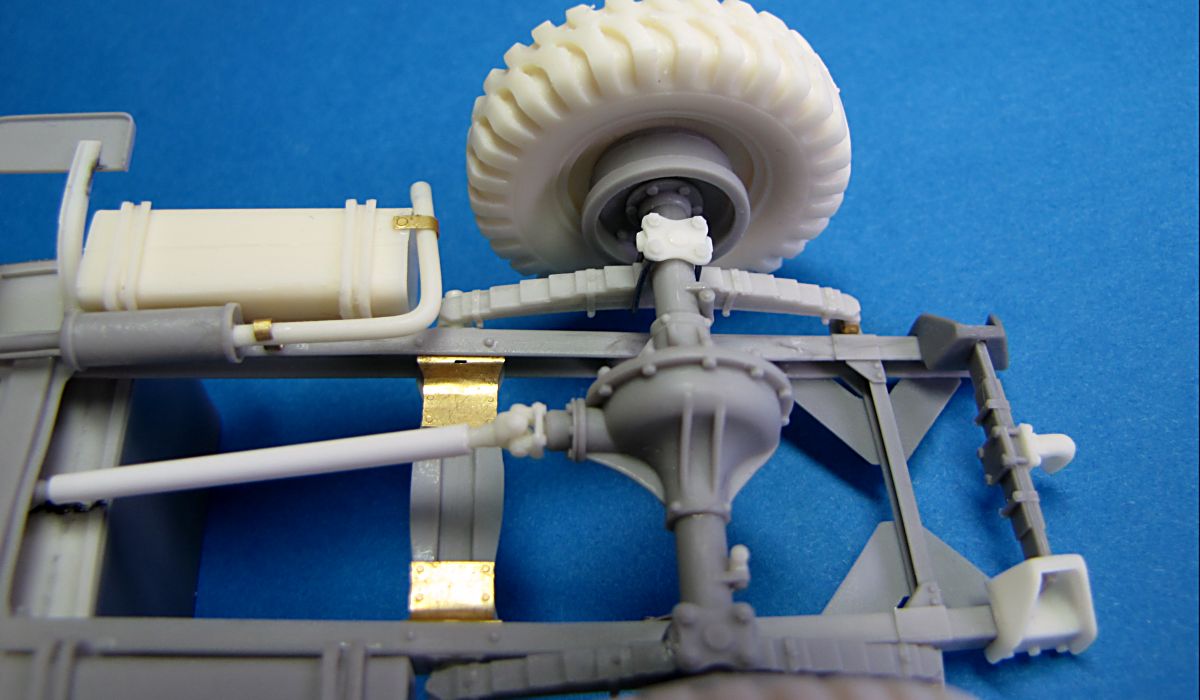
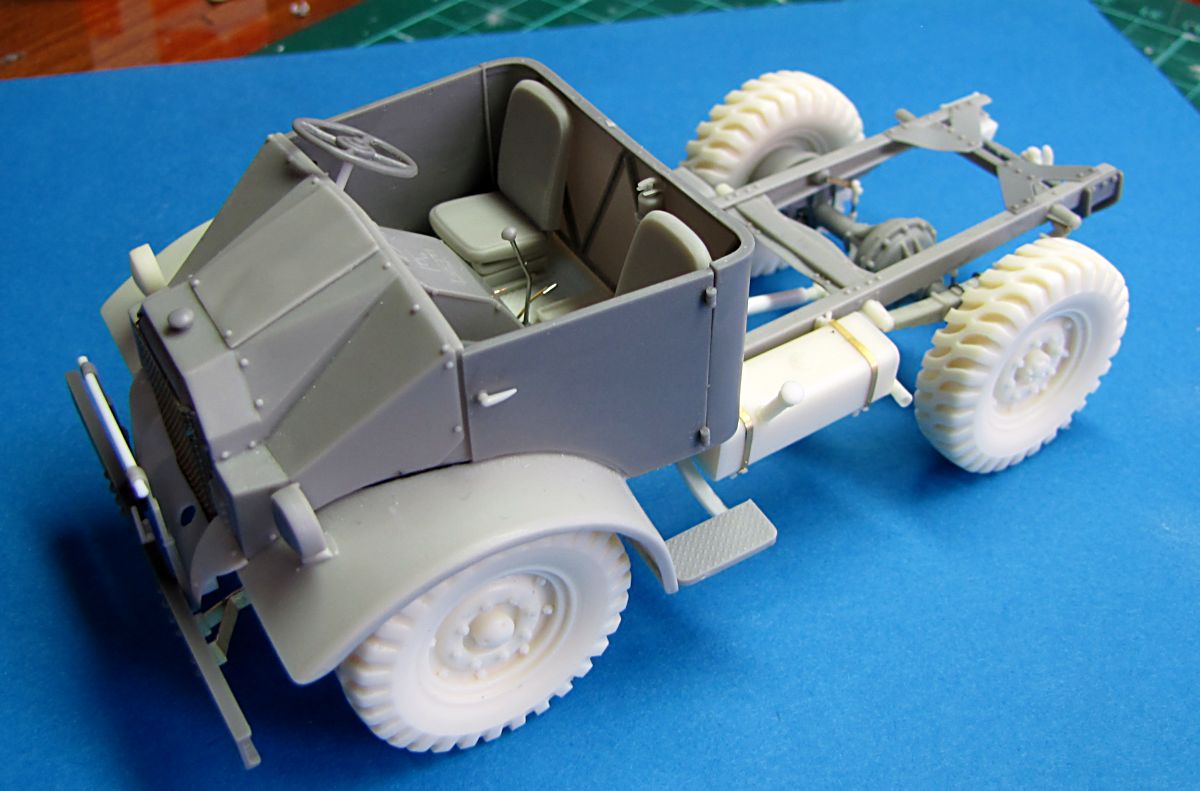
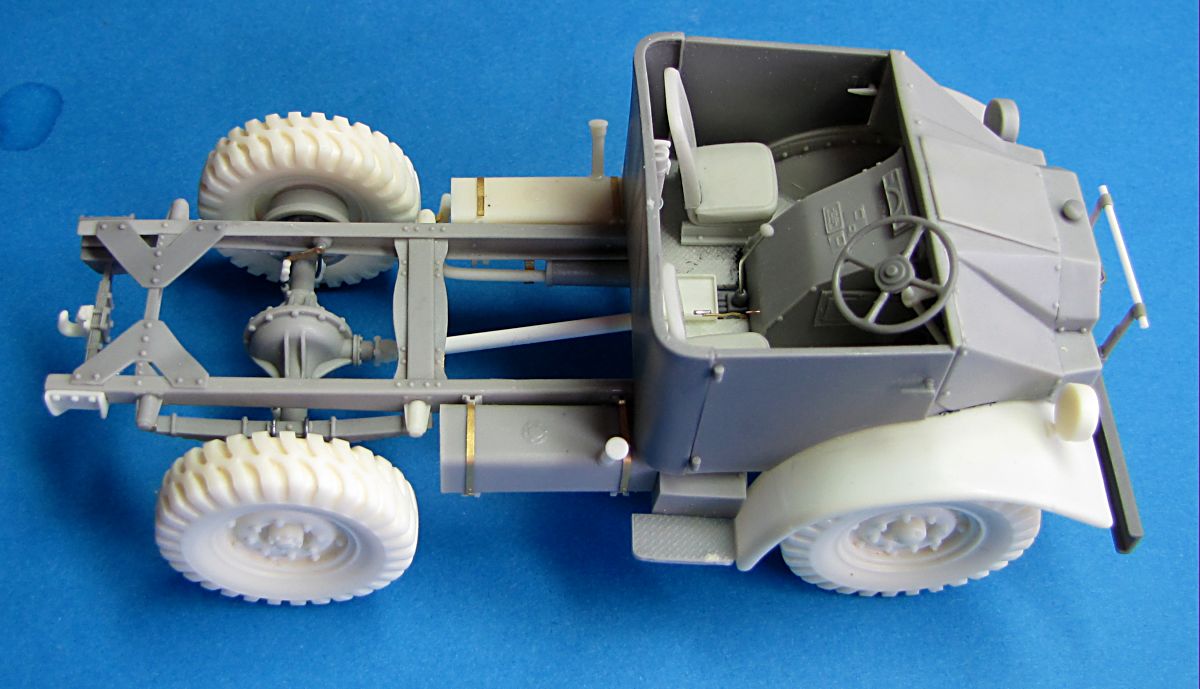
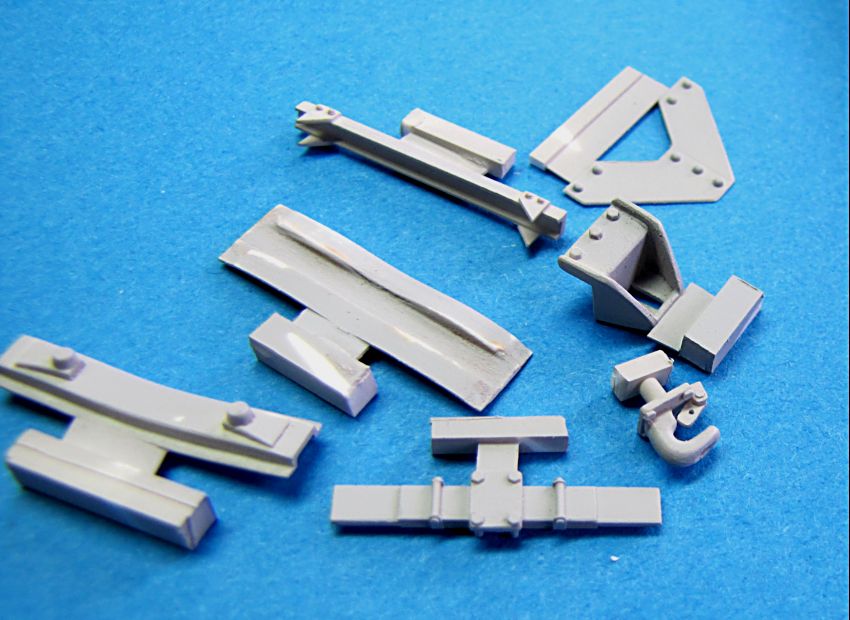
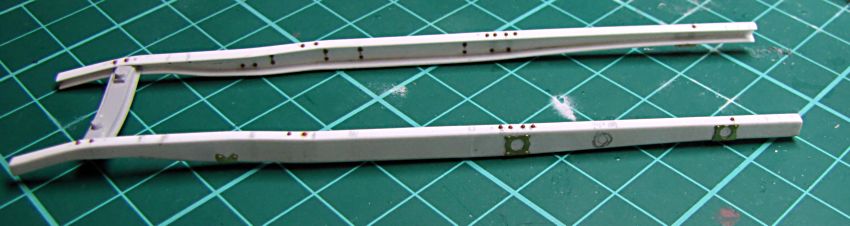
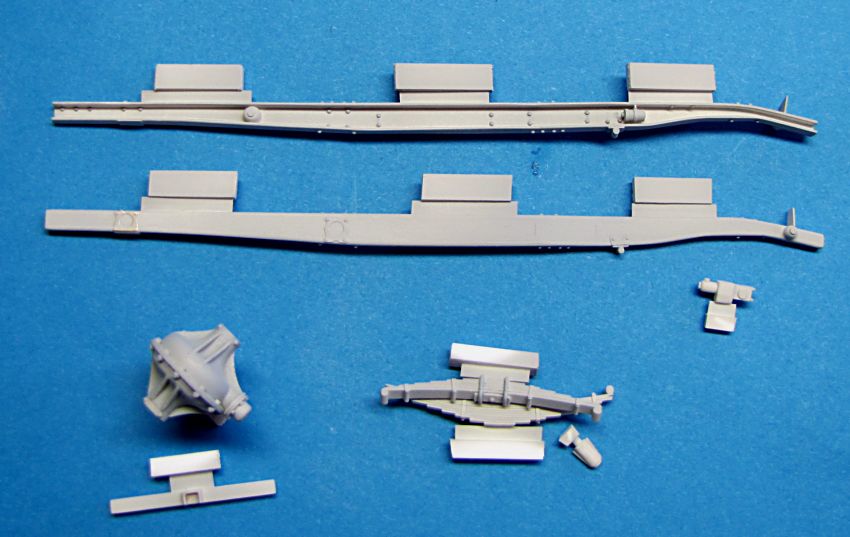
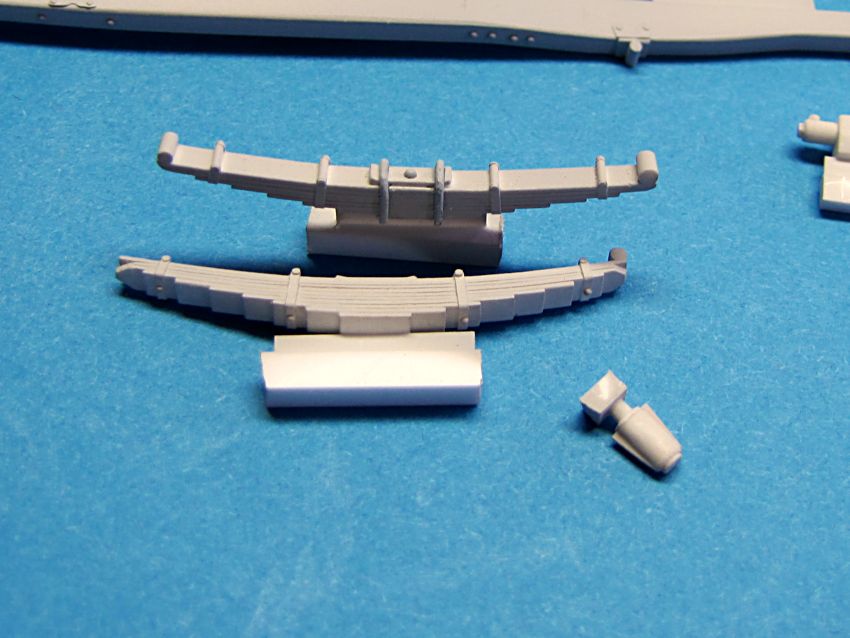
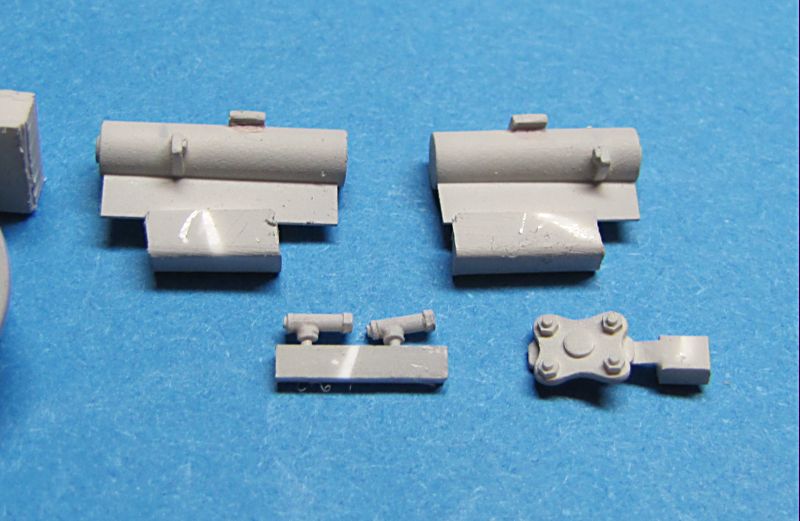
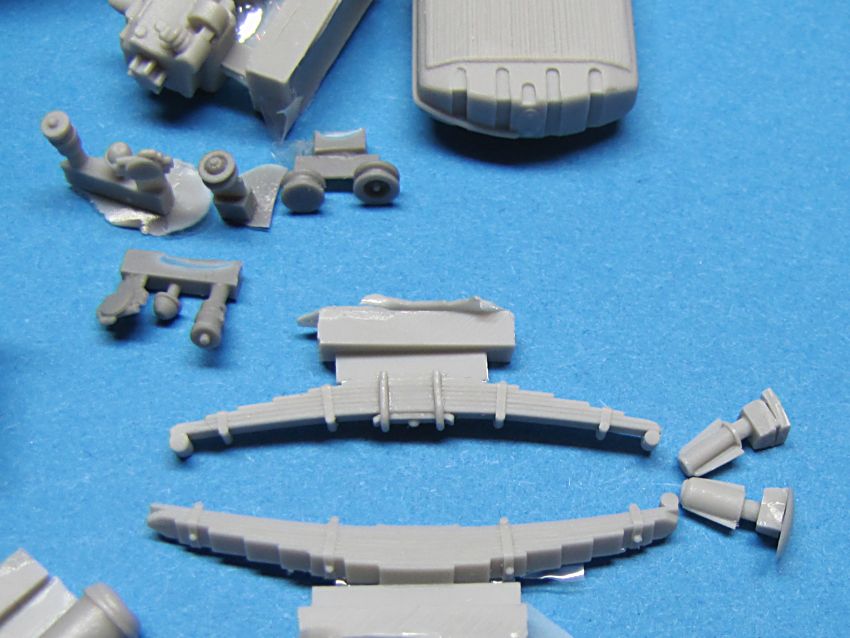
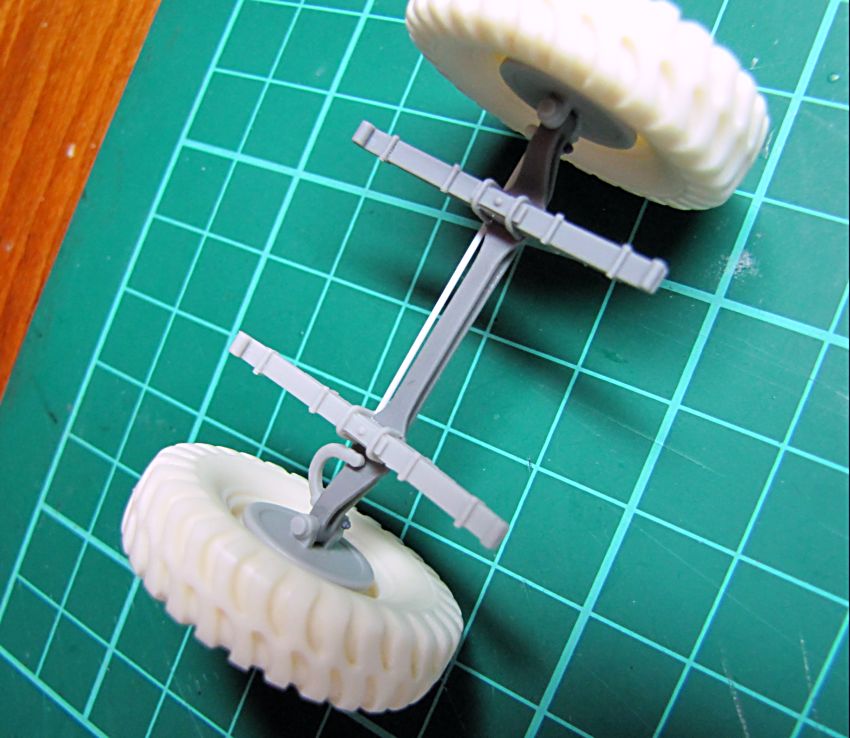
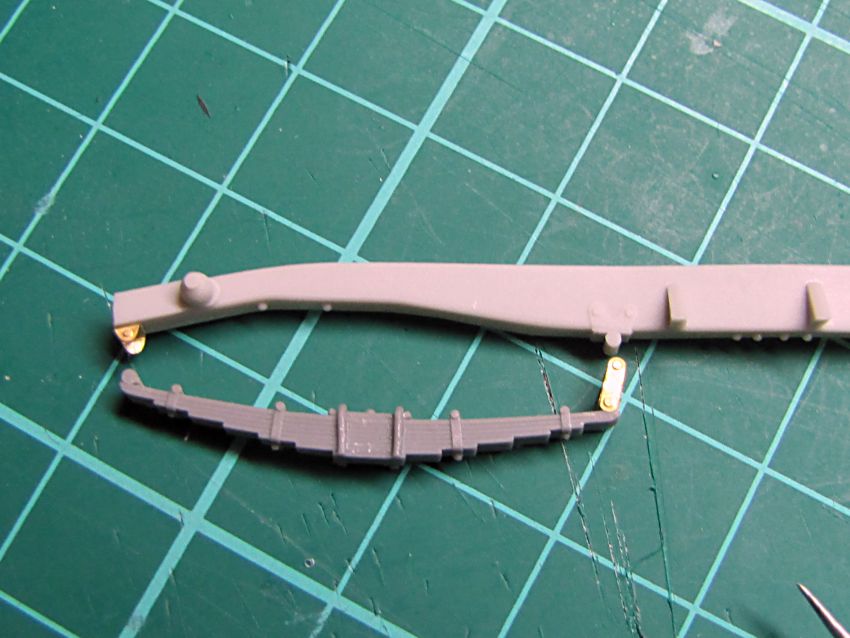
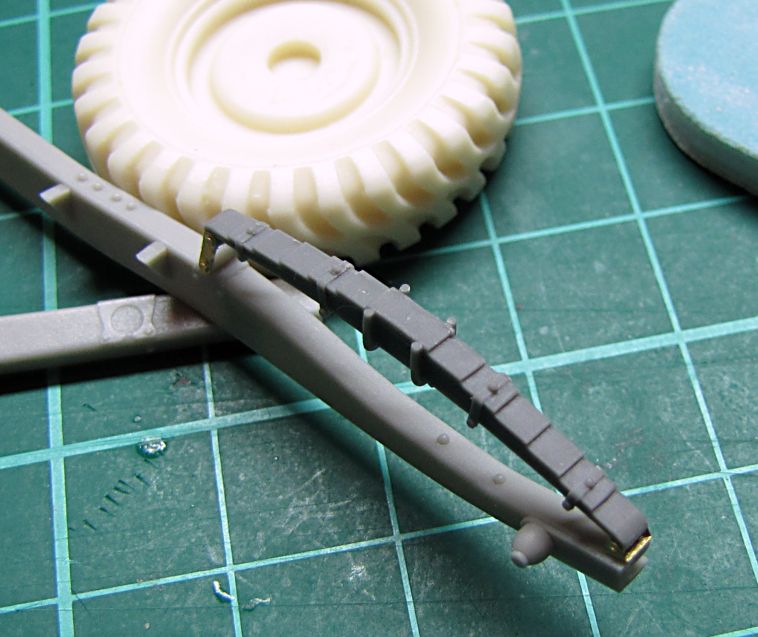
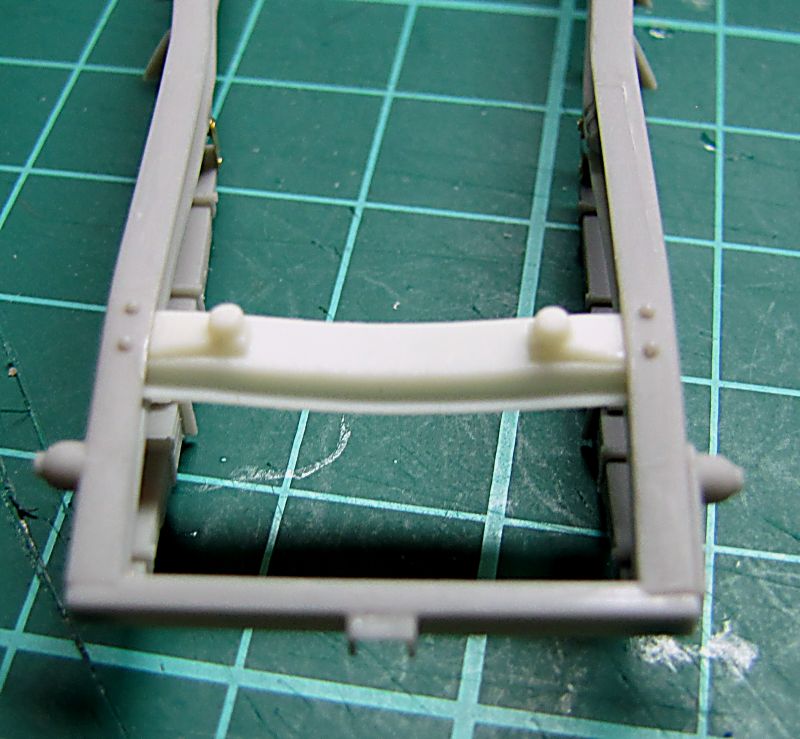
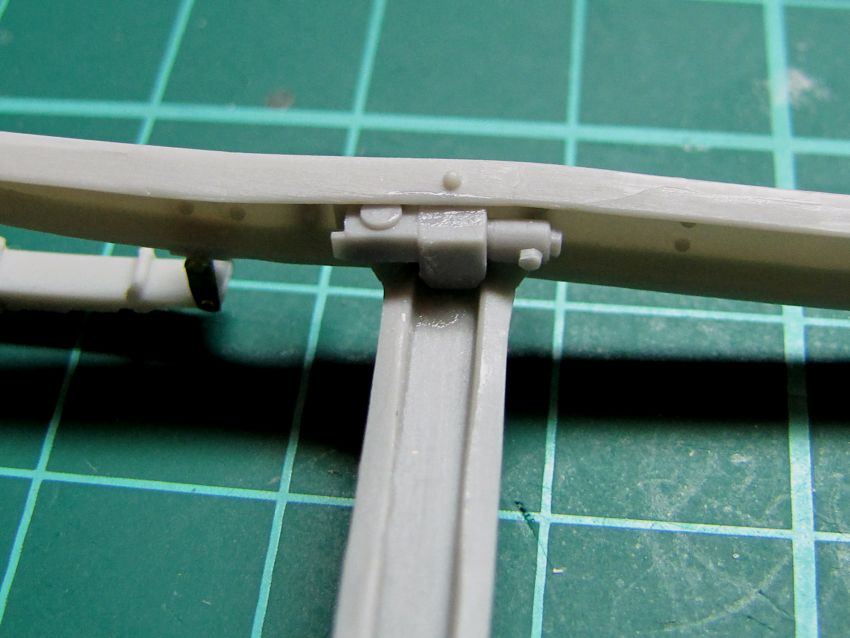
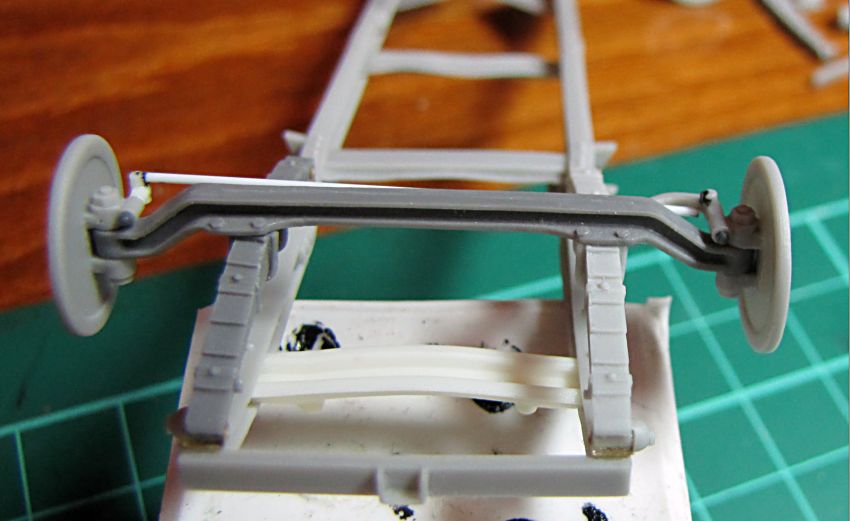
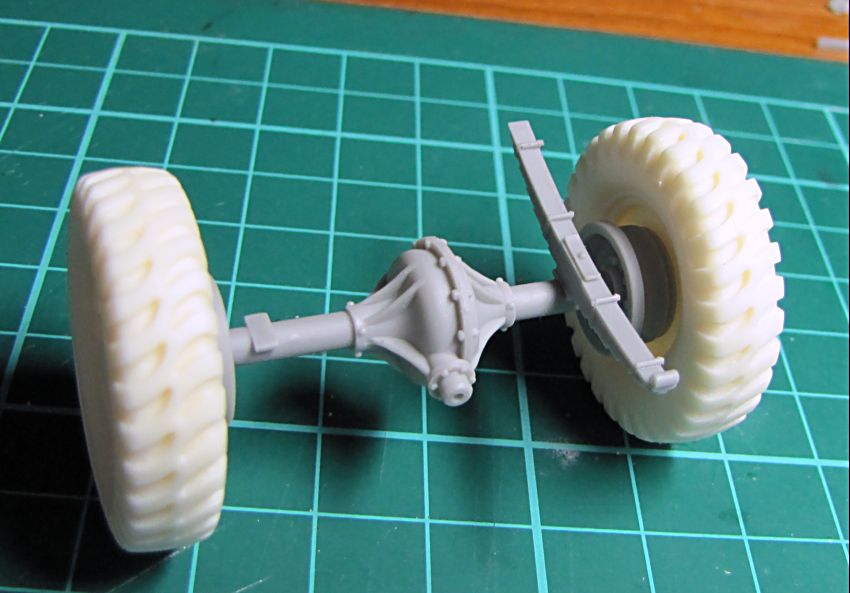
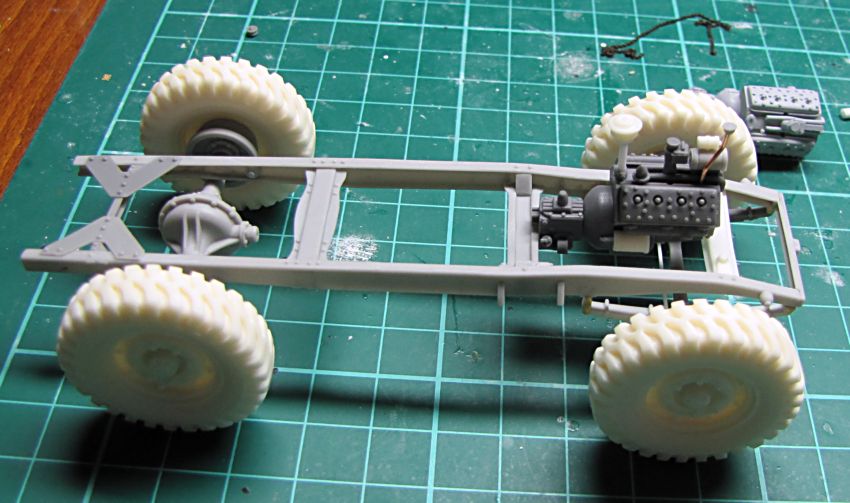
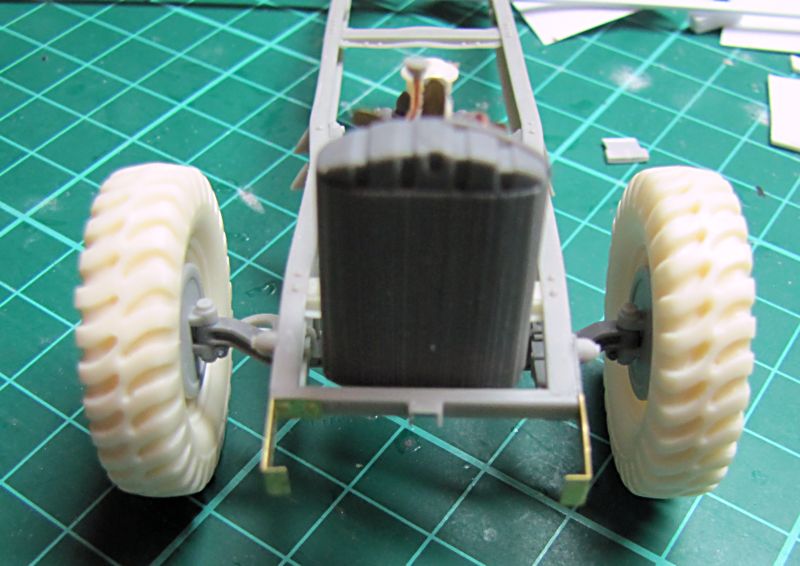
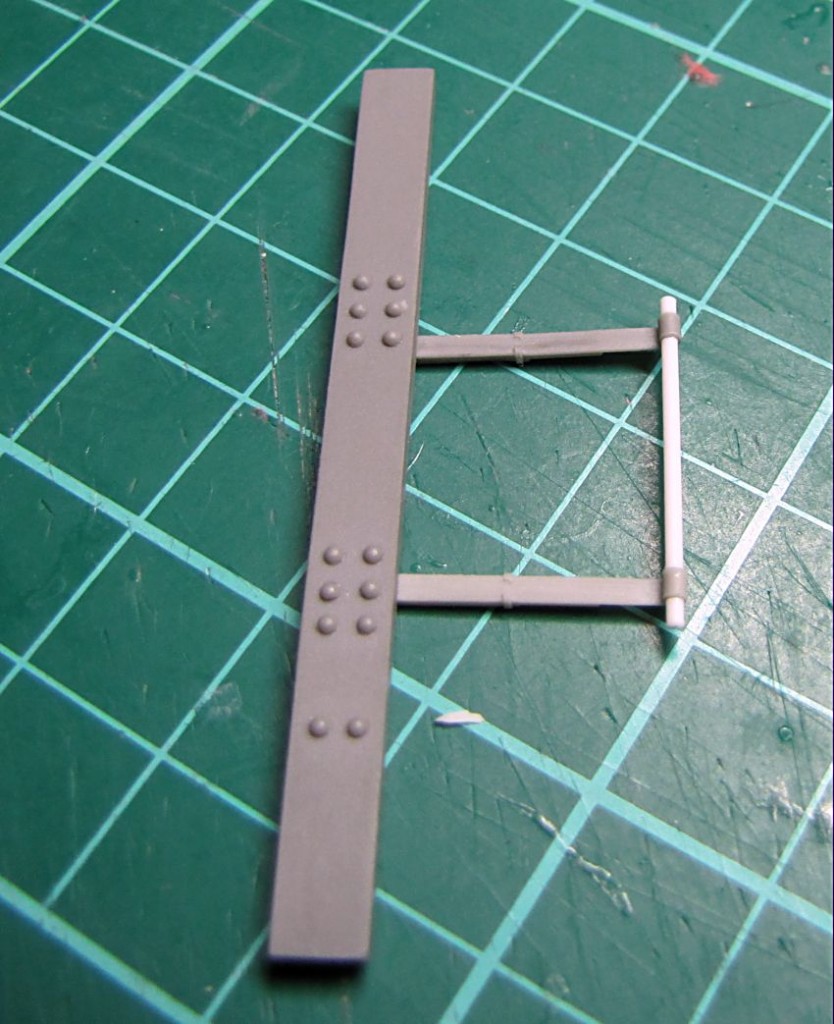
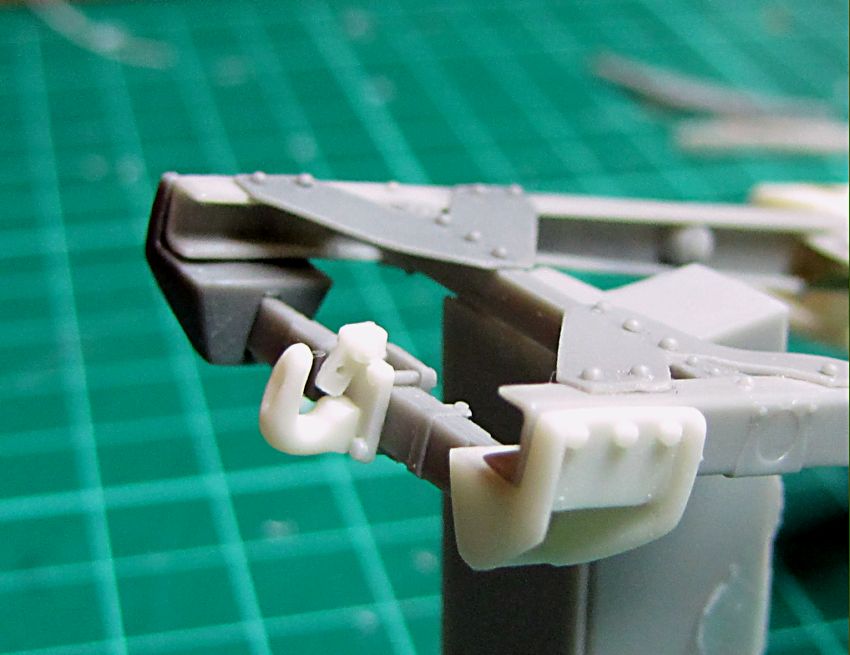
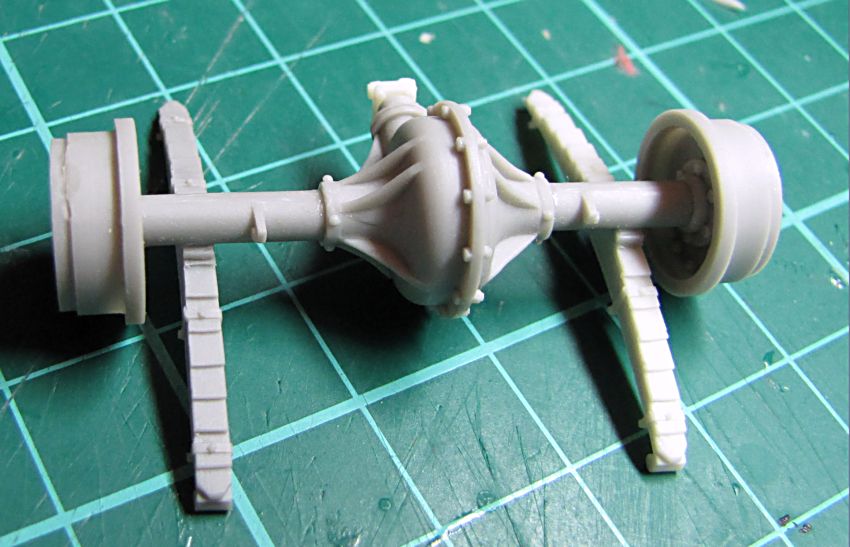
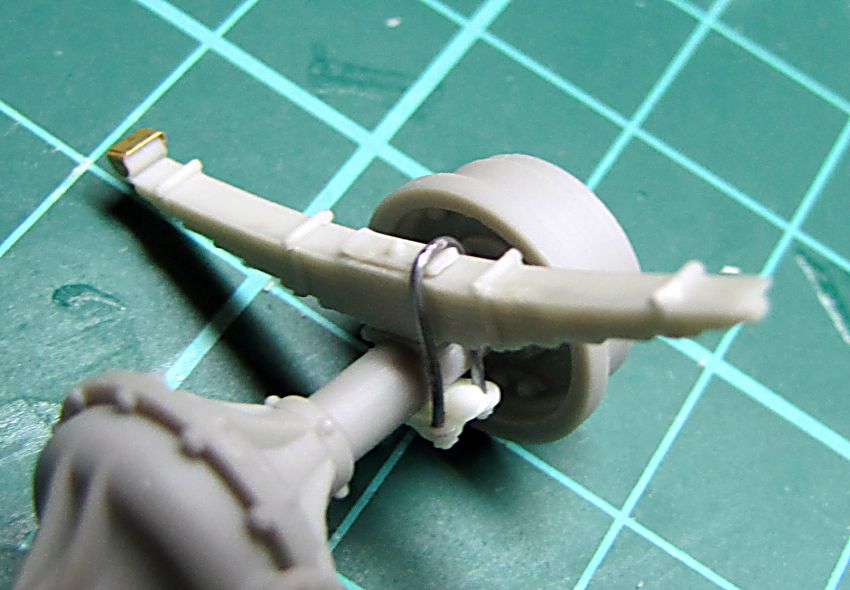
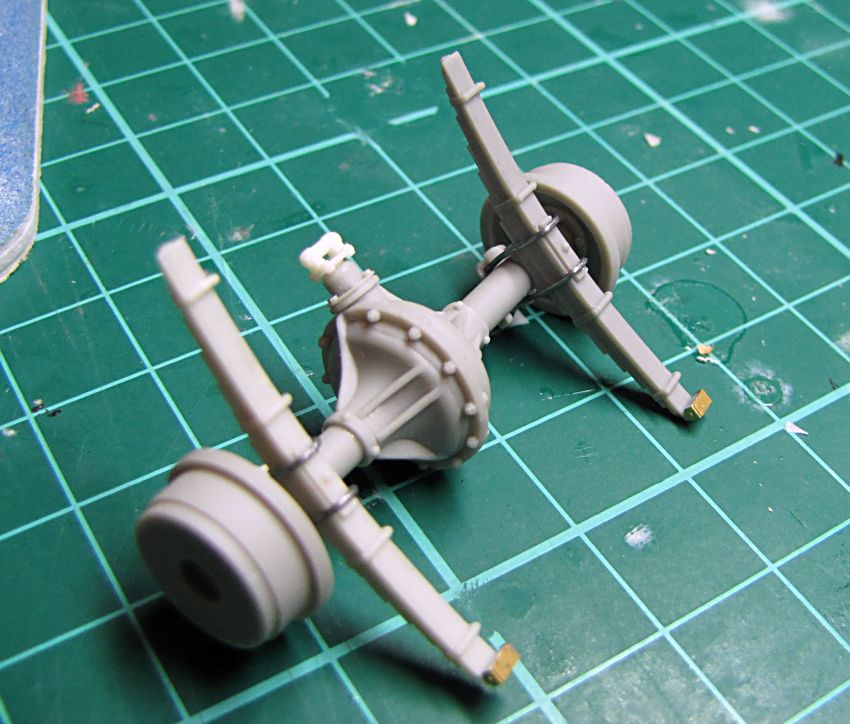
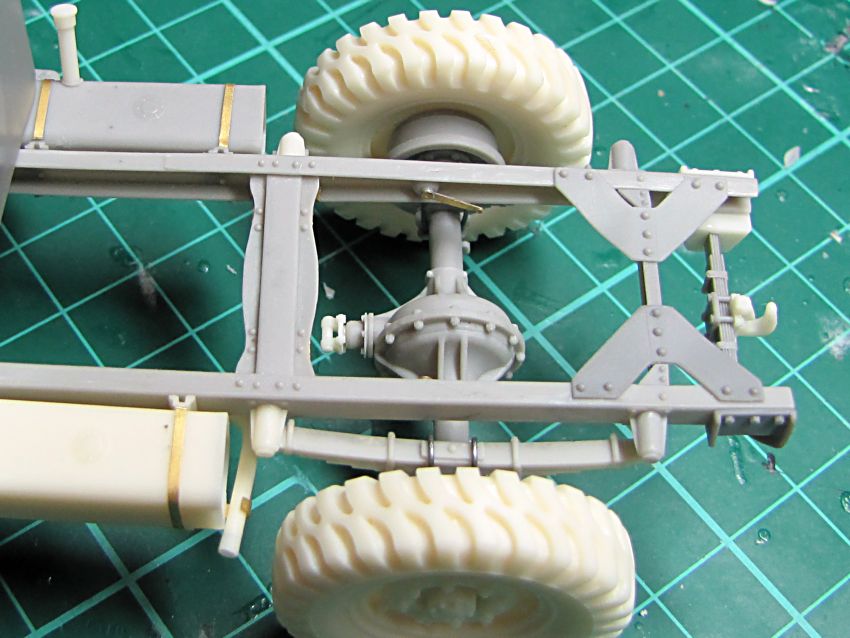
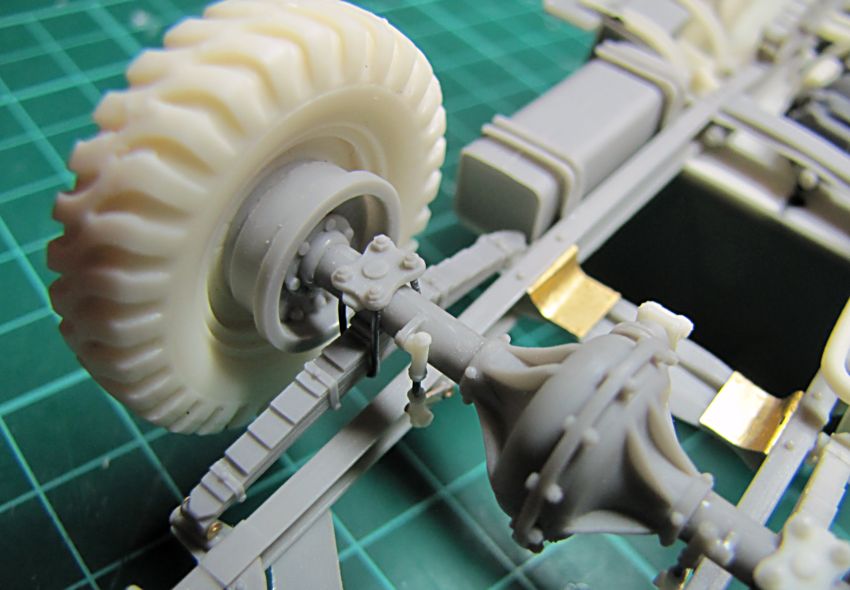
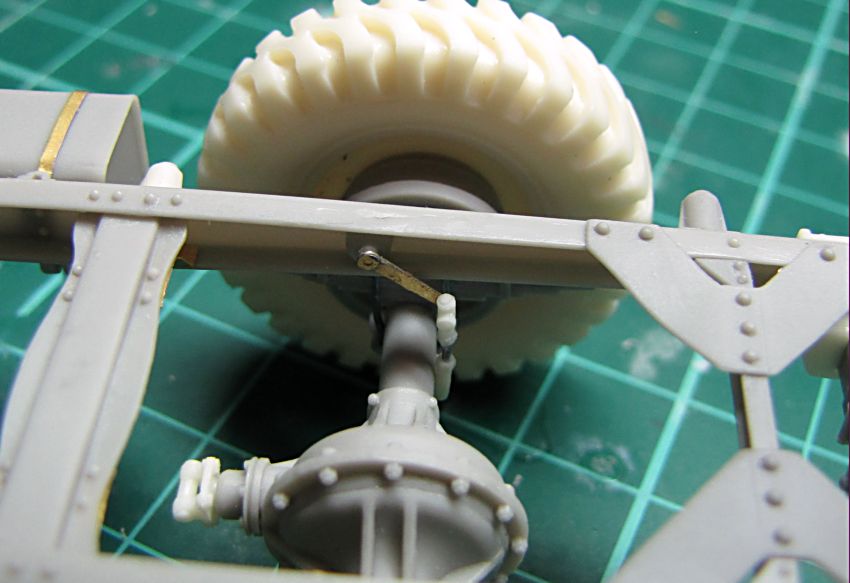
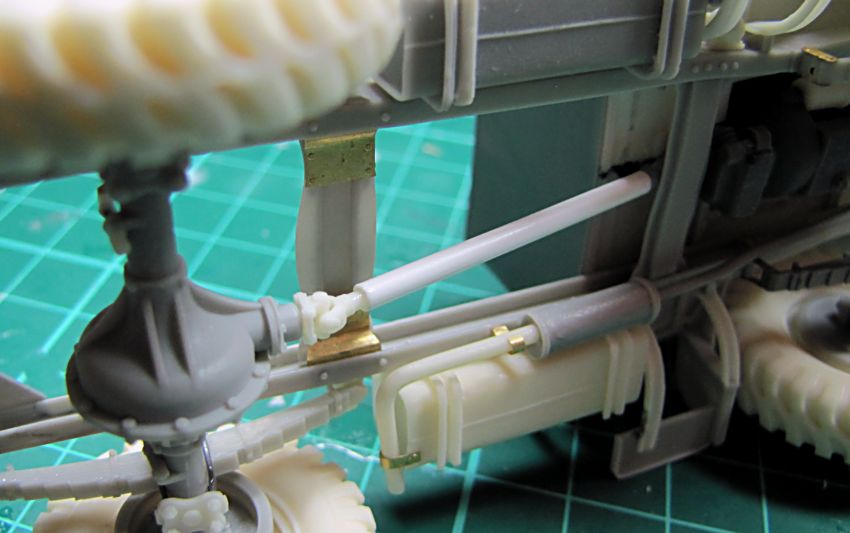
Back on masters. I have added all the details to chassis long beams and shaped the rest of the cross beams. Also few more details added on the engine and transmission box, and they are finished now. Finally I have made up front and rear springs and the rear spring mounting, and started rear axle. All these coated in surfacer, and after some minor cleaning they are ready for making the molds


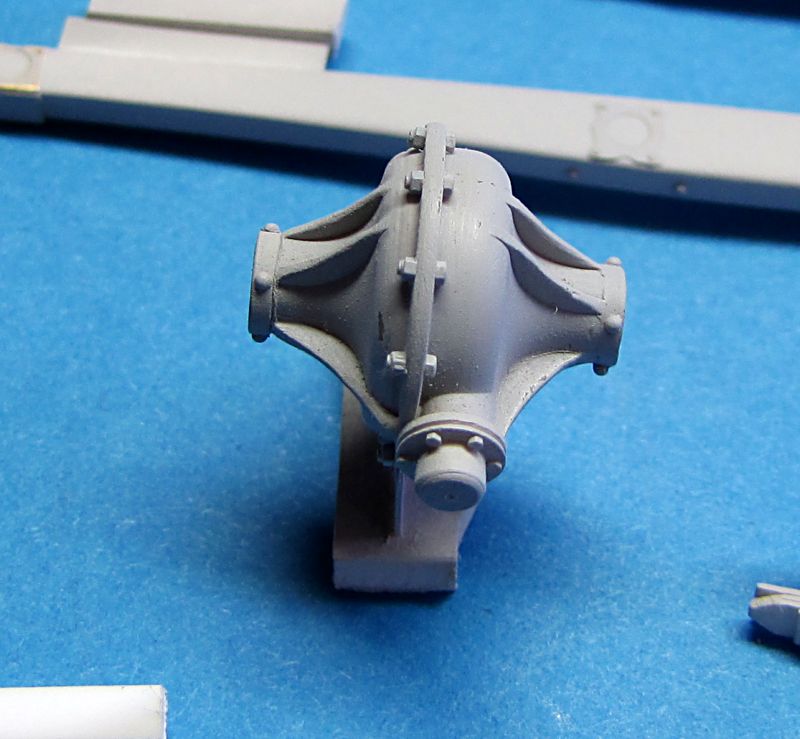
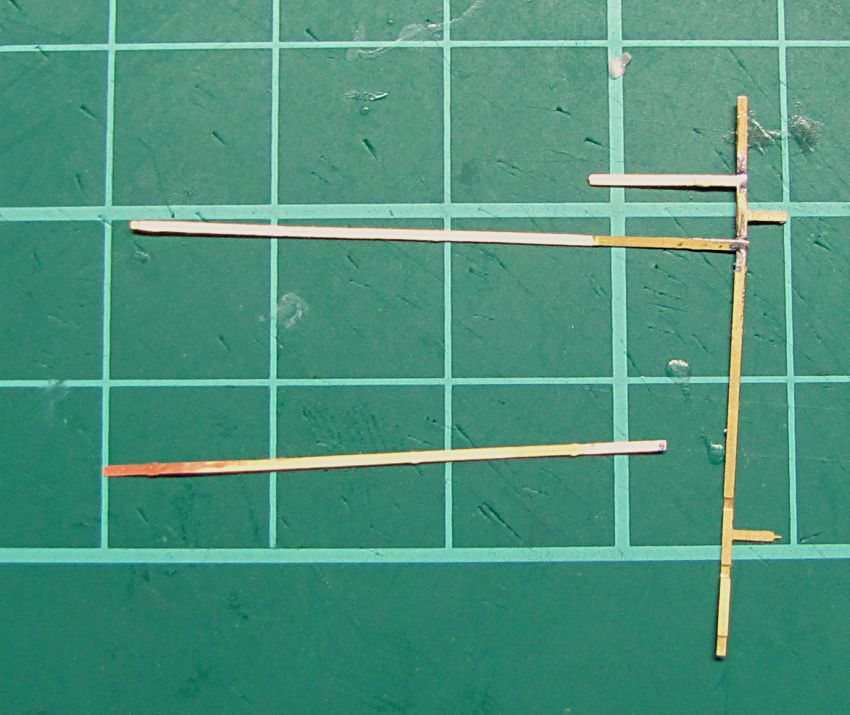
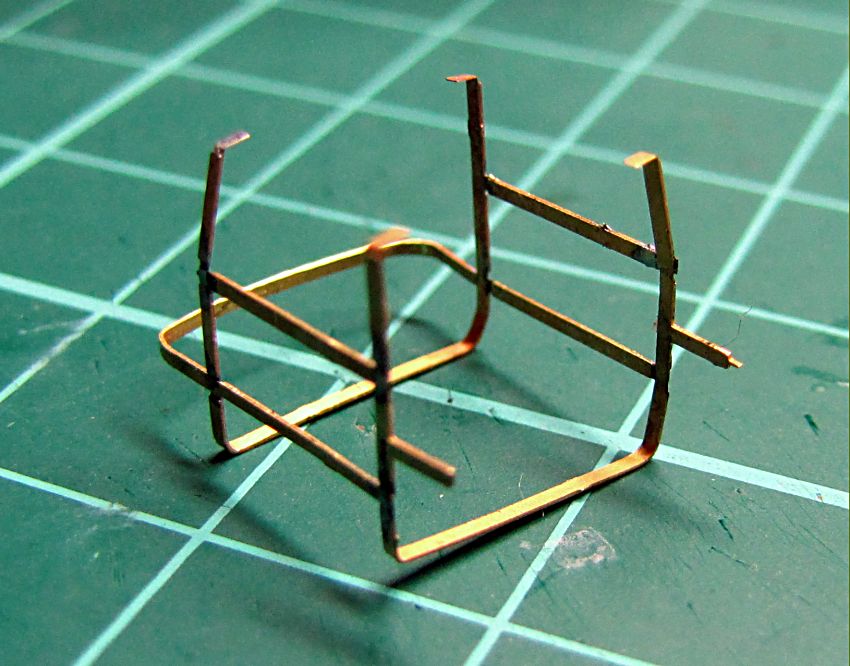
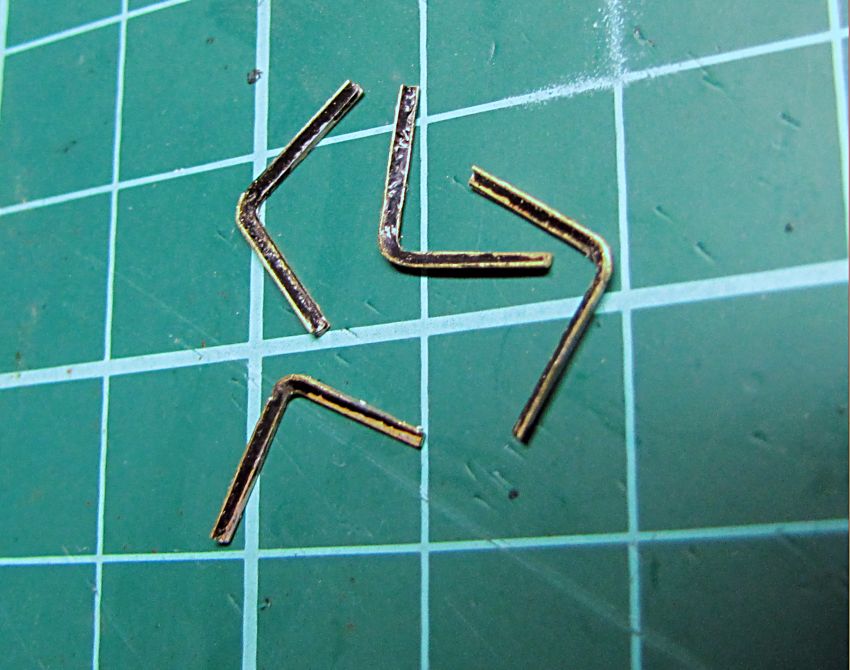
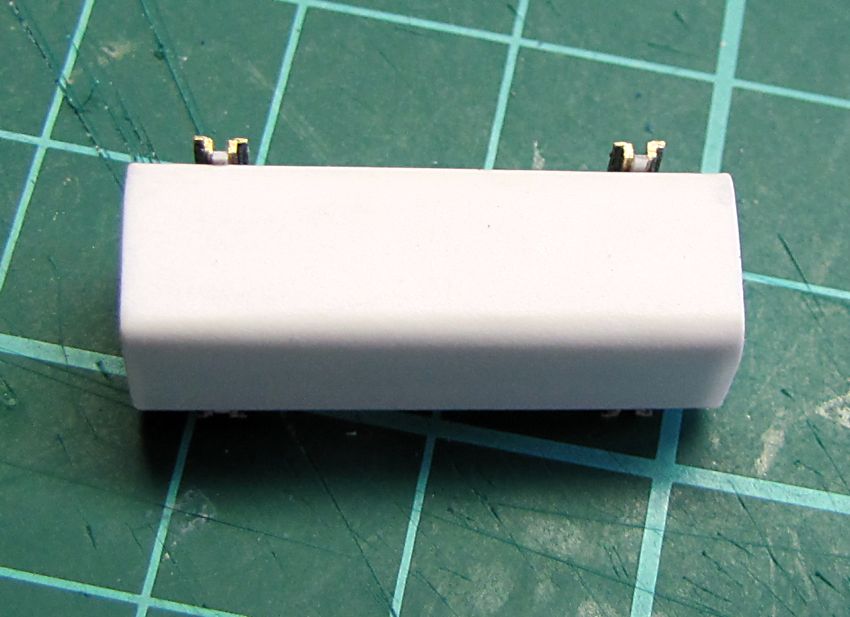
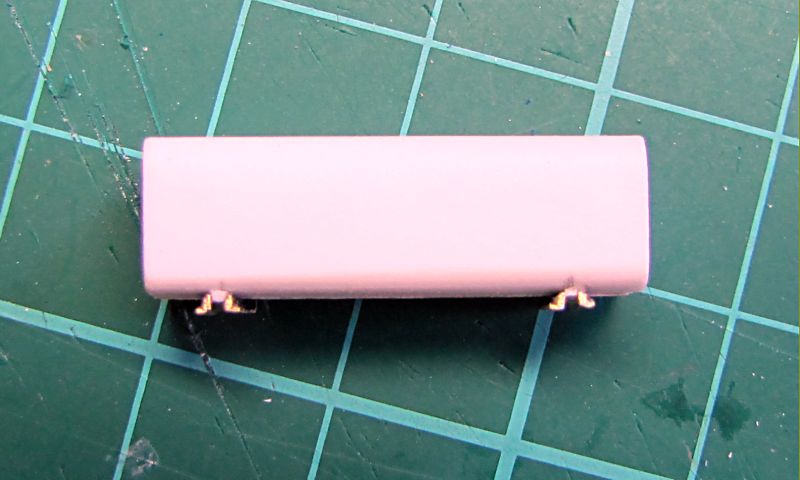
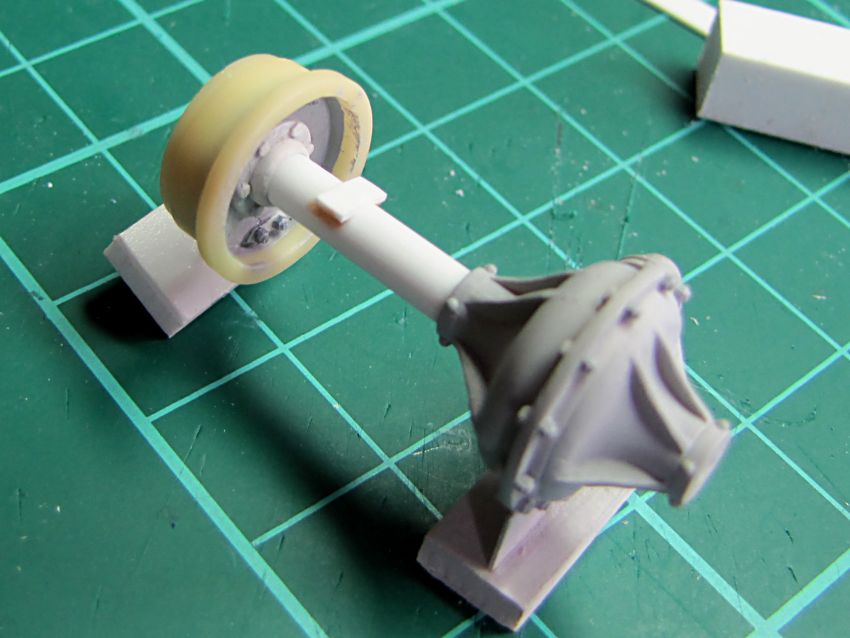
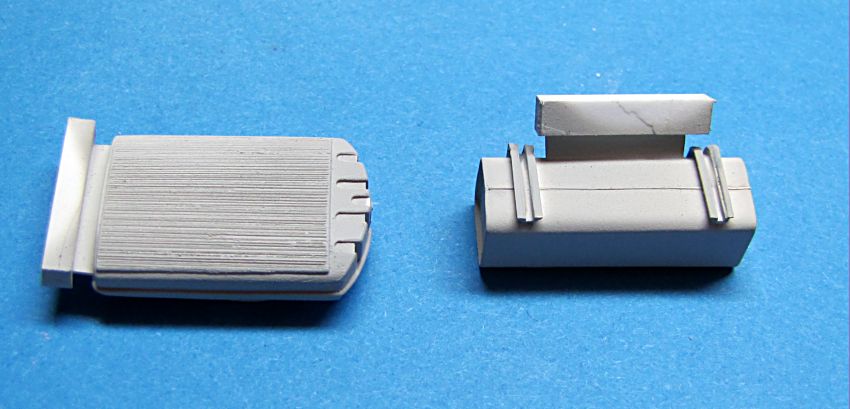
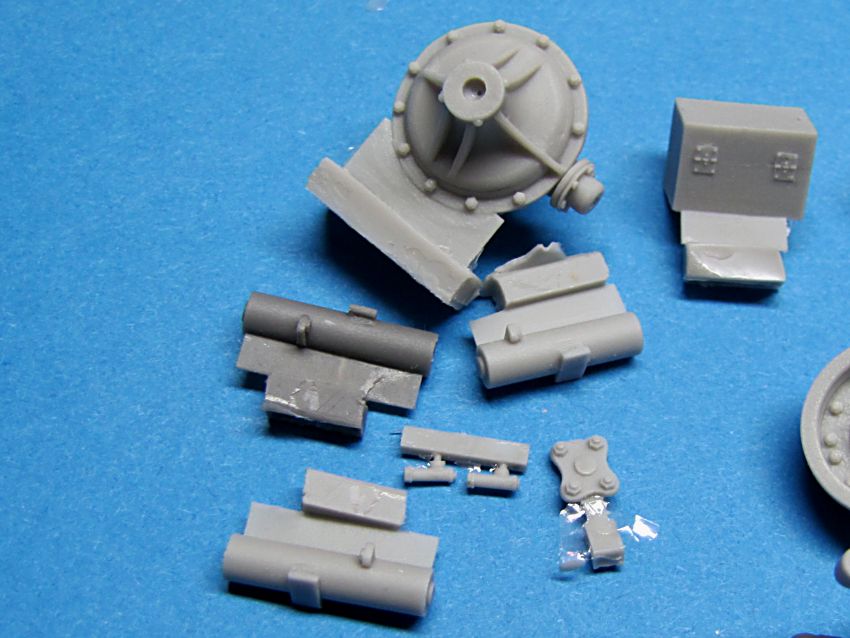
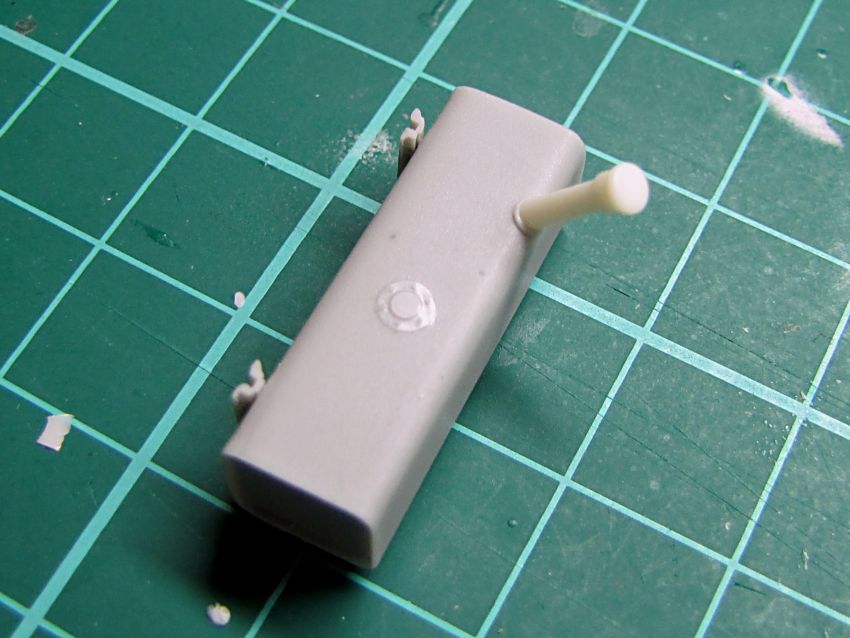
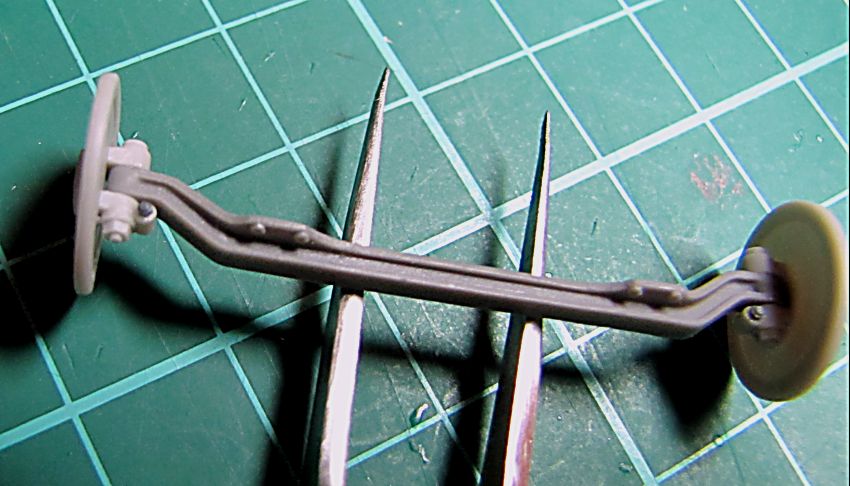
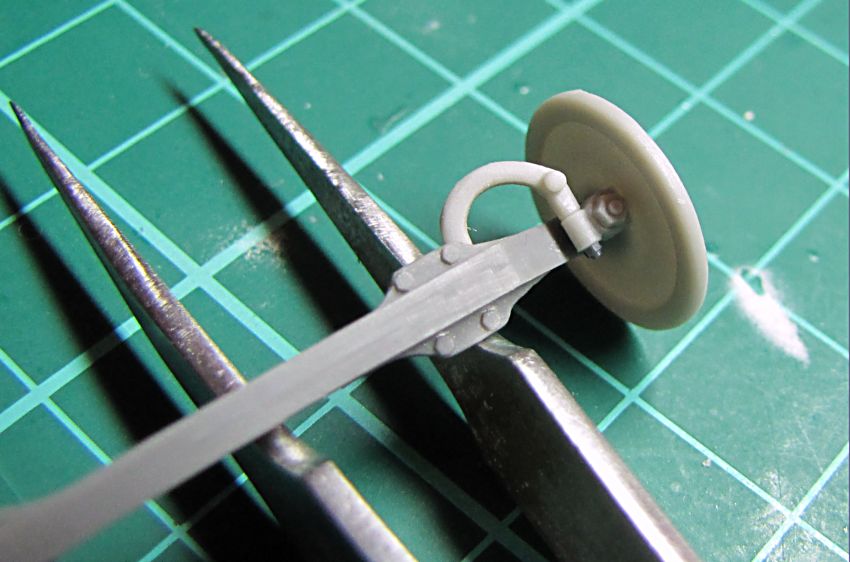
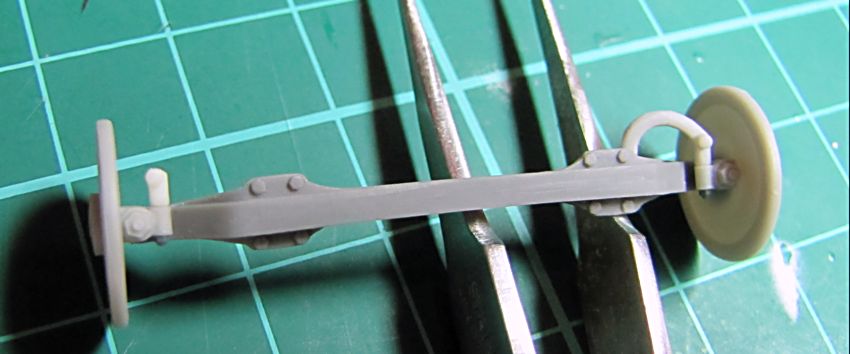
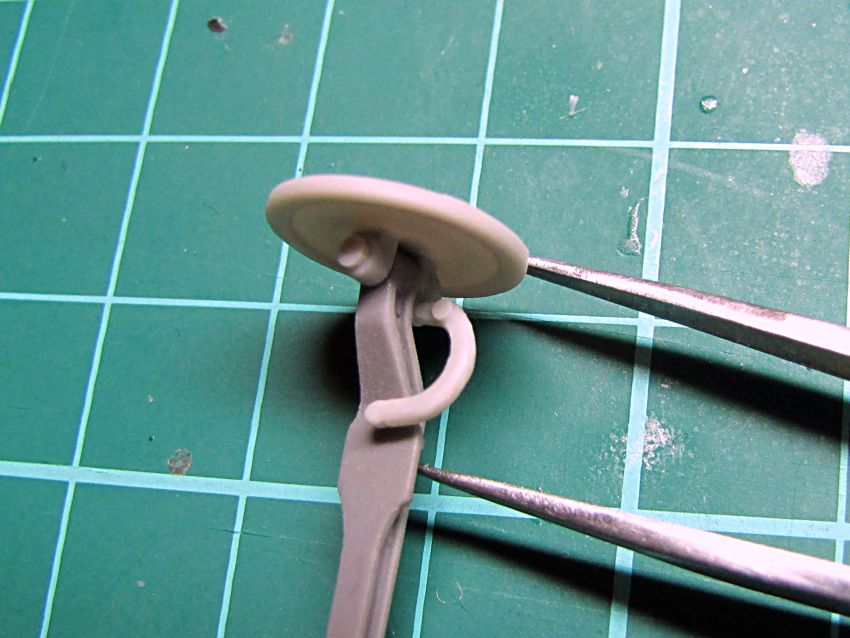
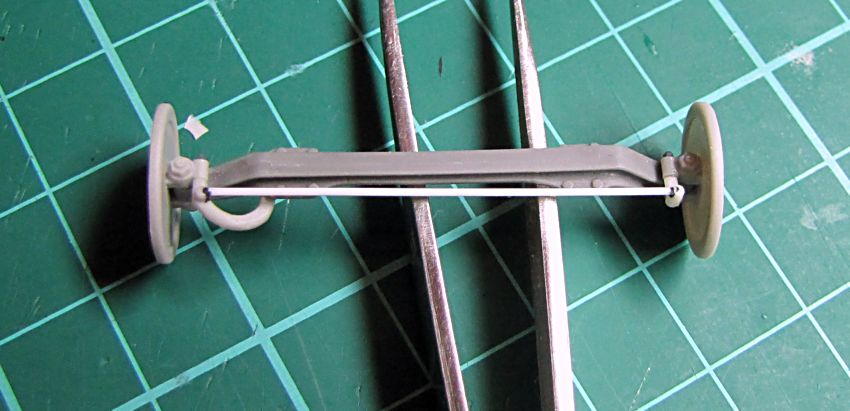
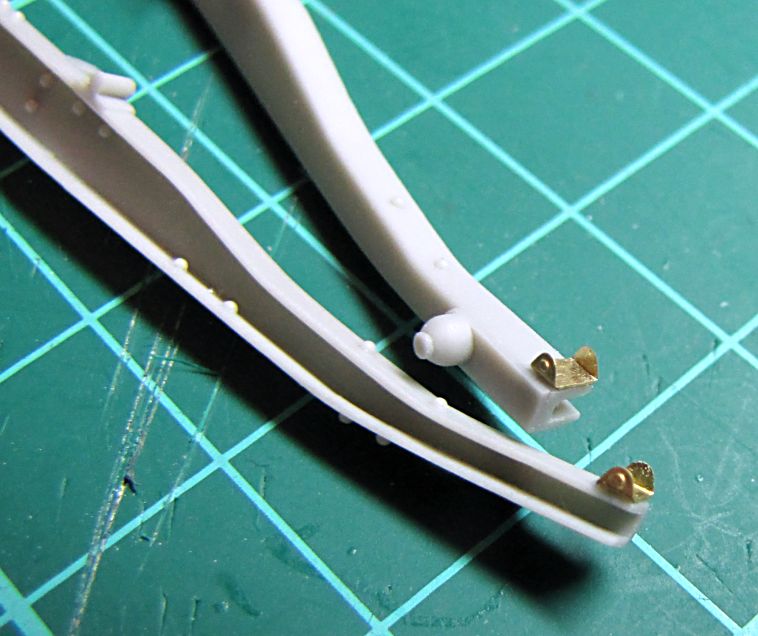
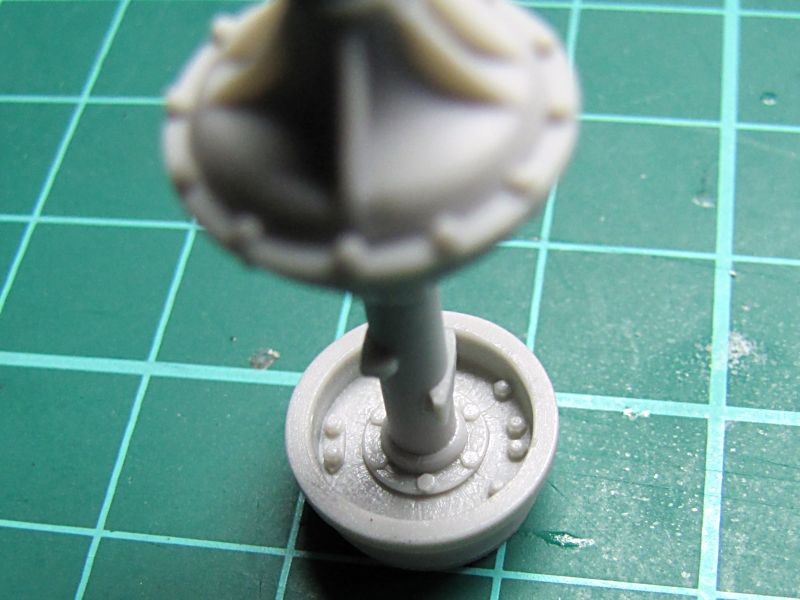
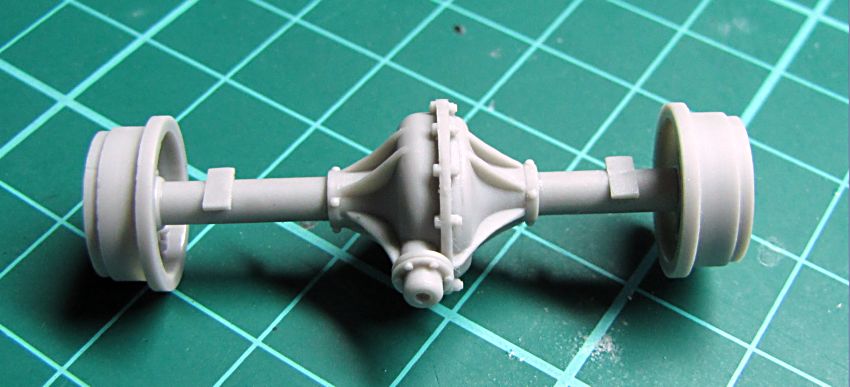
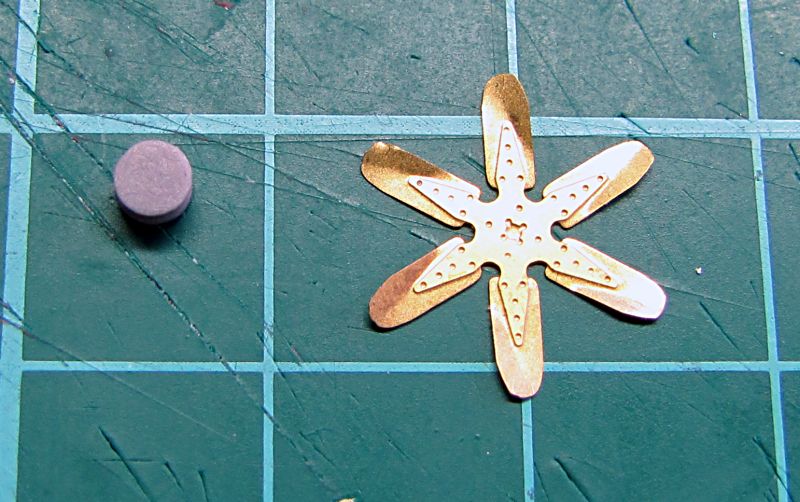
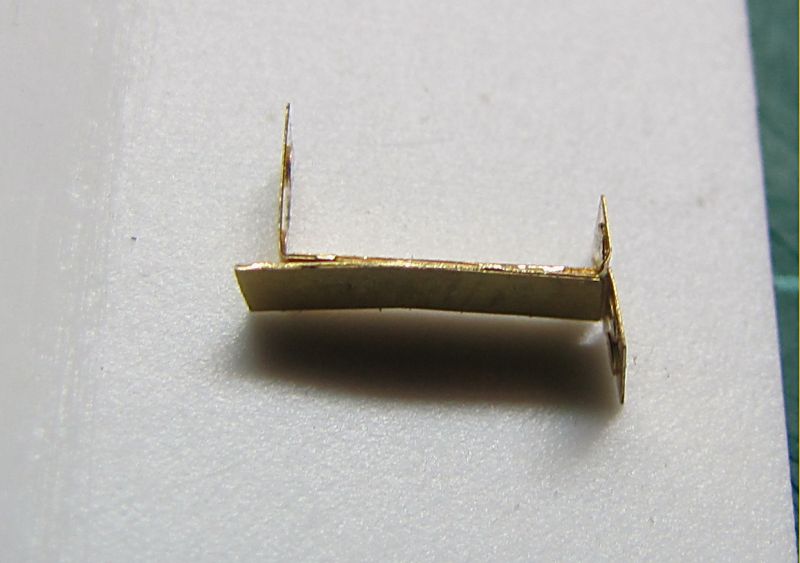
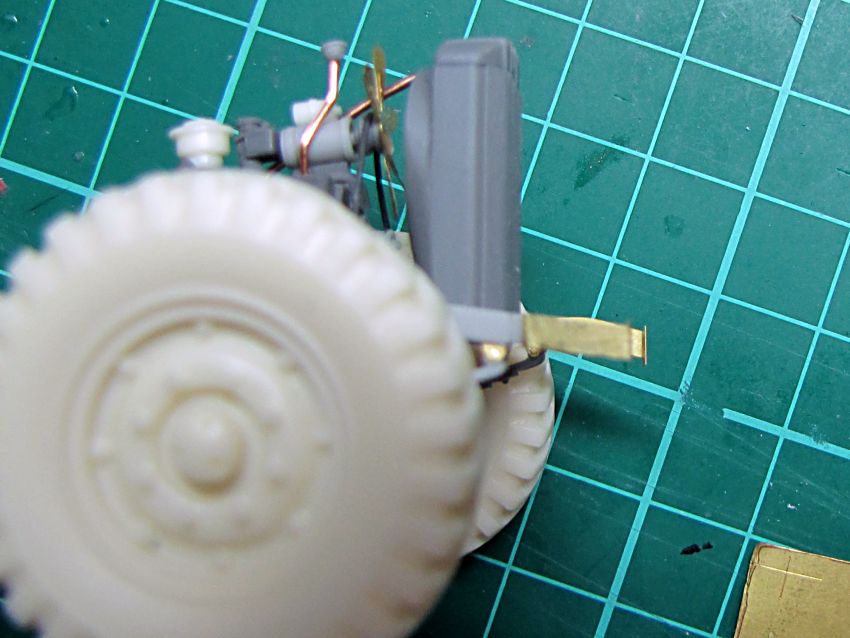
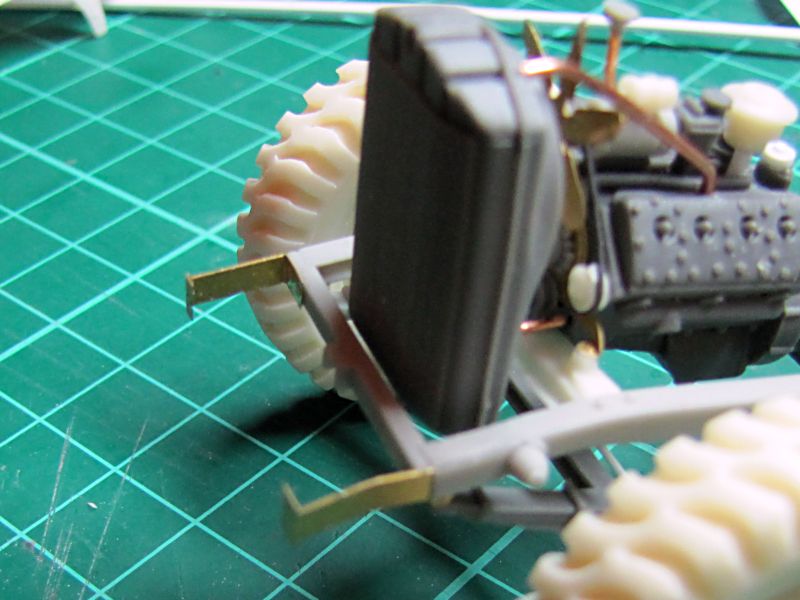
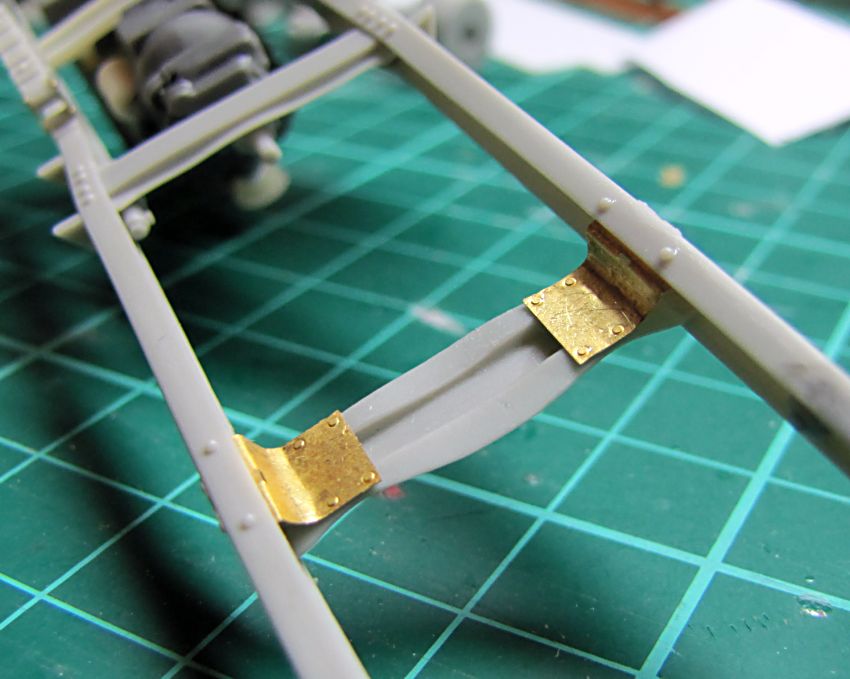
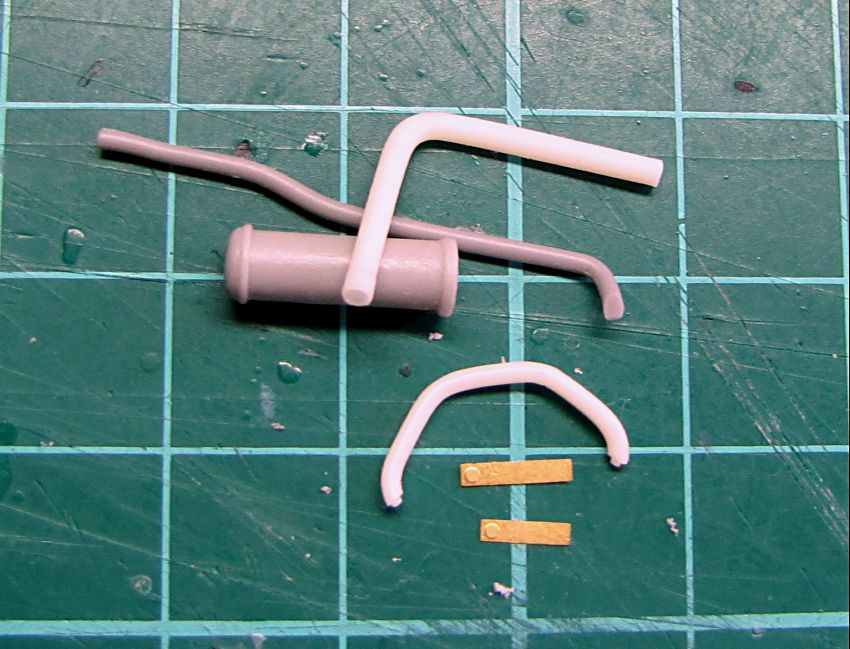
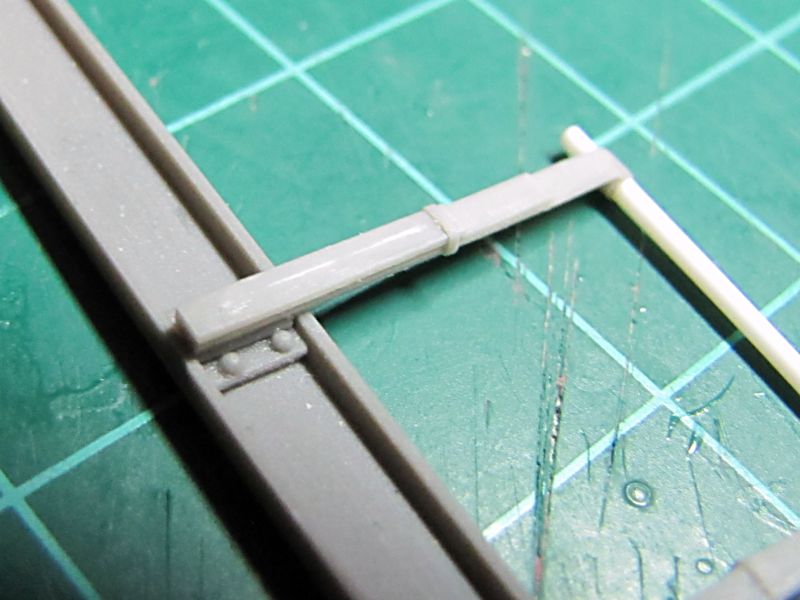
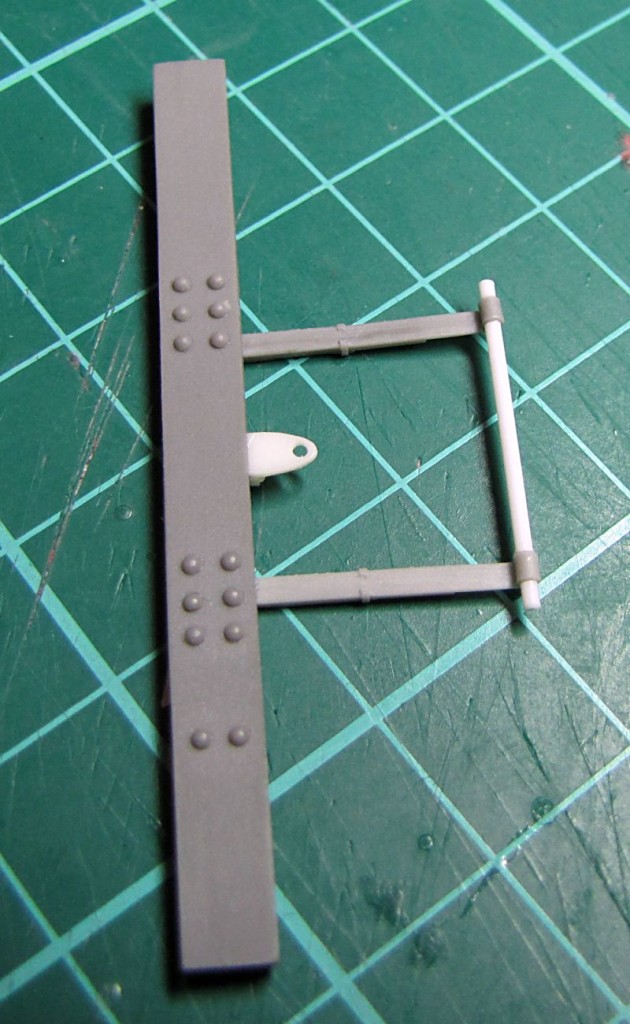
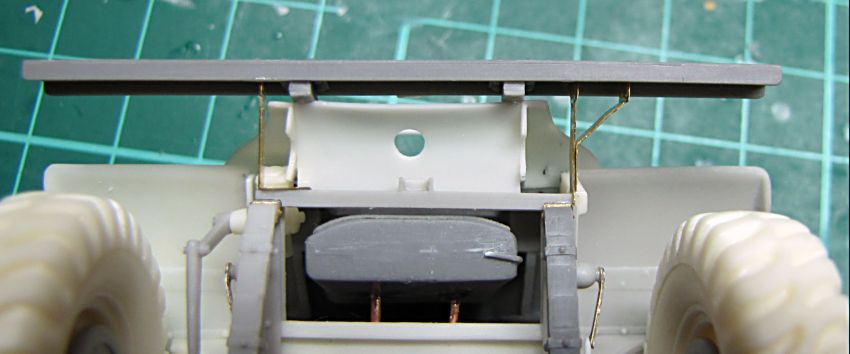
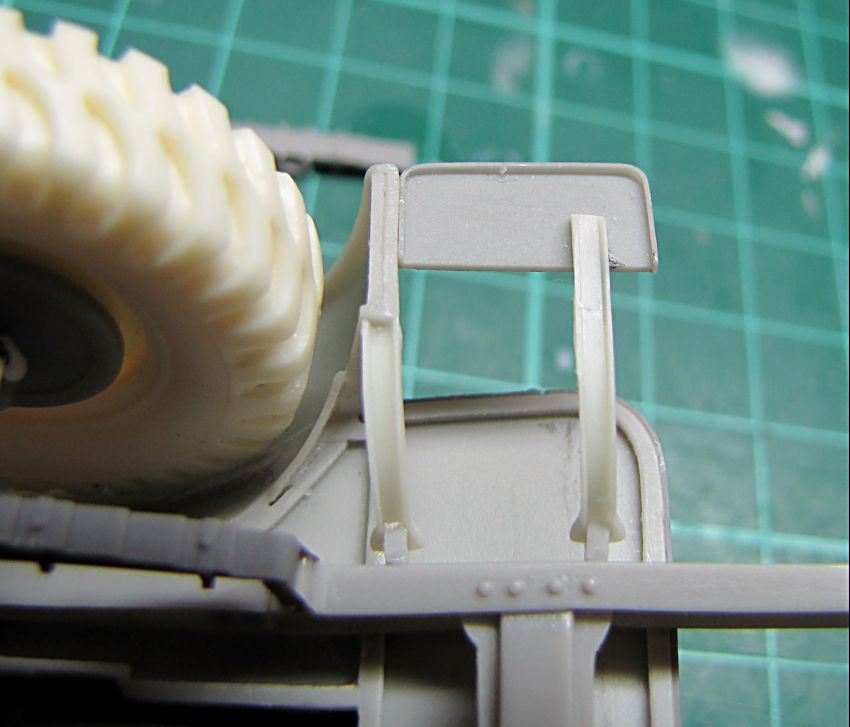
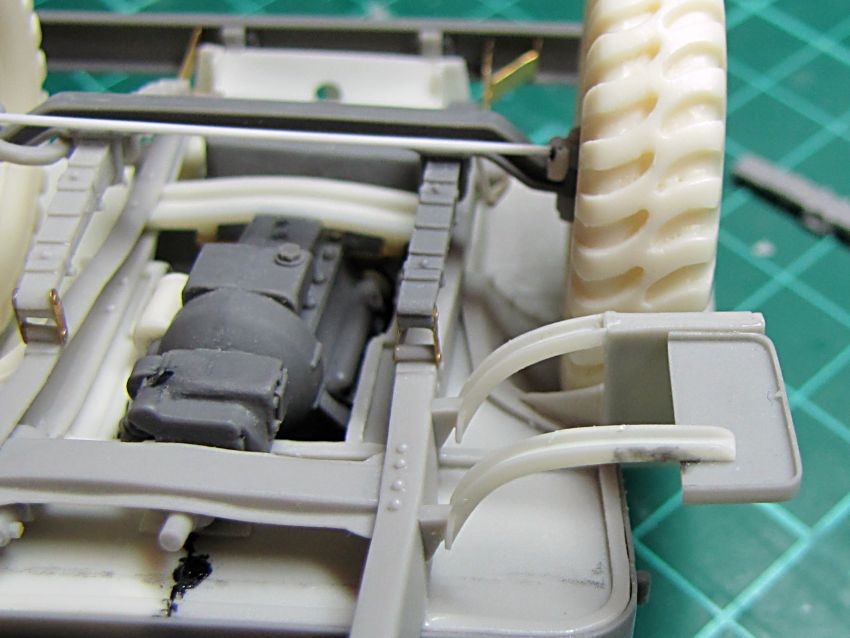
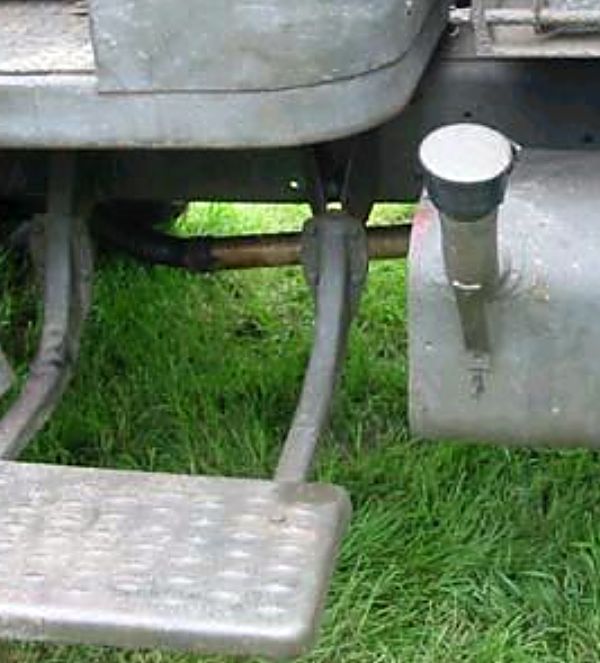
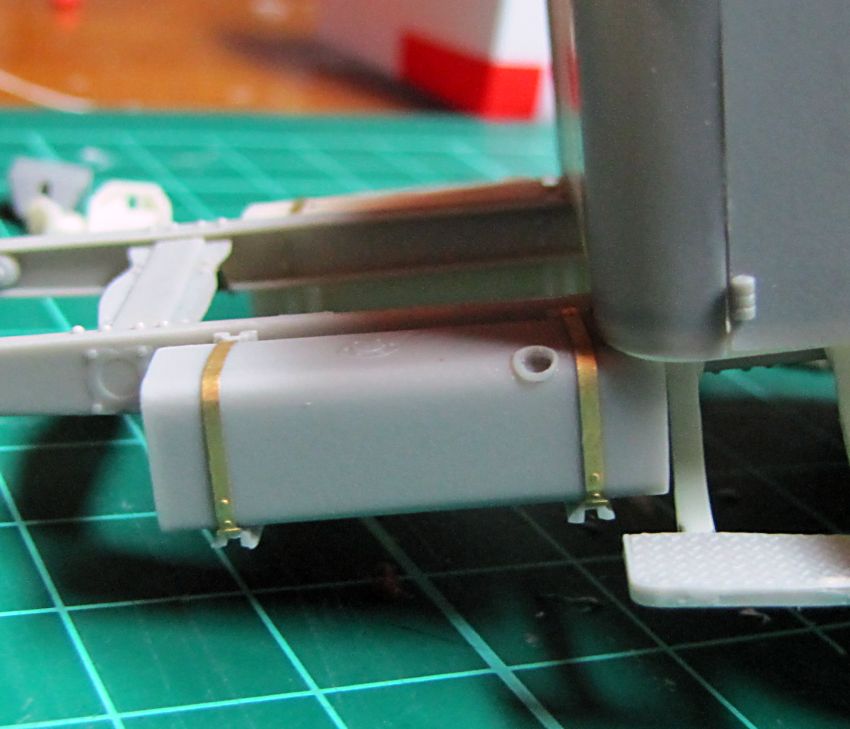
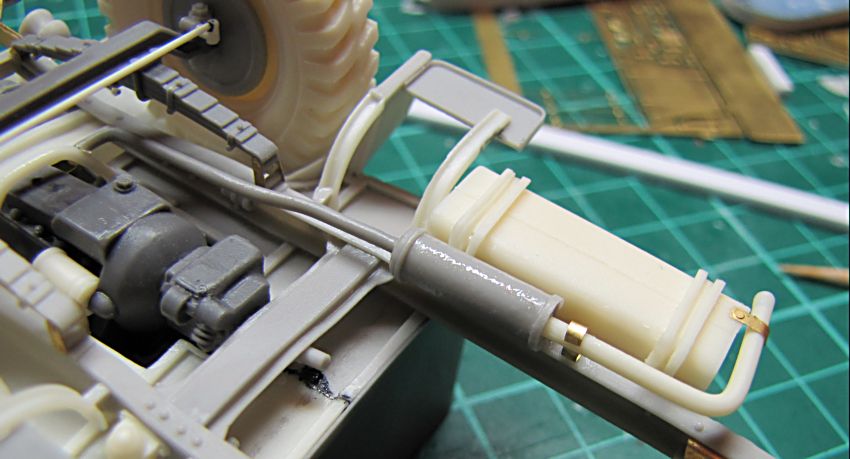
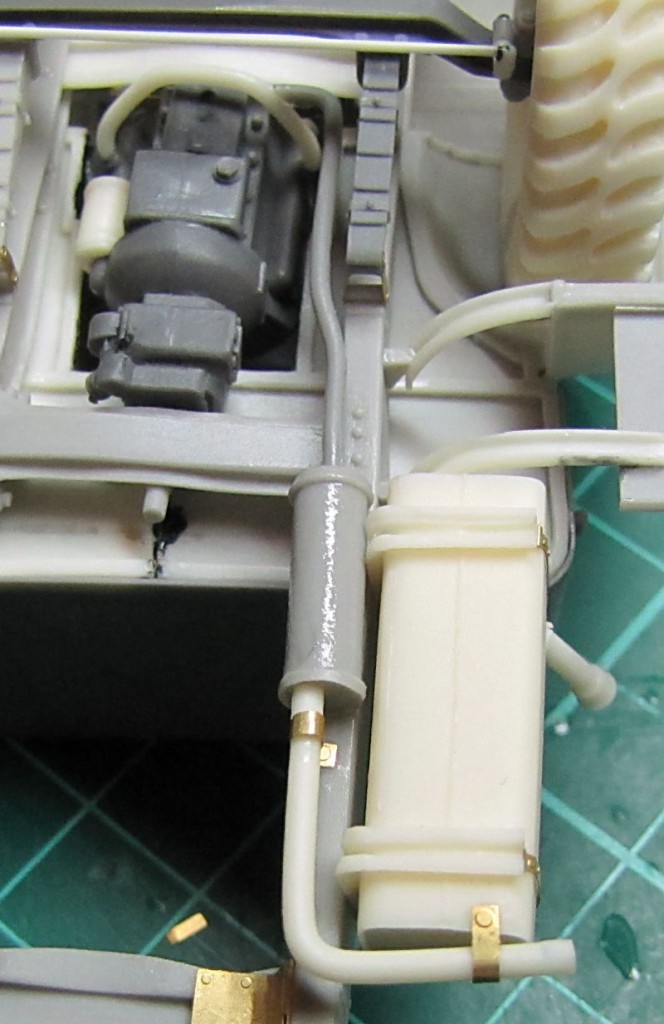
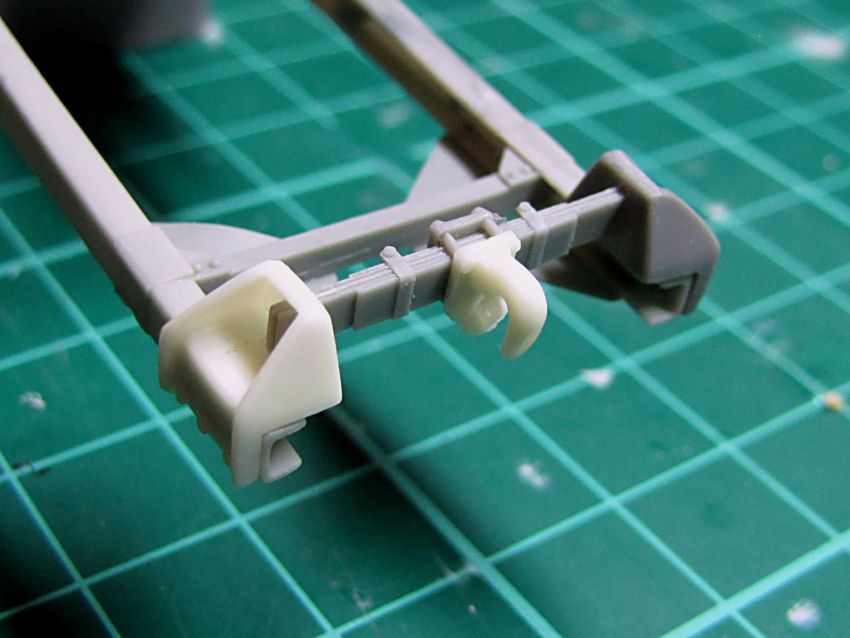
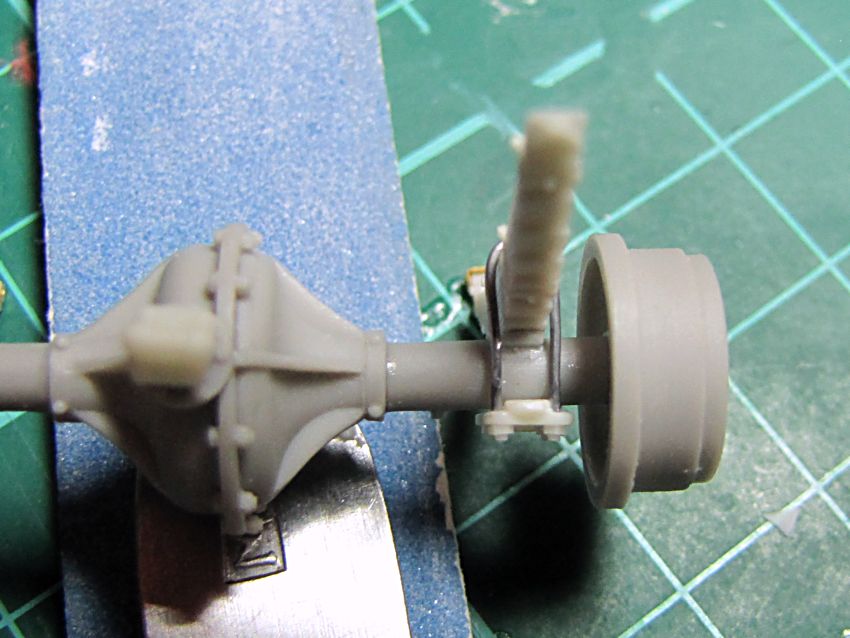
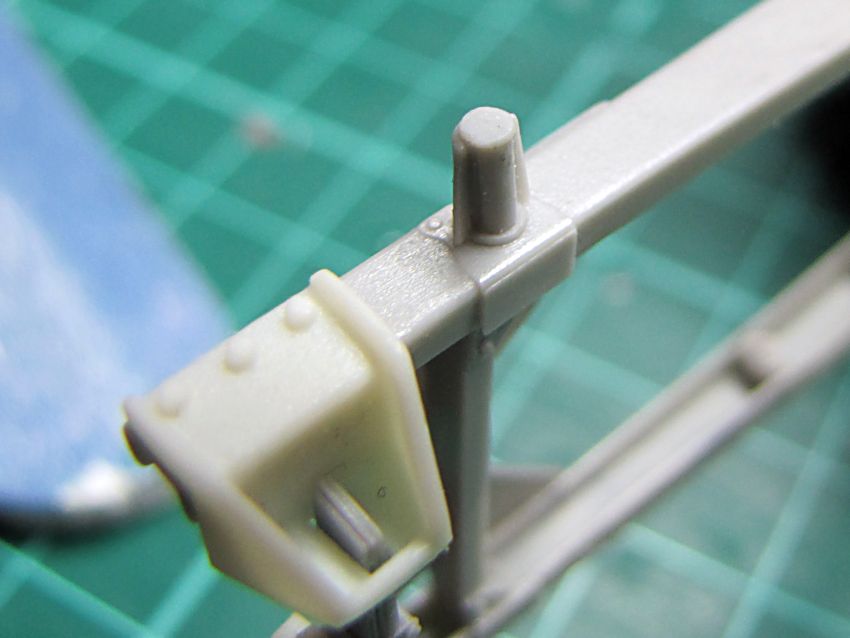
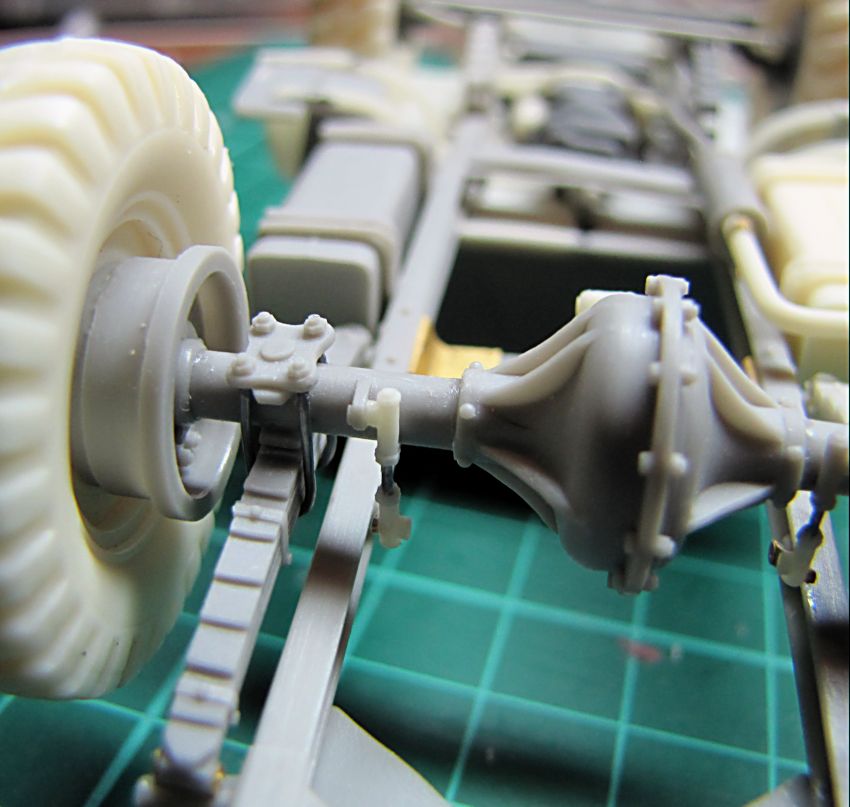
Continued with petrol tank master. I wanted its holders to look realistic, so I made these of PE parts. To avoid any trouble with demoulding of these tiny holders, I used my favorite black Loctite glue to make inner angles a bit thicker and rounded - this part of the vehicle will be subject to some heavier weathering anyway, there was usually lot of mud and dirt trapped. Left and right tanks are slightly different, so I will cast a couple of resin bases first and add additional details on them to make final masters. Now I am getting on rear axle / brake drum is finished, both axle rods need a few more bits to be added.


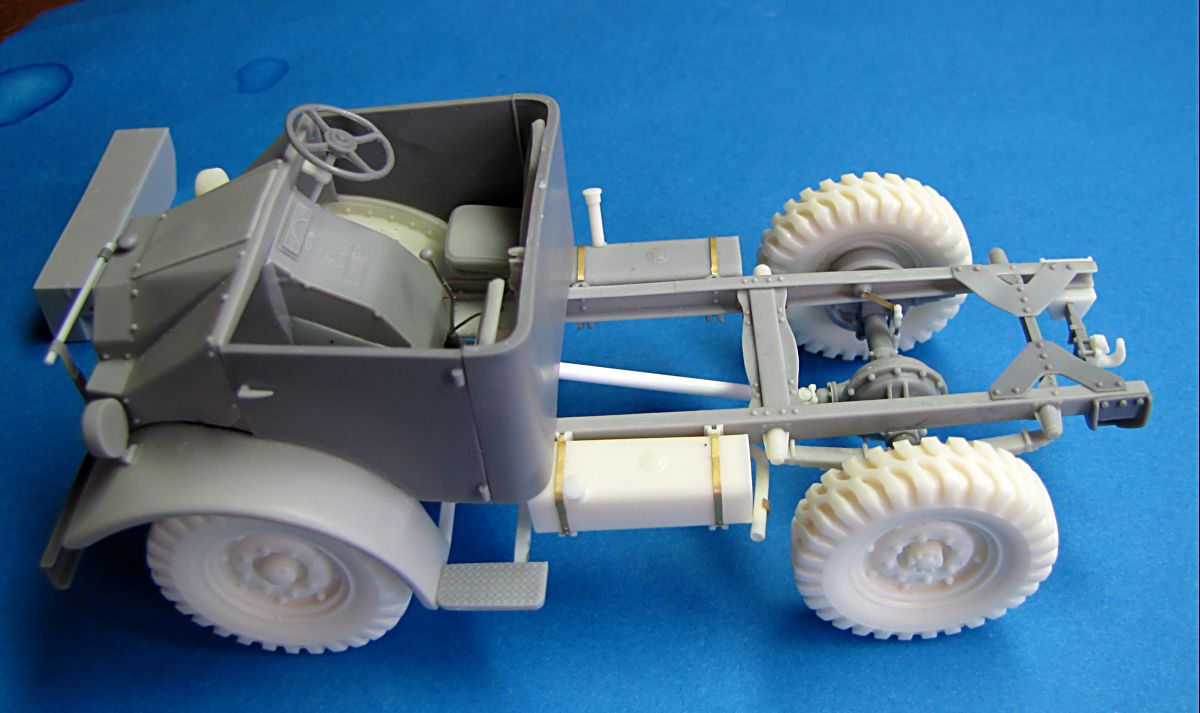
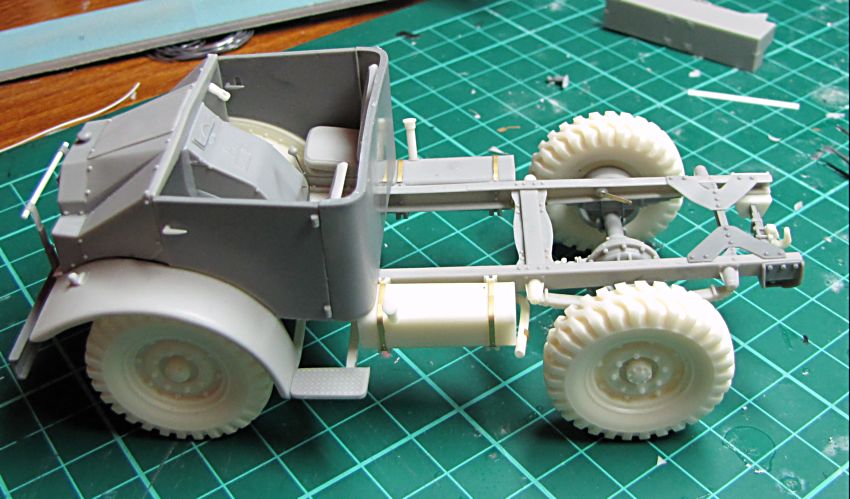
Now I have finished almost all the parts for the chassis, and can start with the cab and body. These will be finished in no time, and my test build of the Ford can start tomorrow
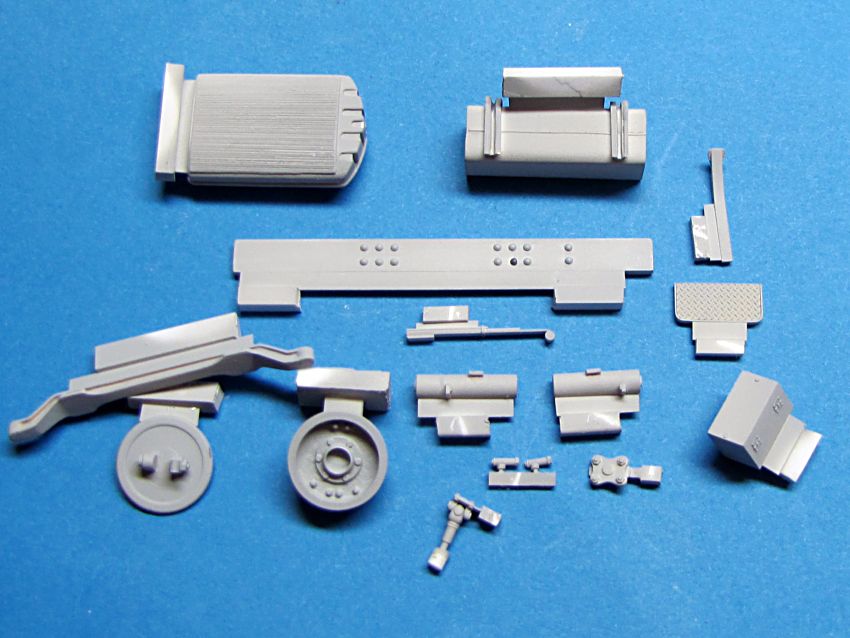


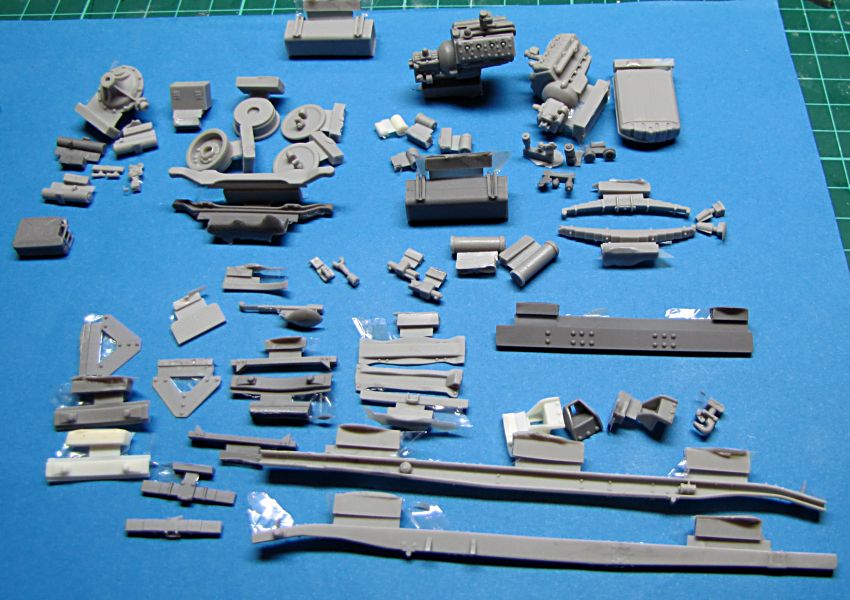
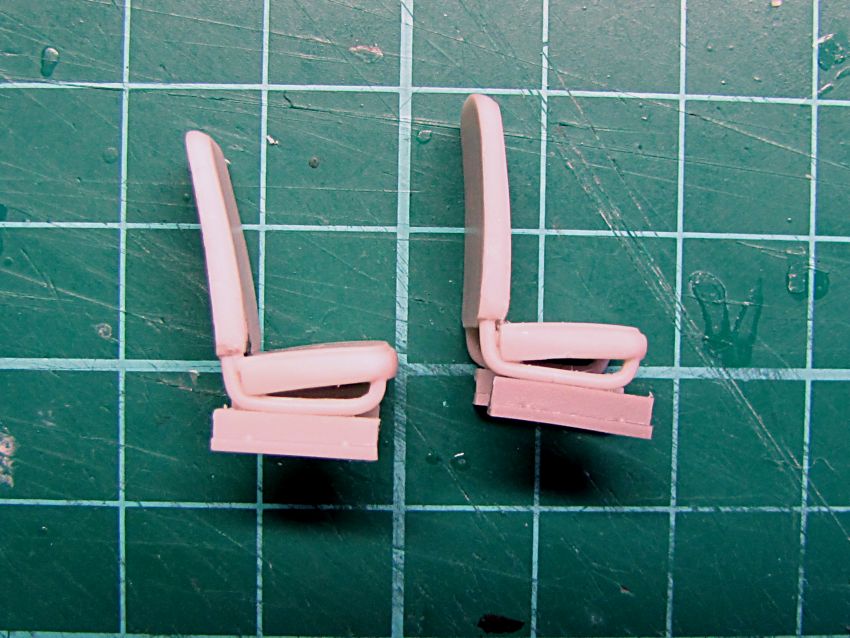
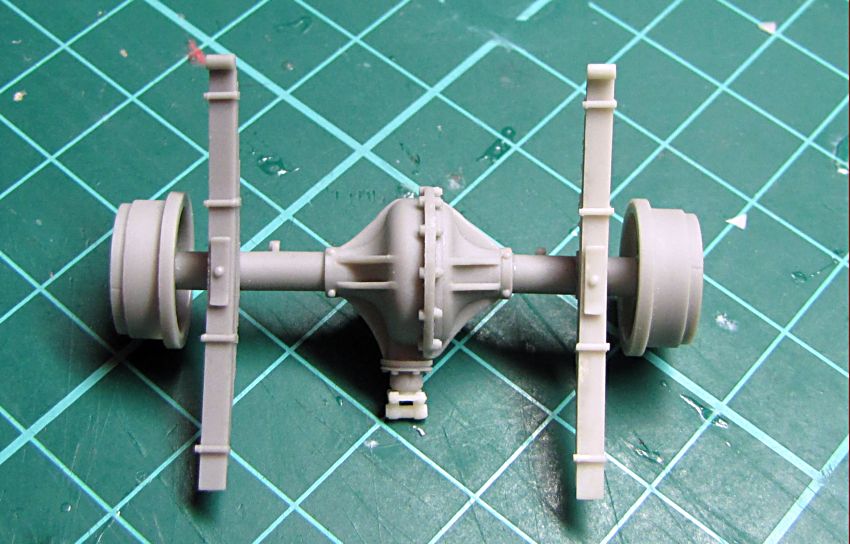
First master castings - to make production molds, and also to be used for my test build
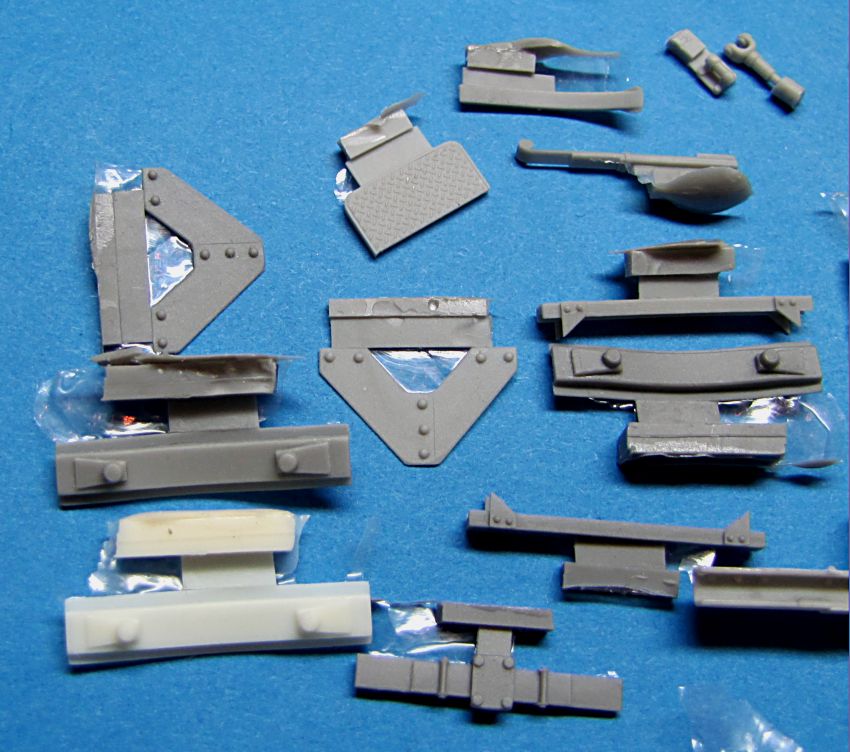

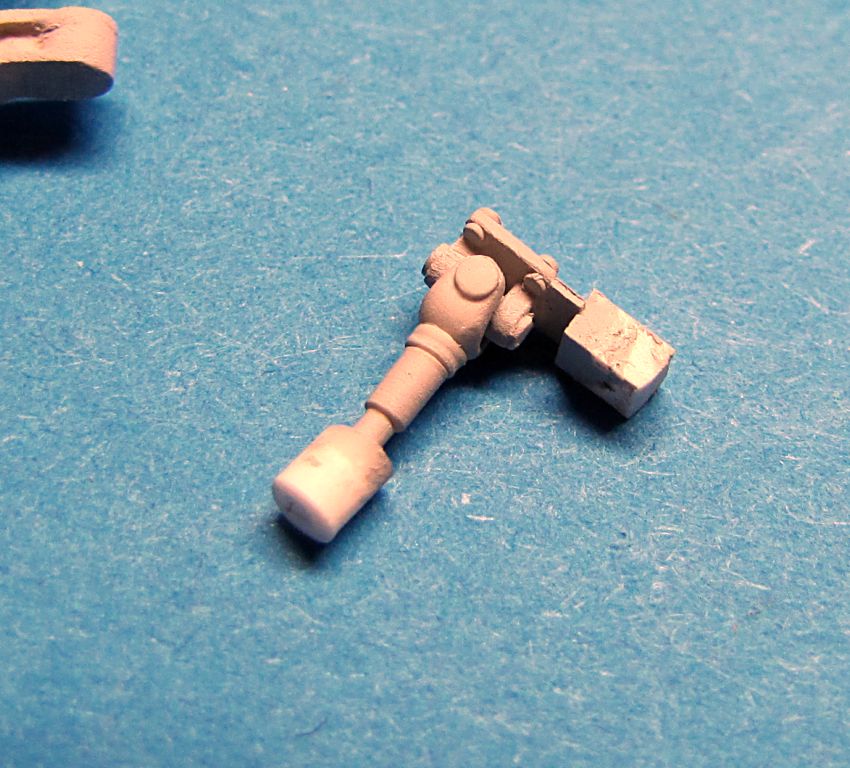
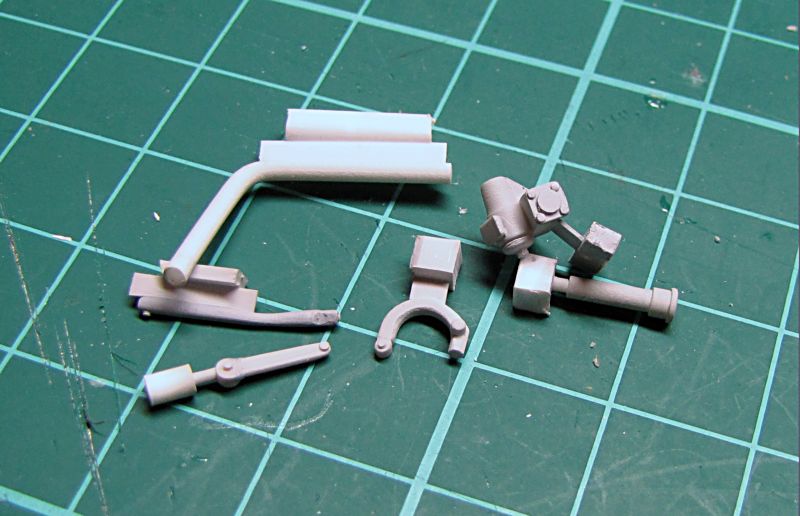
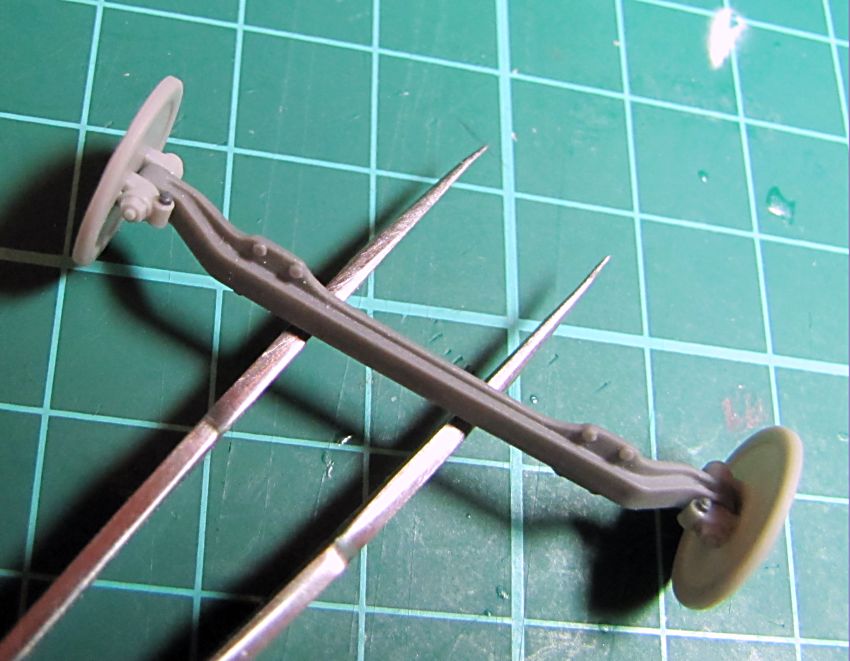
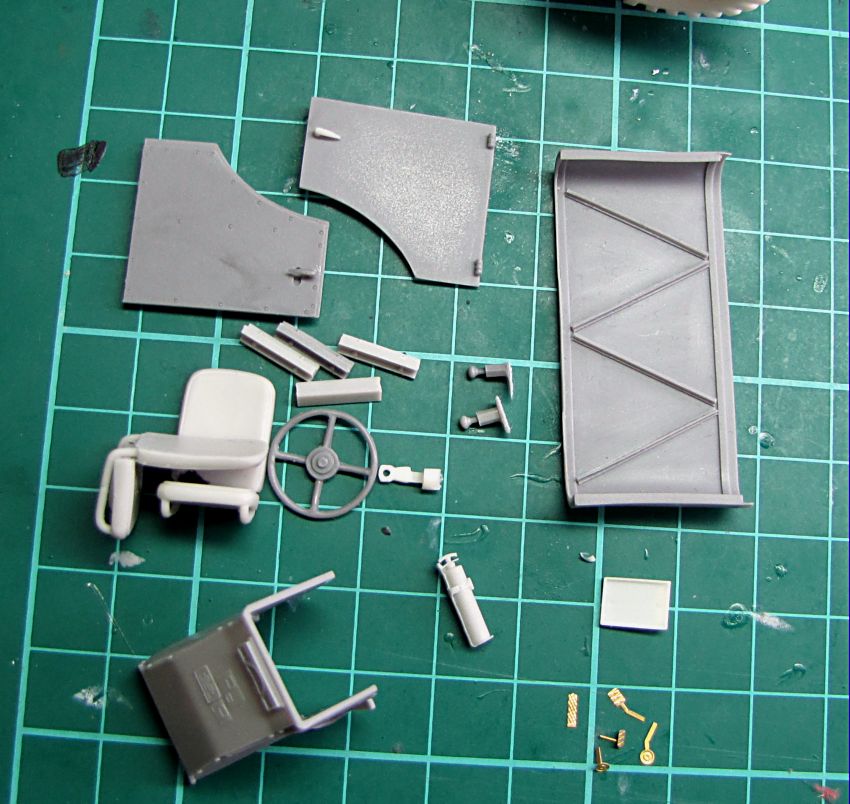
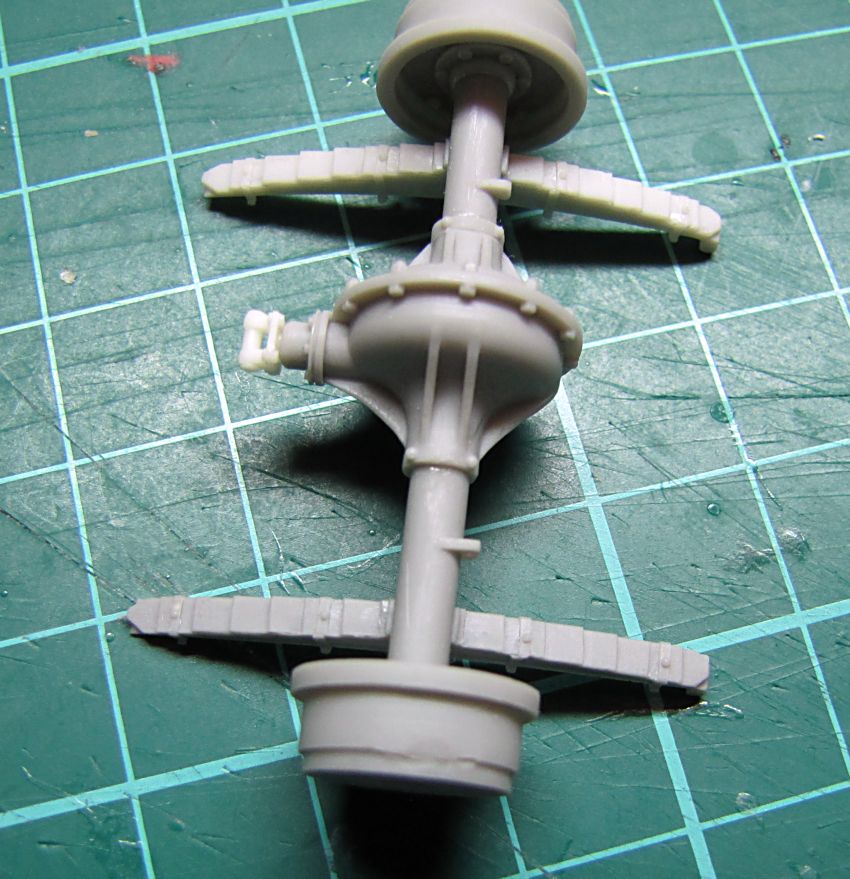
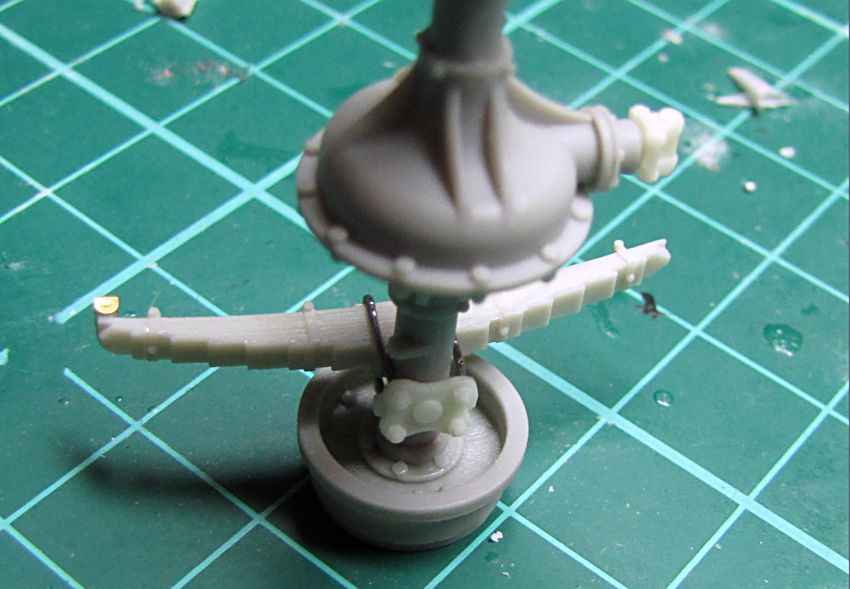
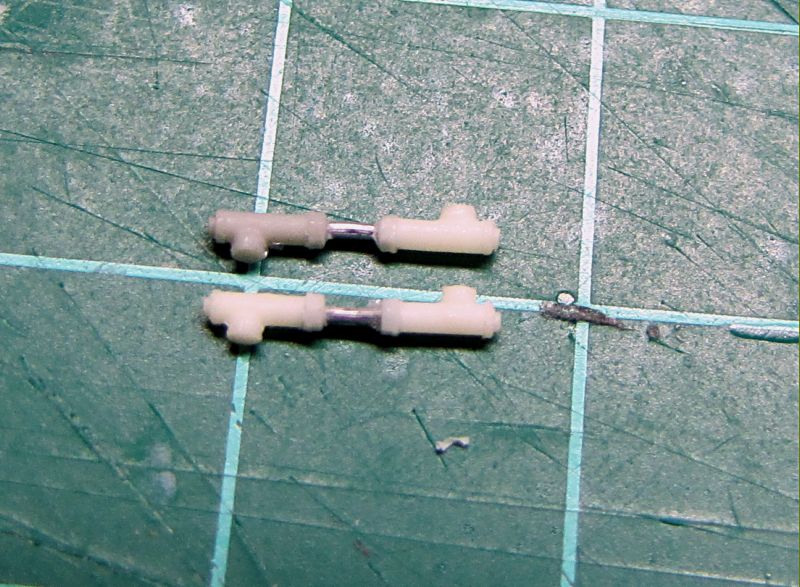
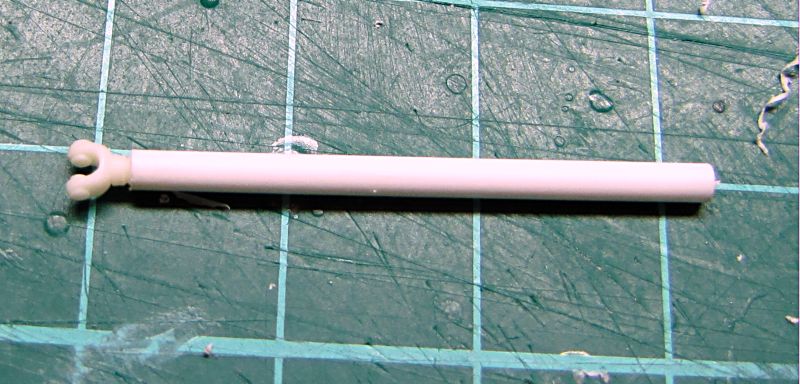
Just finished a few more masters for steering assembly and so....I need to get these castings to check fit before I will run the test build
Last night I got a couple of hrs and started my test build.


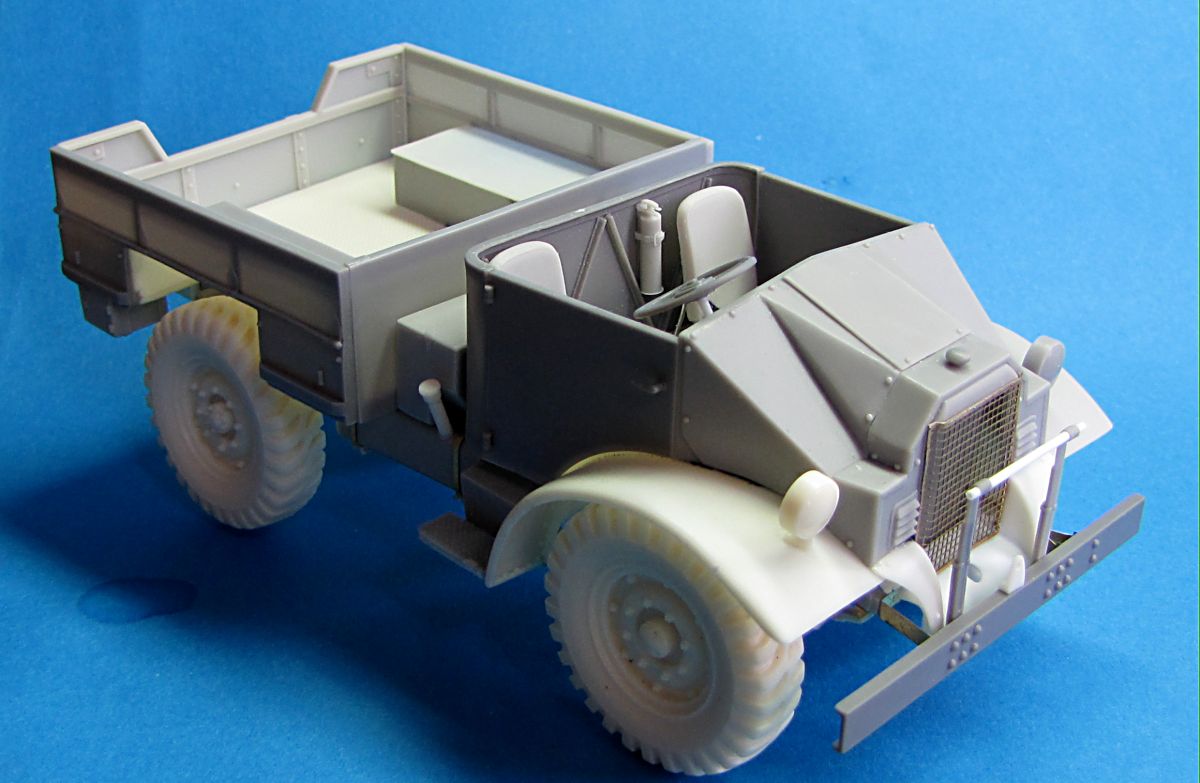
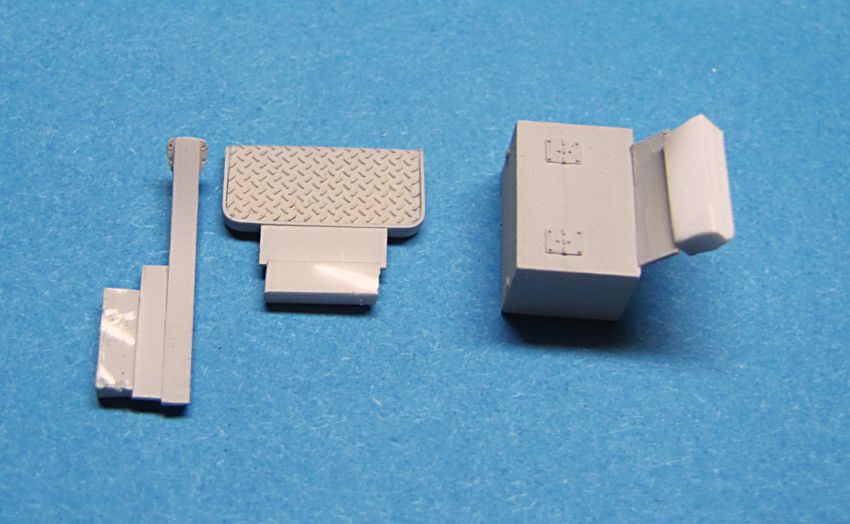
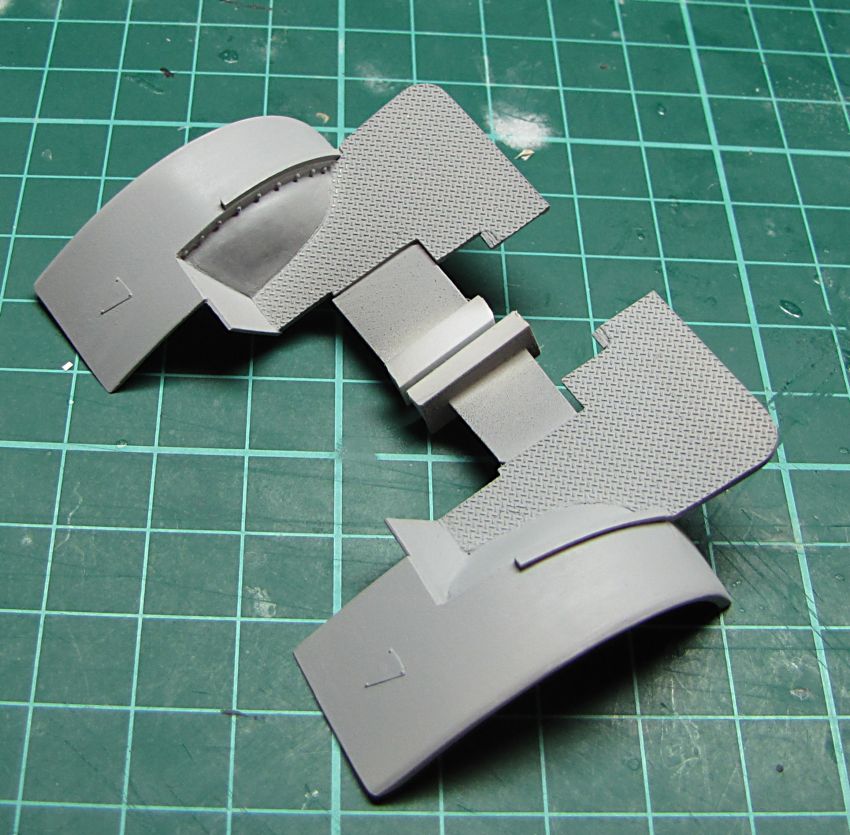
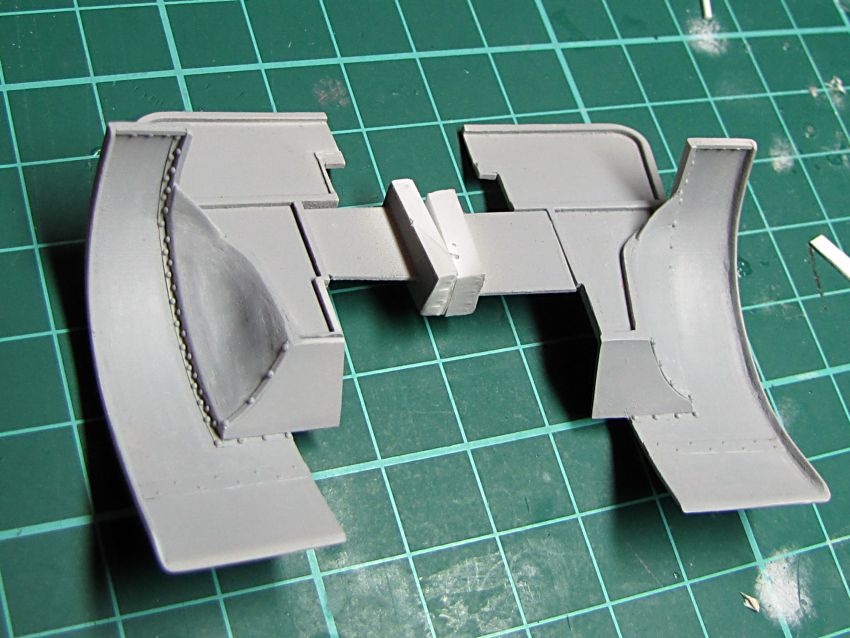
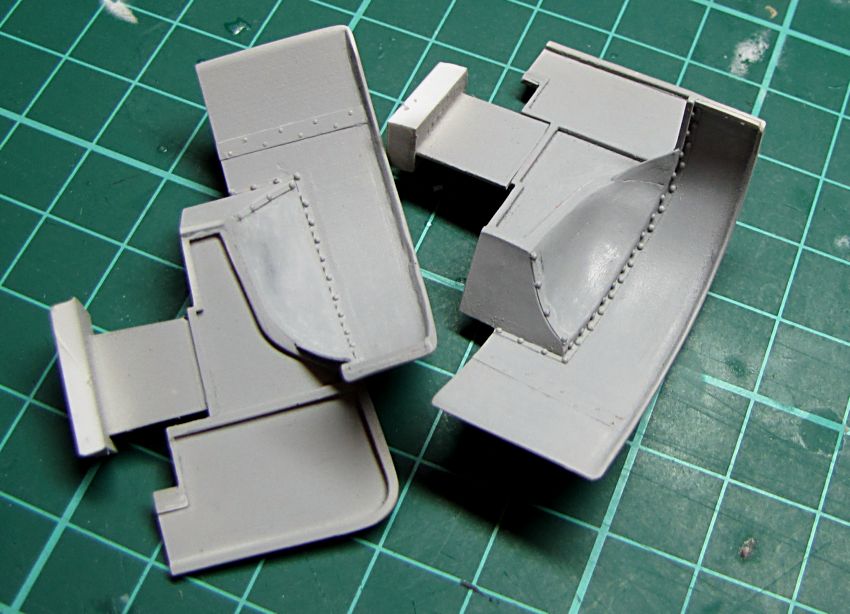
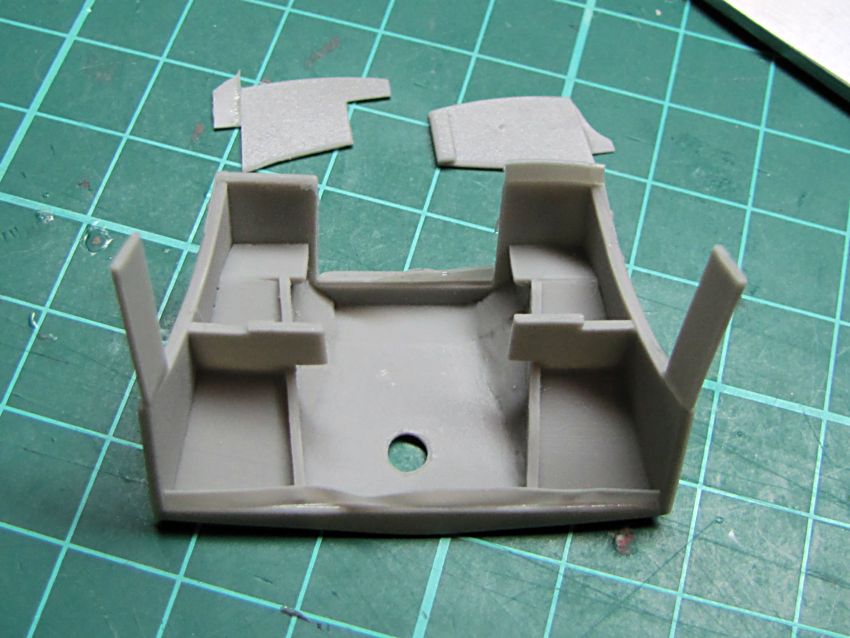
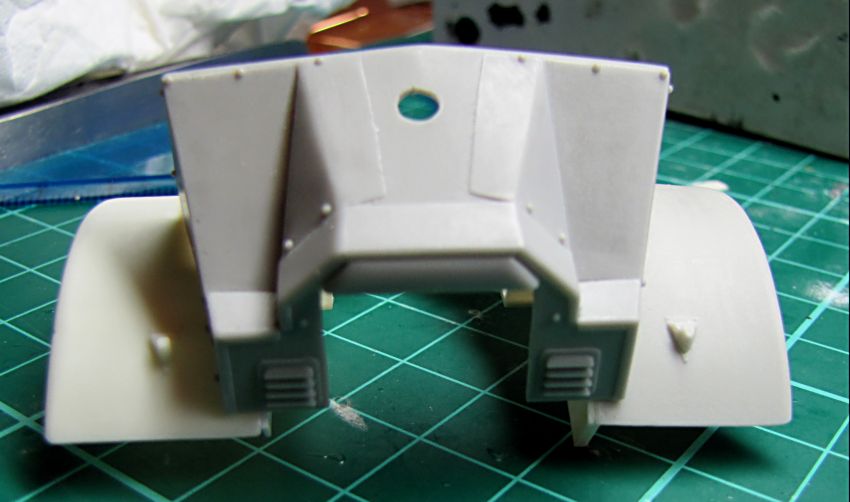
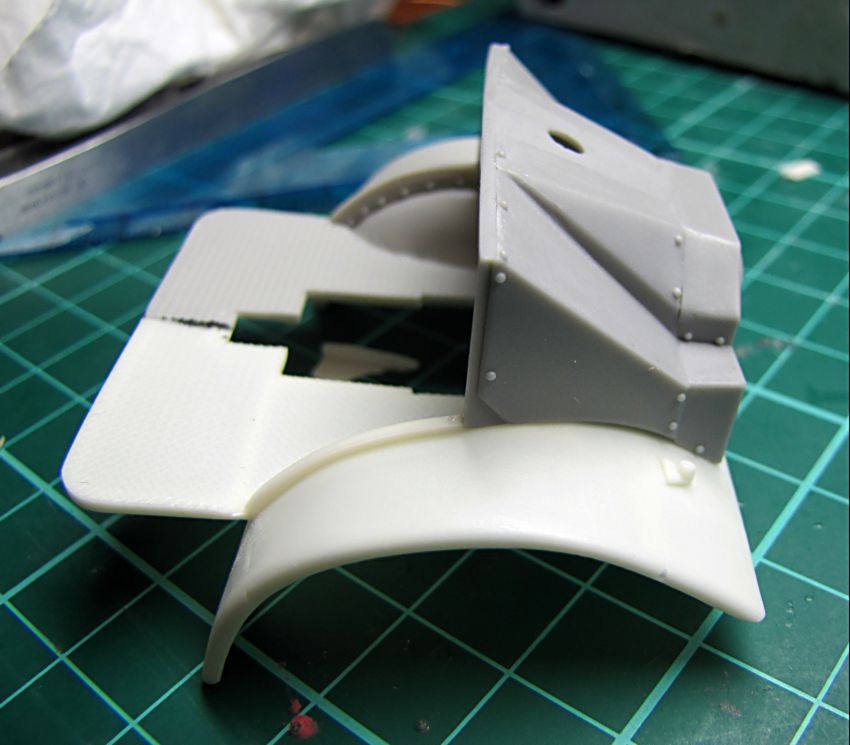
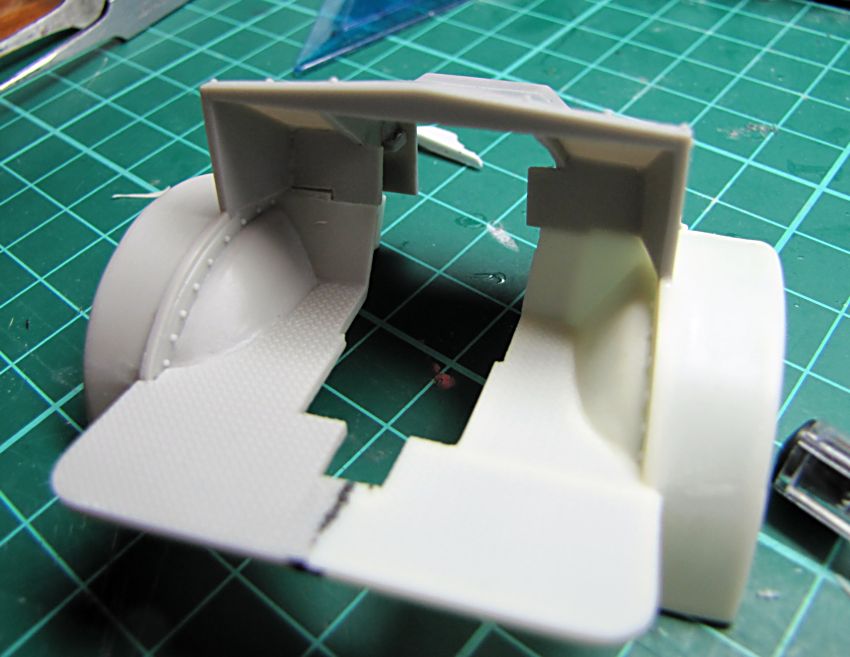
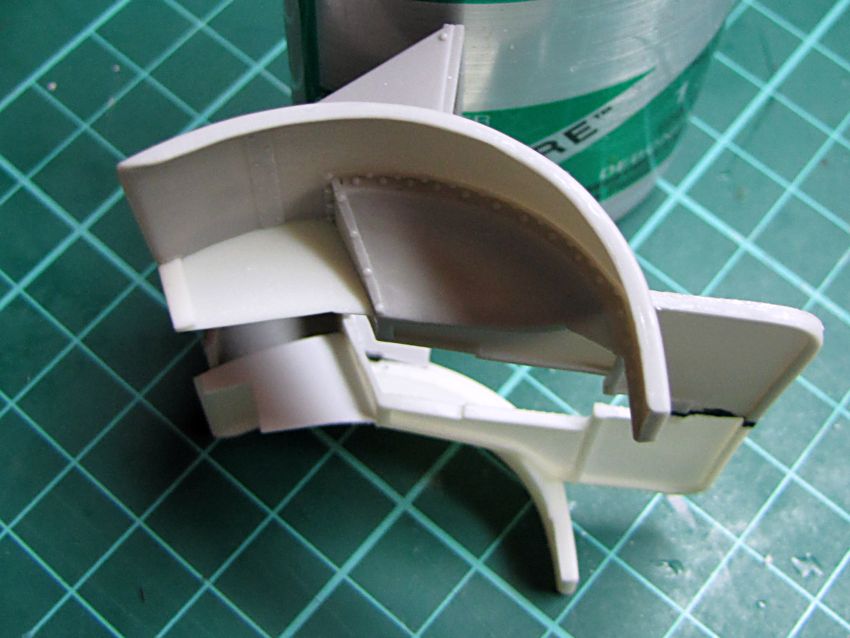
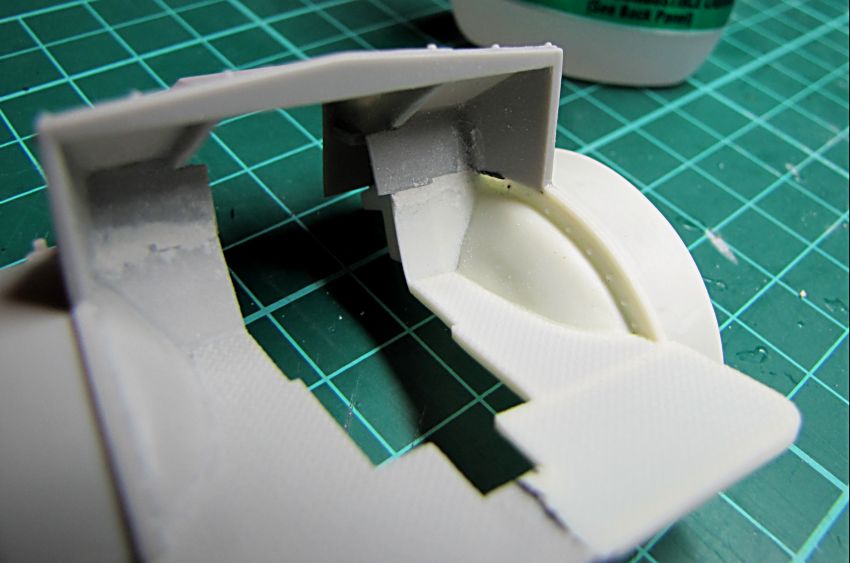
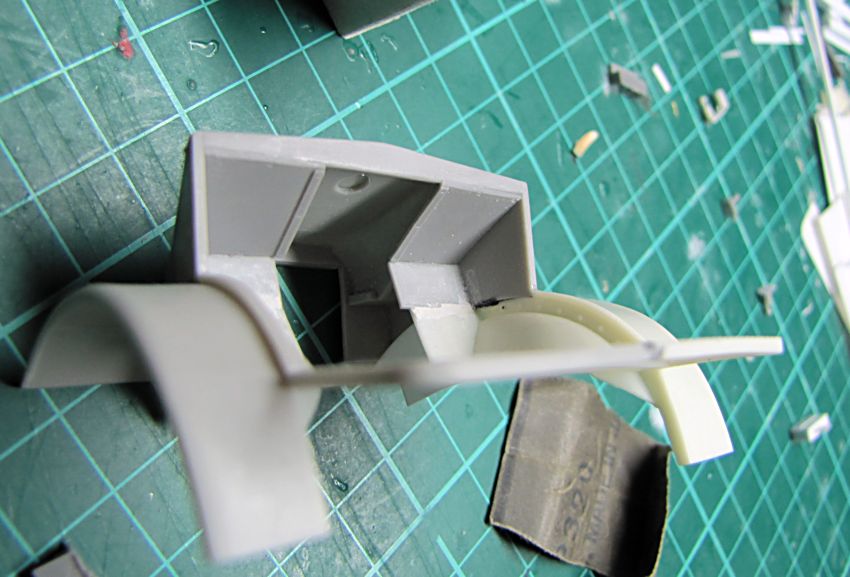
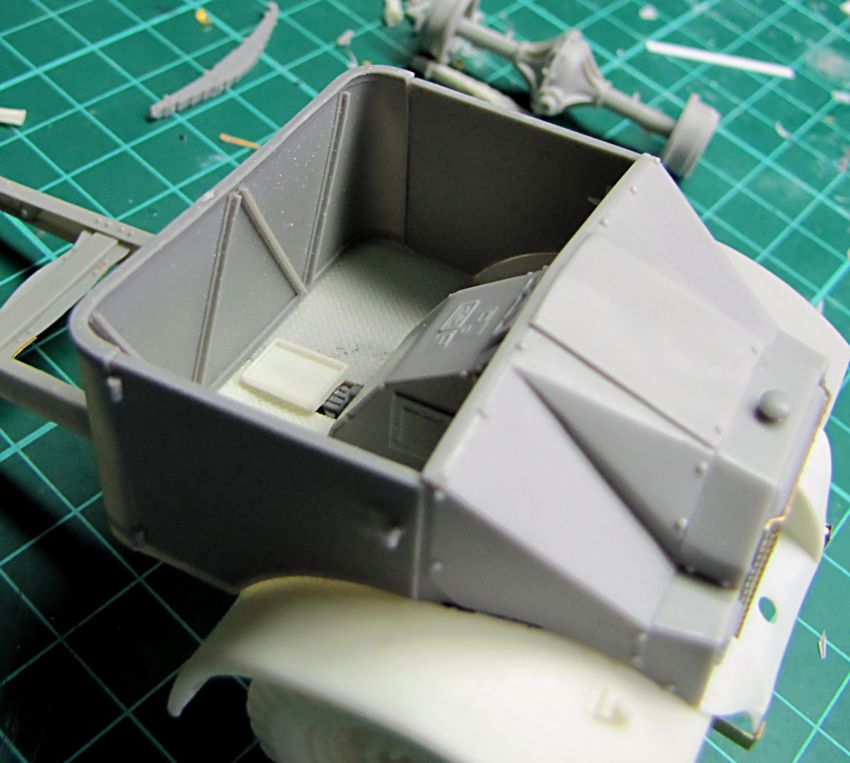
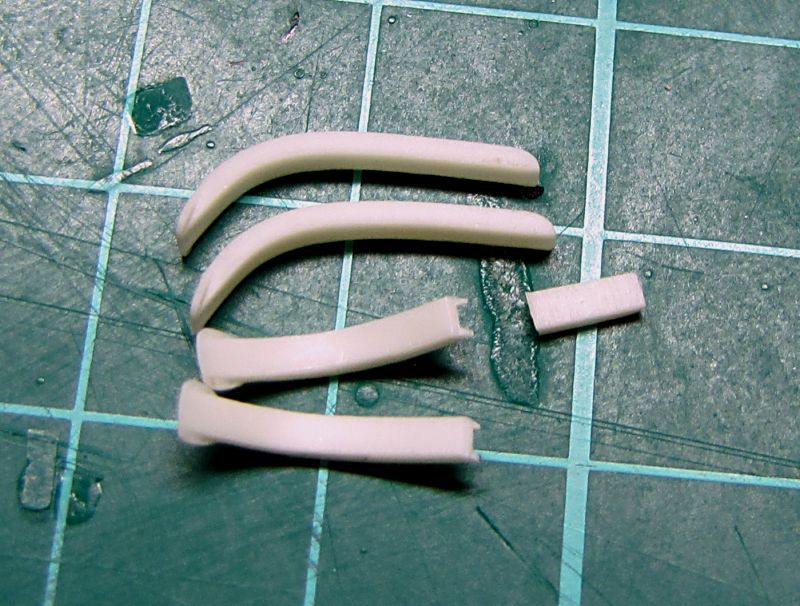
I spent a couple of days on most difficult master so far, the cab floor with both mudguards. The part will be cast in two halves to make production easier. Building should be also much easier than fitting separate mudguards on the floor and other parts. The rest of the cab will be much easier and faster now...
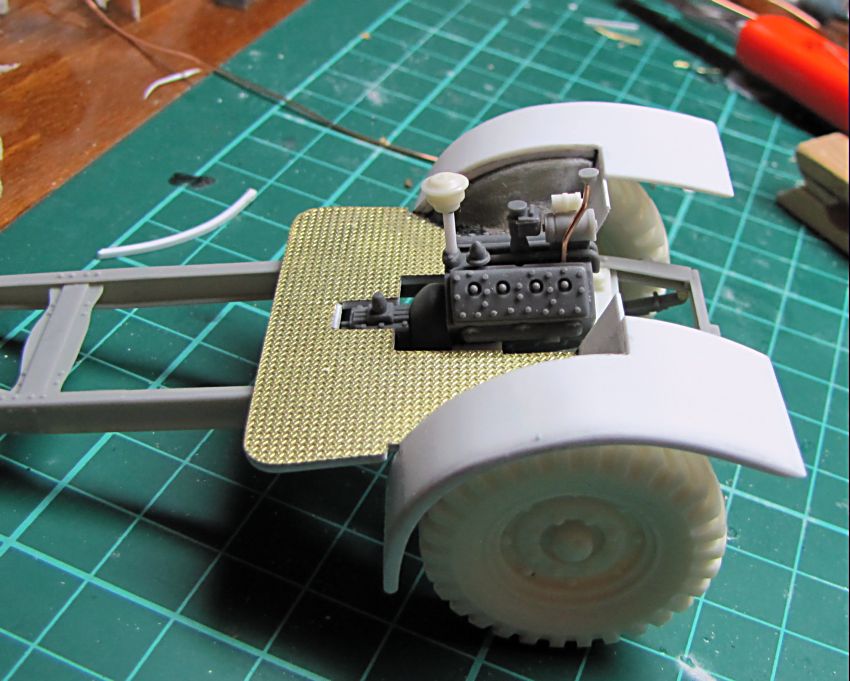
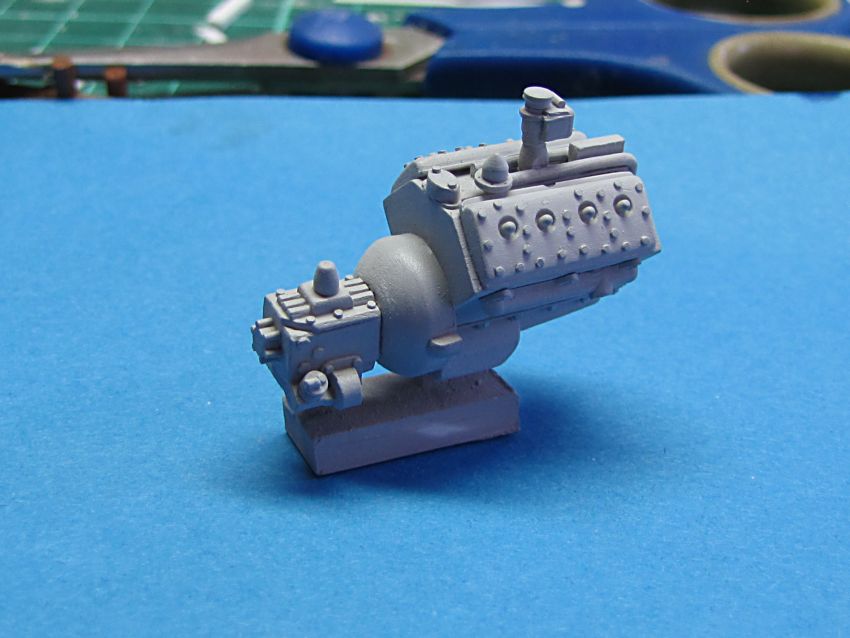
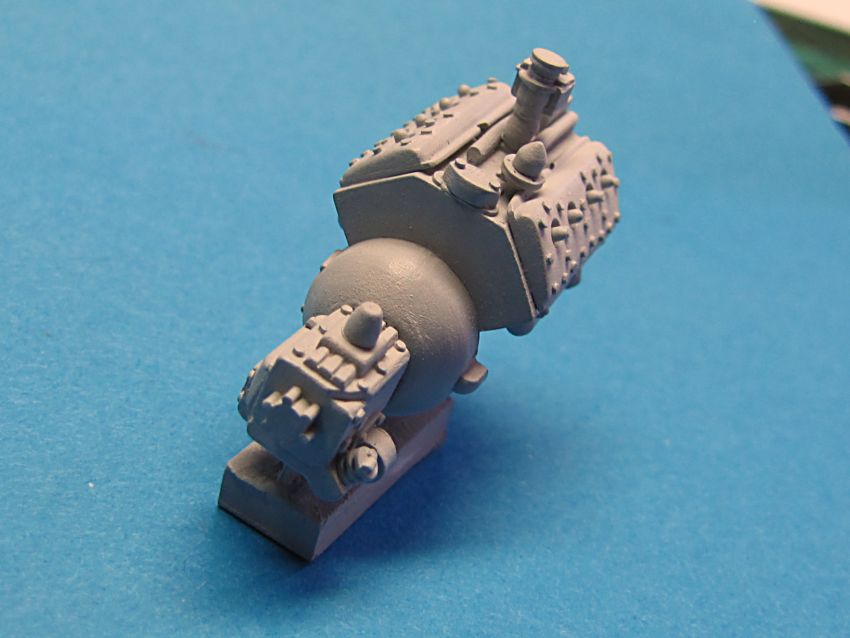
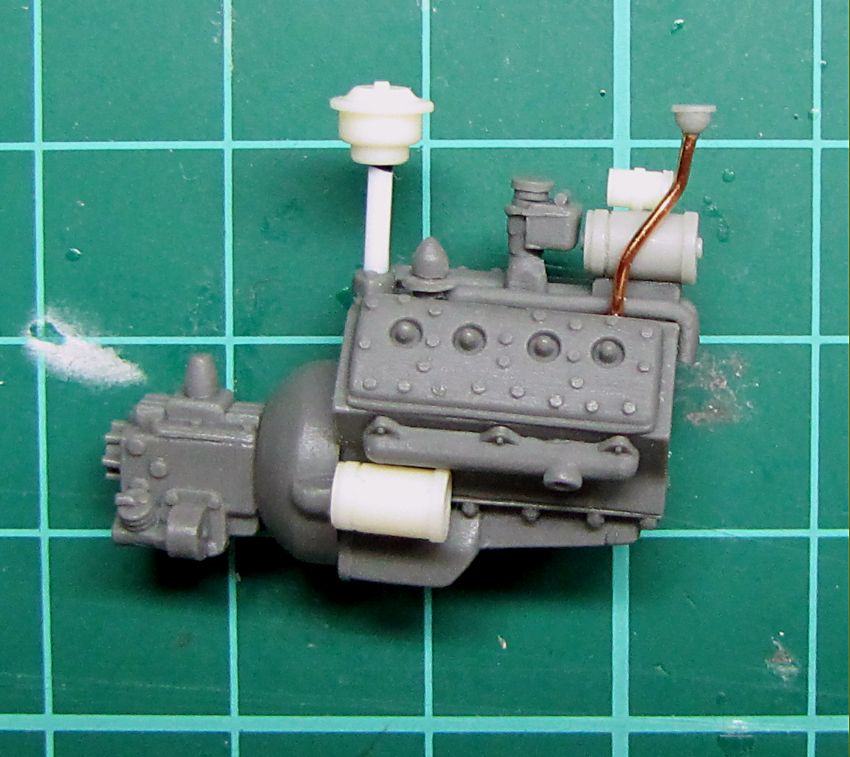
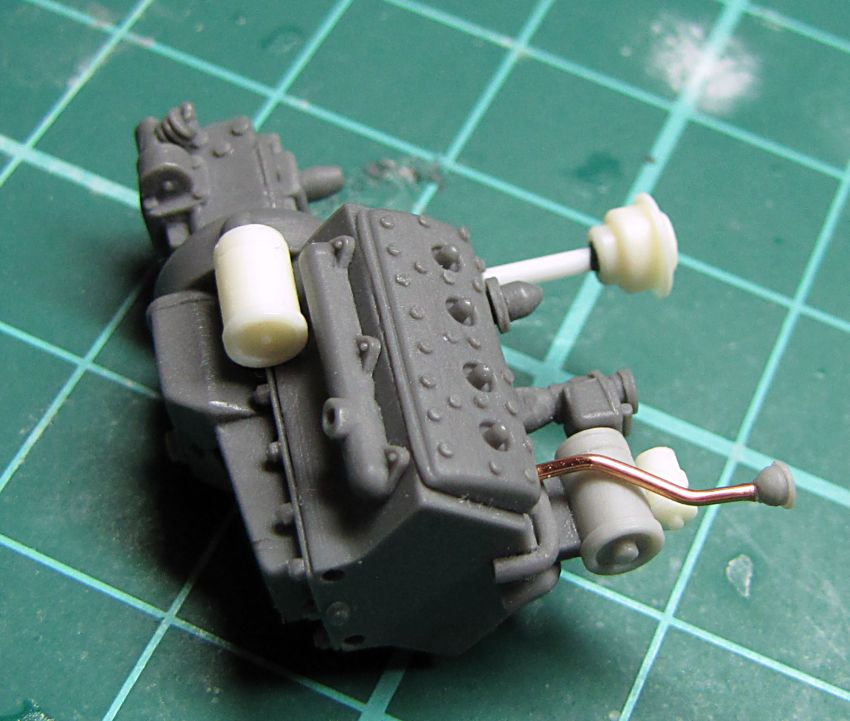
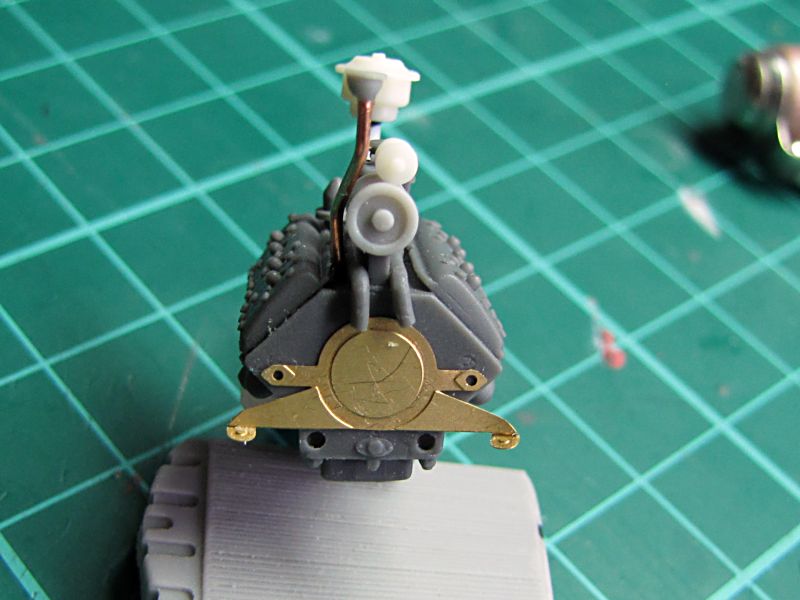
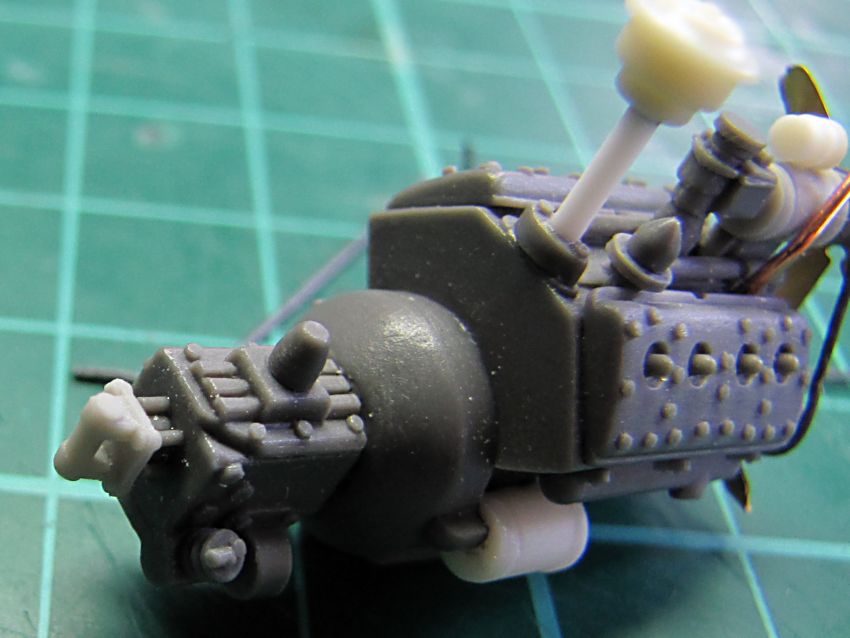
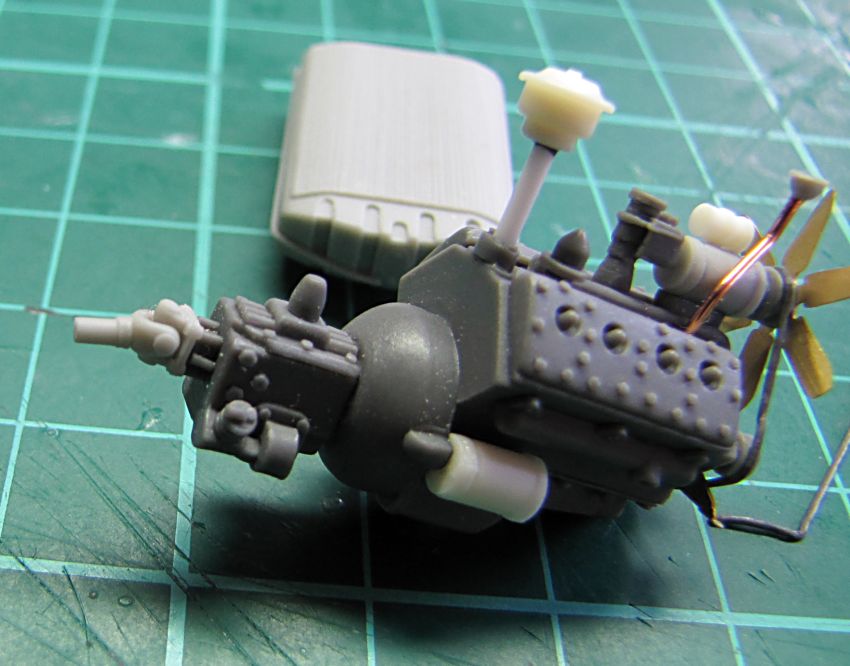
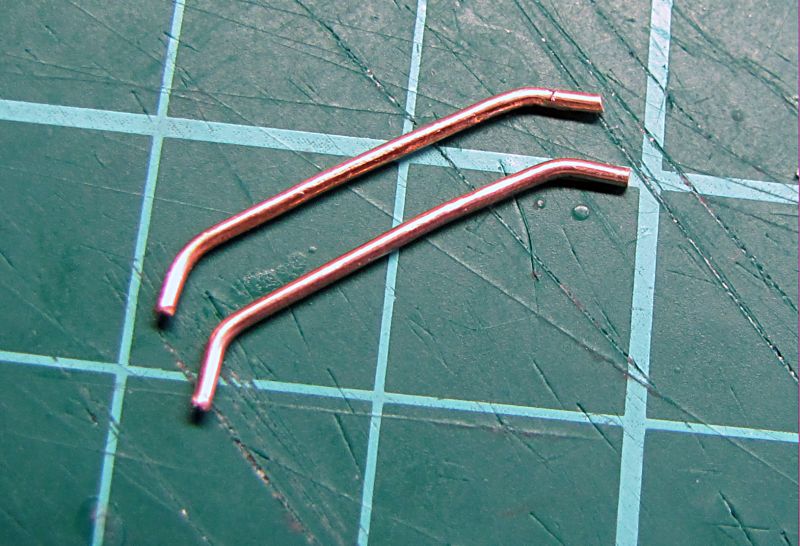
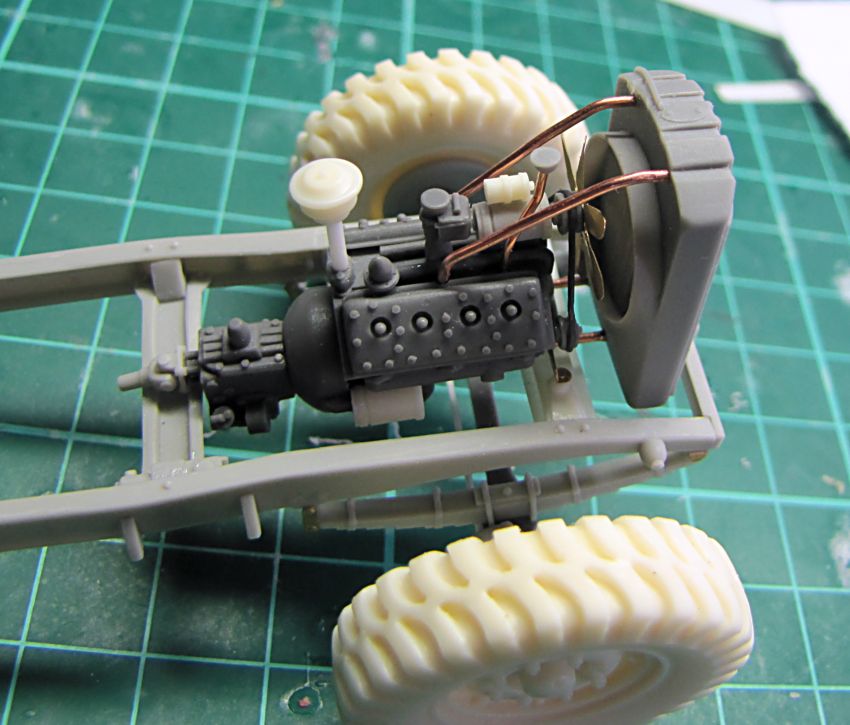
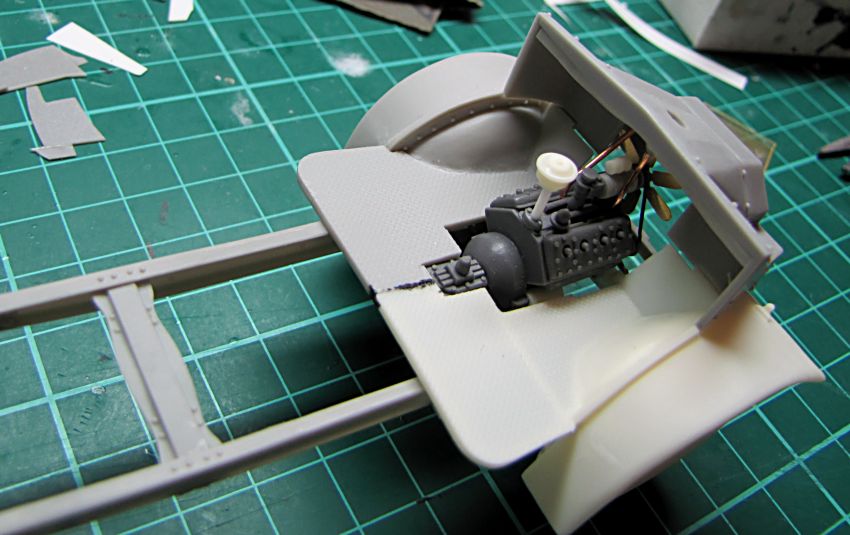
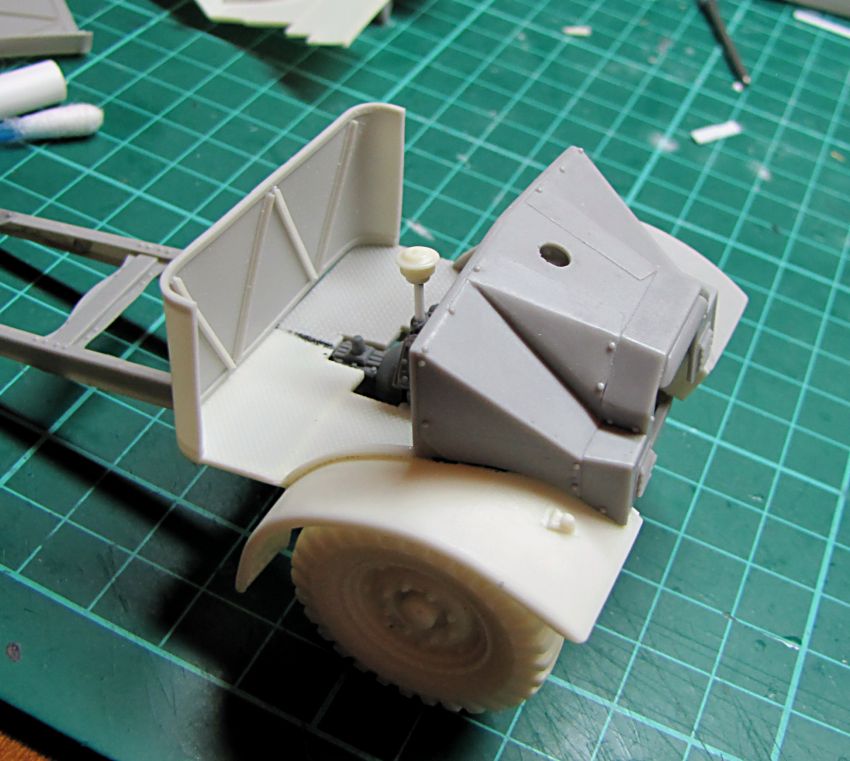
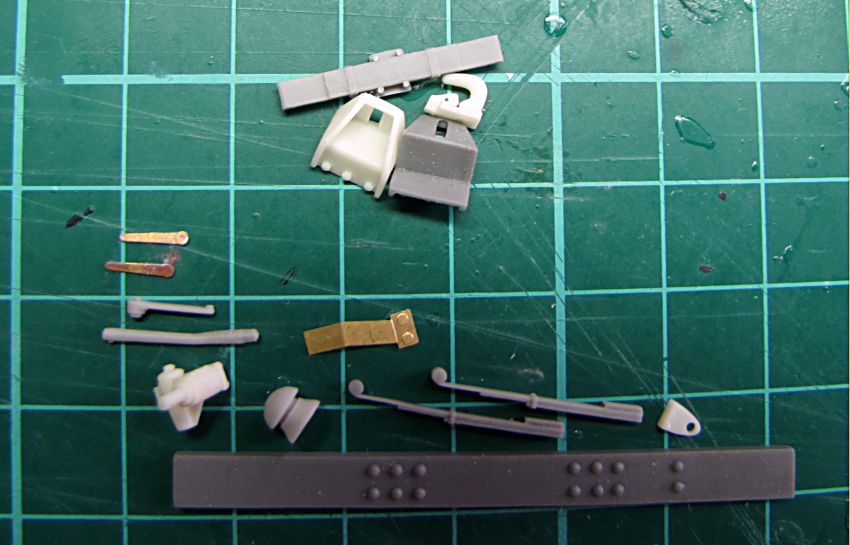
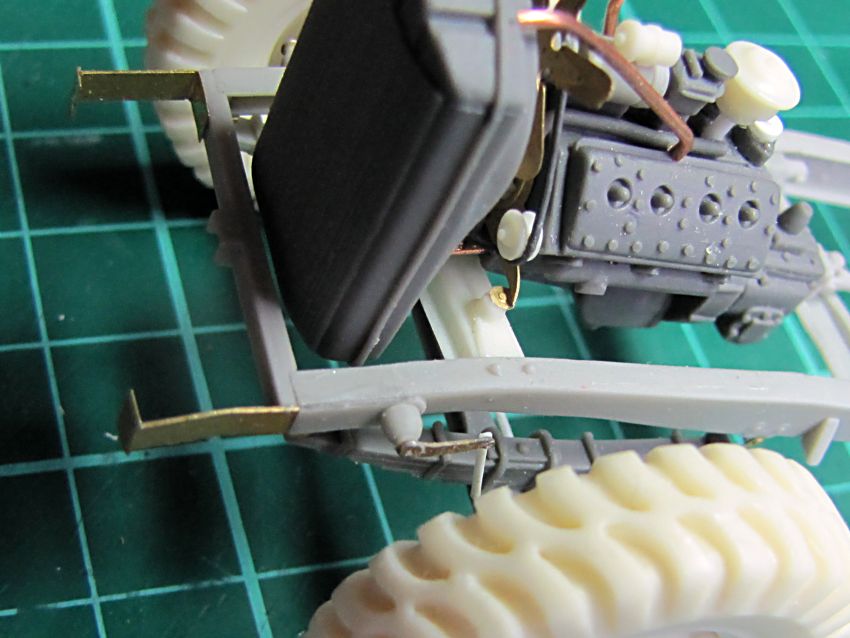
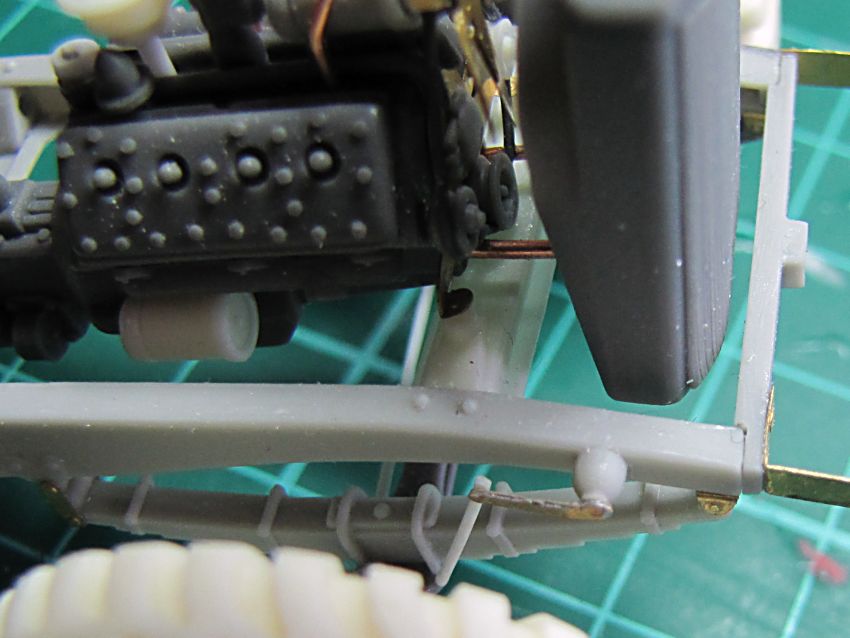
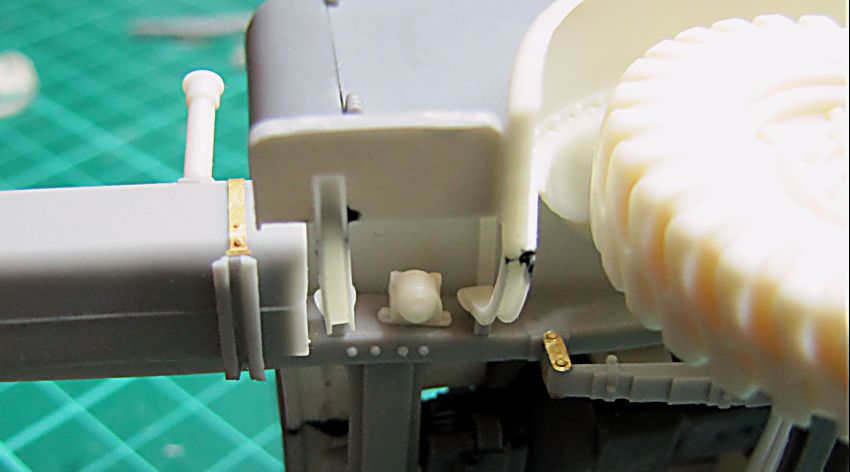
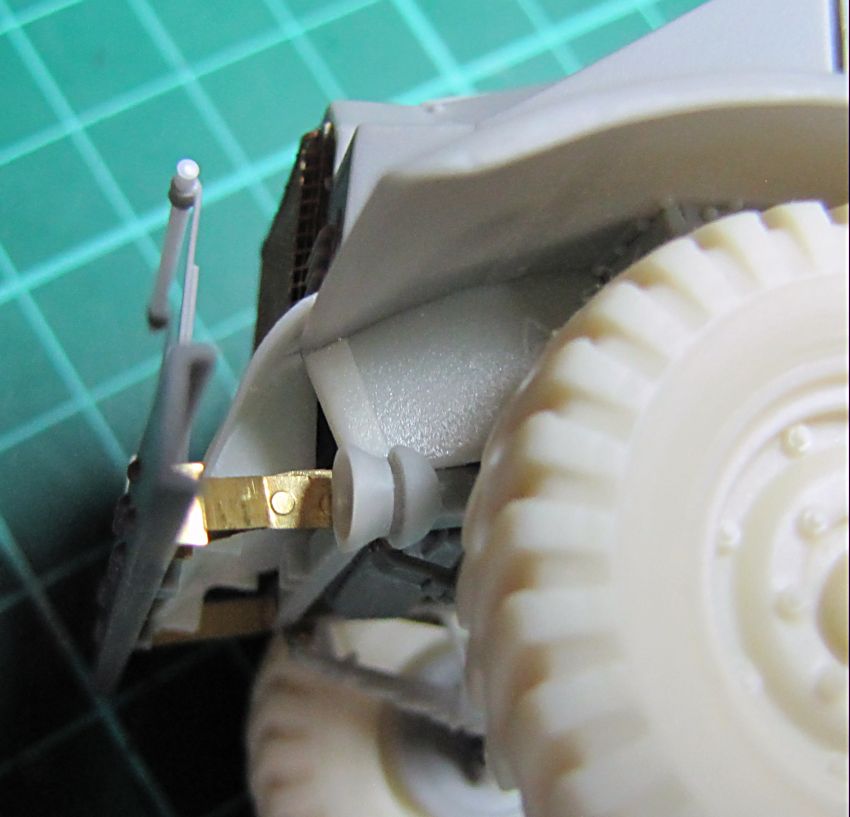
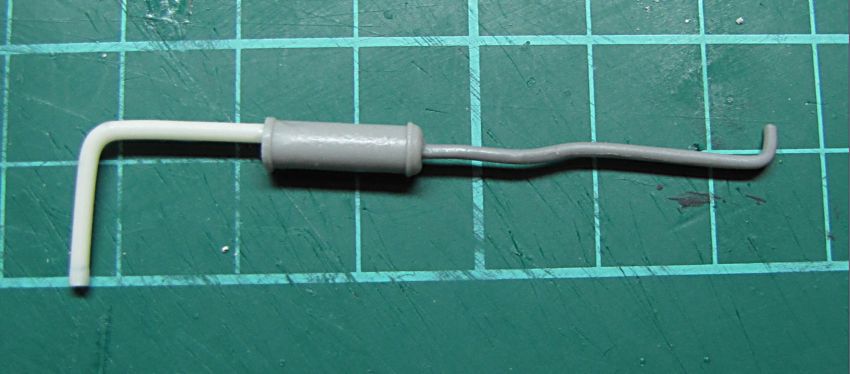
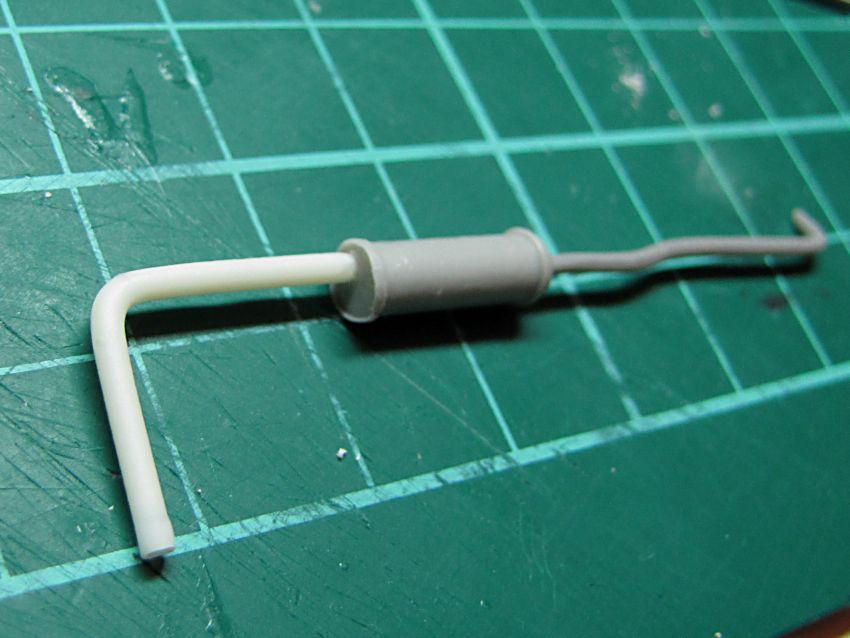
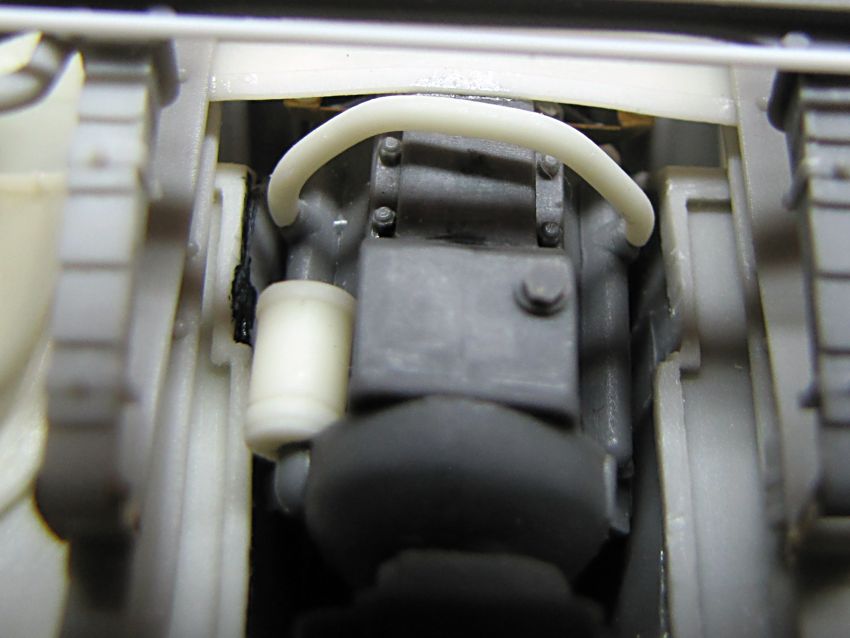
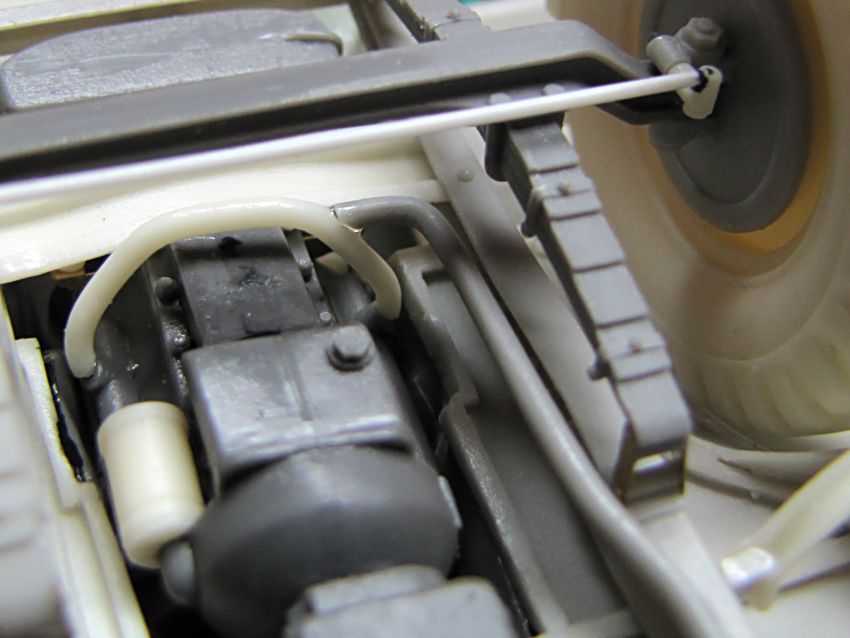
First test castings..... Production PE parts arrived today, and I am back on the test build. I completed engine mounting and added the rest of the parts. The belt is made of lead wire. For extra detailing some 0,1mm wire could be used to connect sparking plugs with distributor and do other wiring, but all this area will be hidden, so I am gonna leave it. In any case the wiring diagram will be included in the kit instructions for guys who would want to go for it... I used 0,8mm wire to make up pipes between engine and radiator. Finally I added first bit of cardan shaft on transmission box, it can be glued in any position, because next part is clickable and will take the angle needed for the shaft itself.


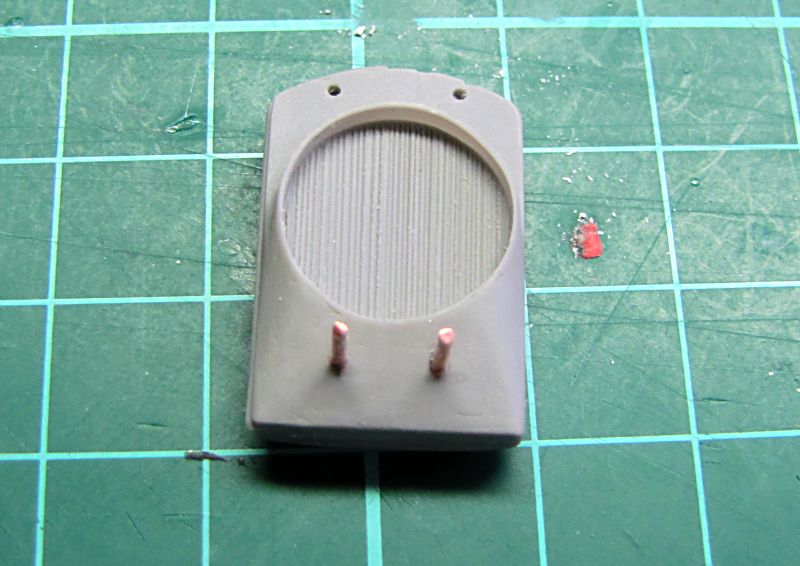

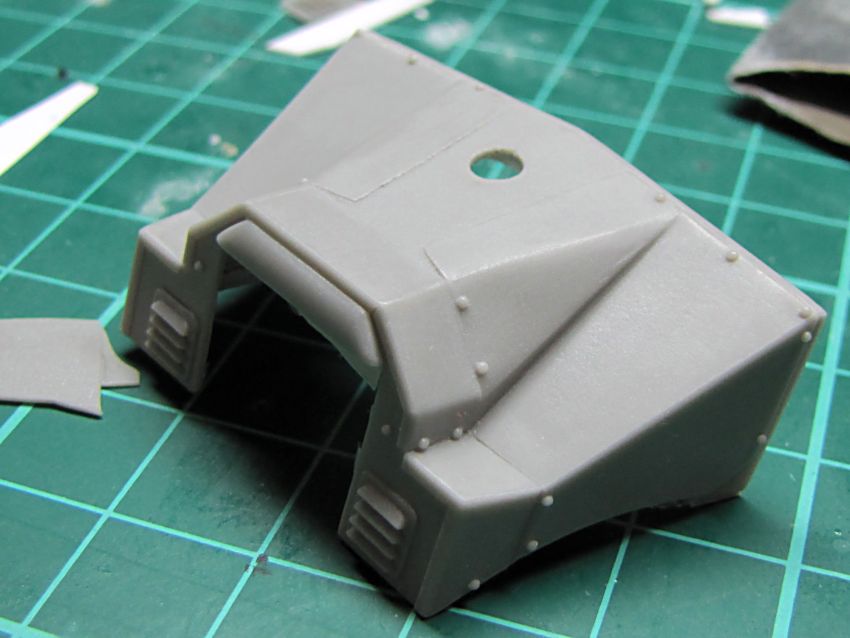
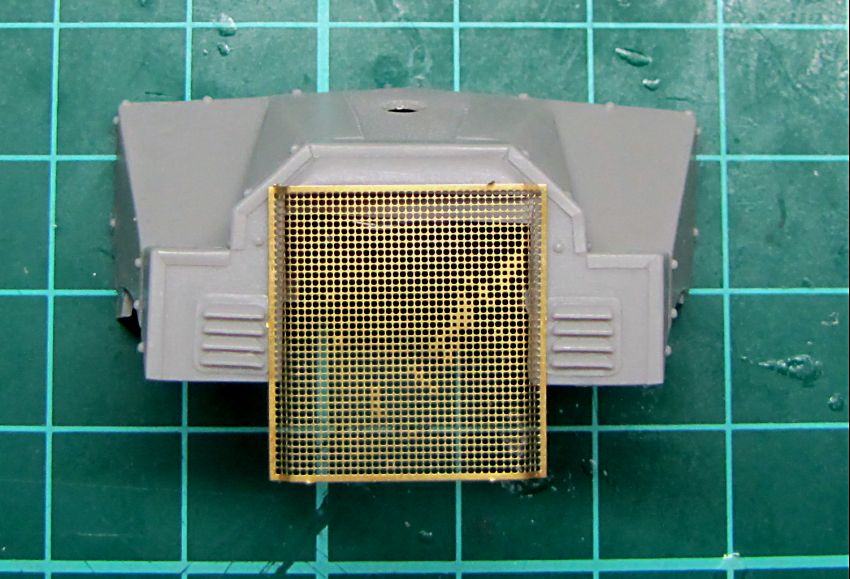
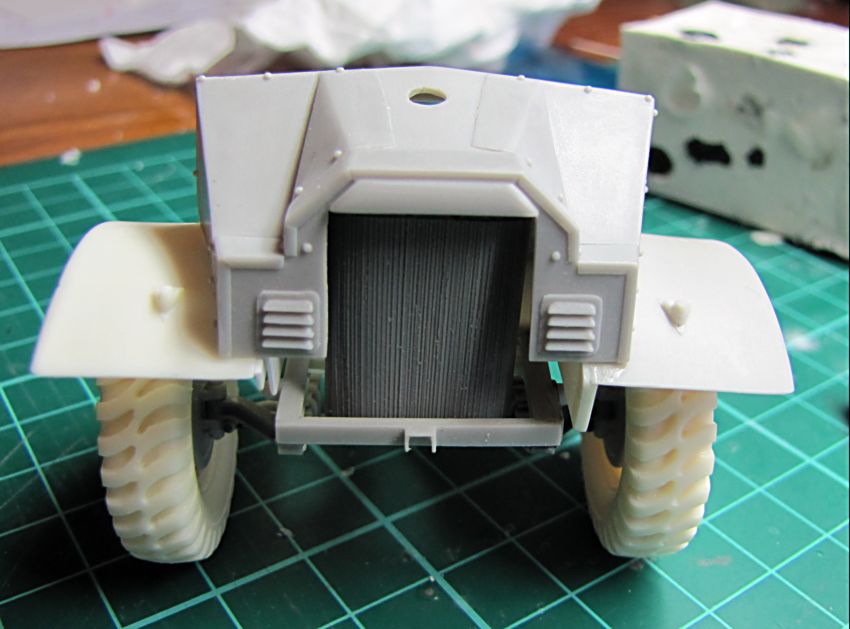
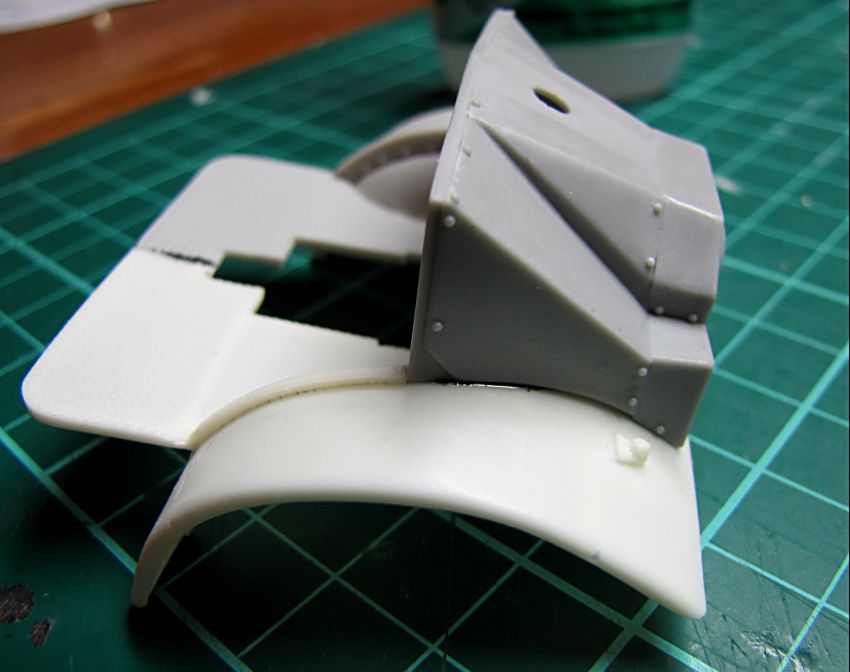
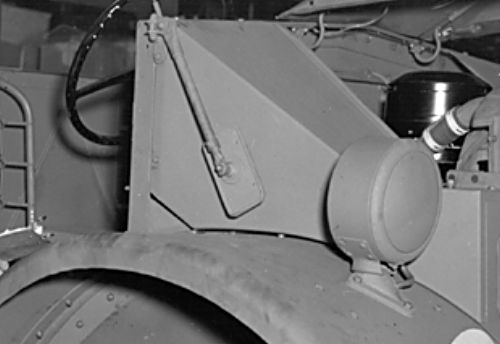
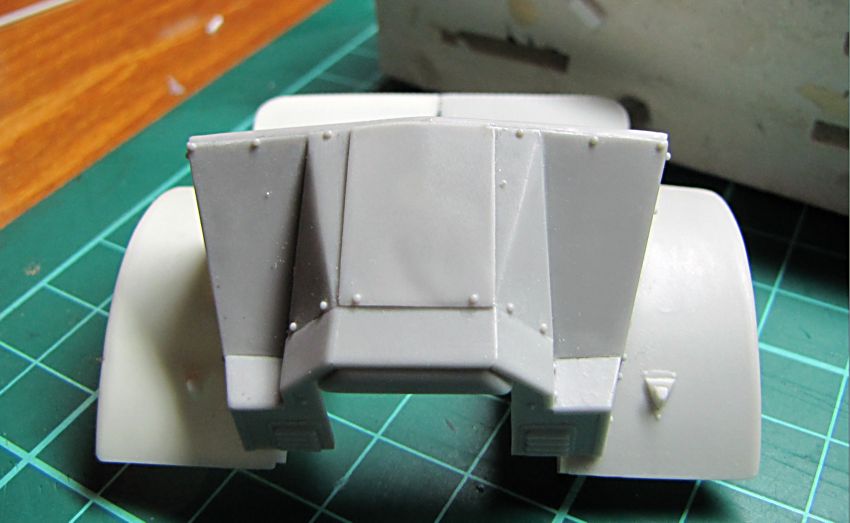
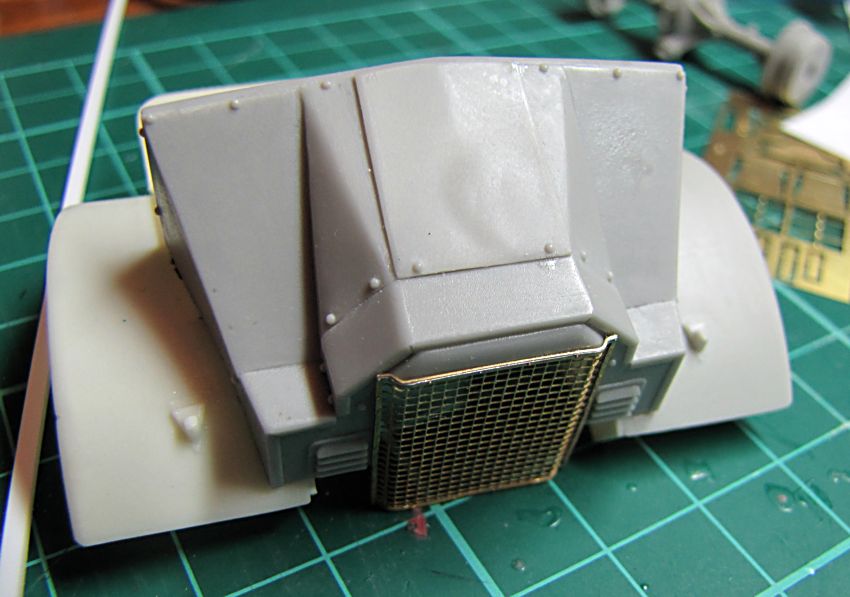
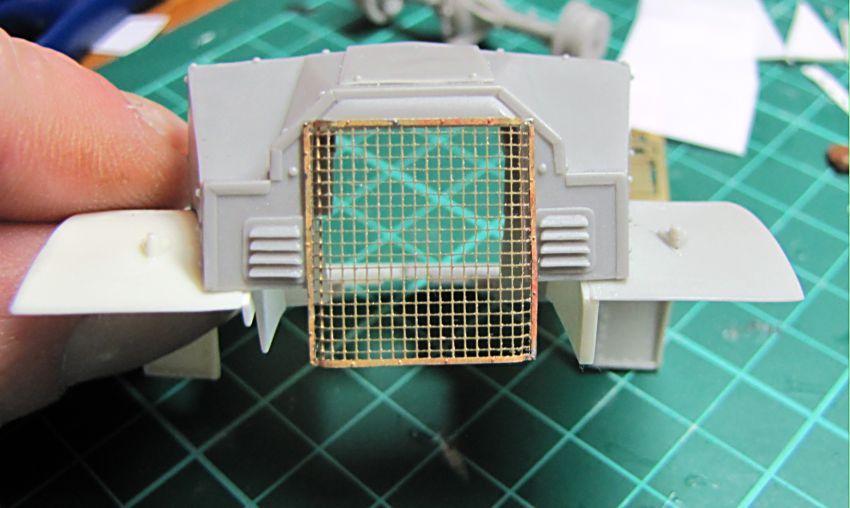
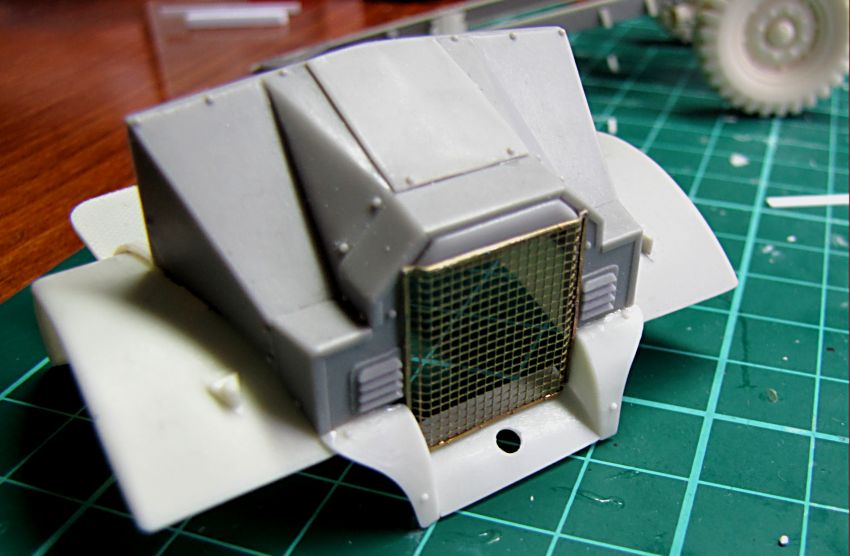
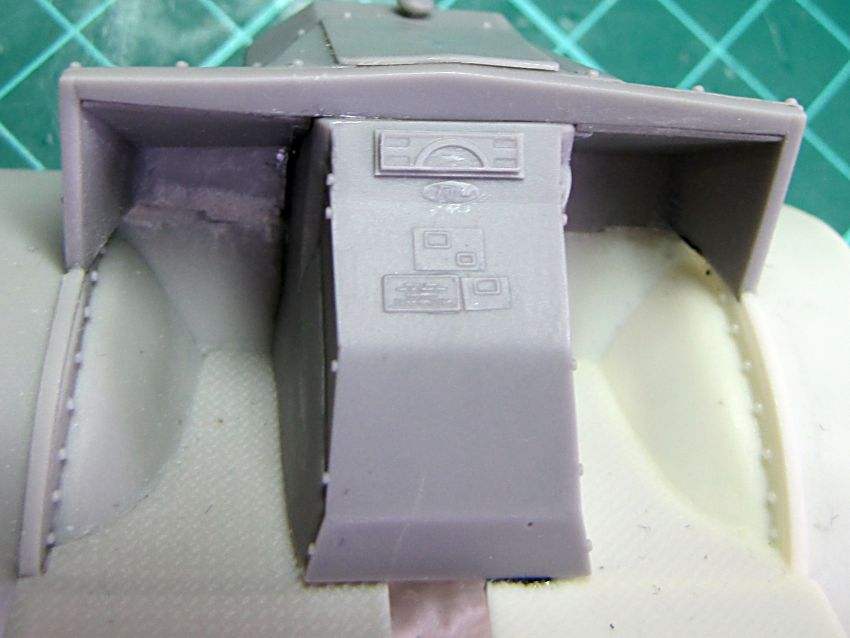
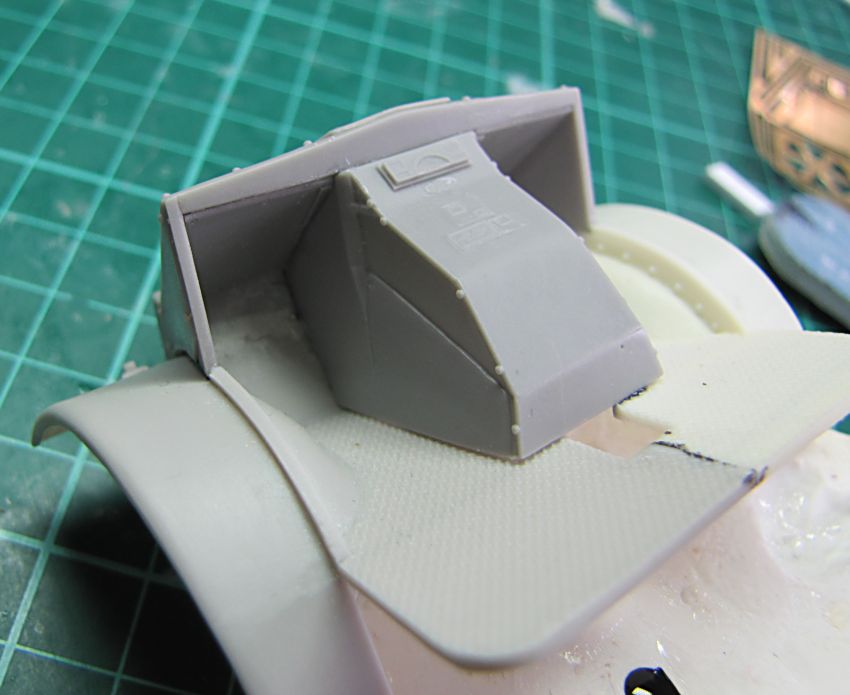
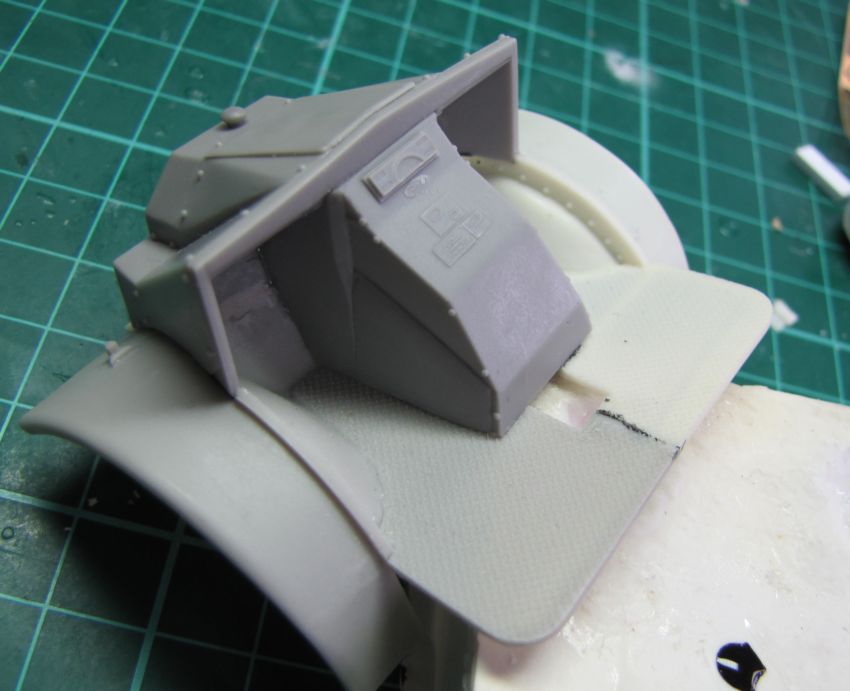
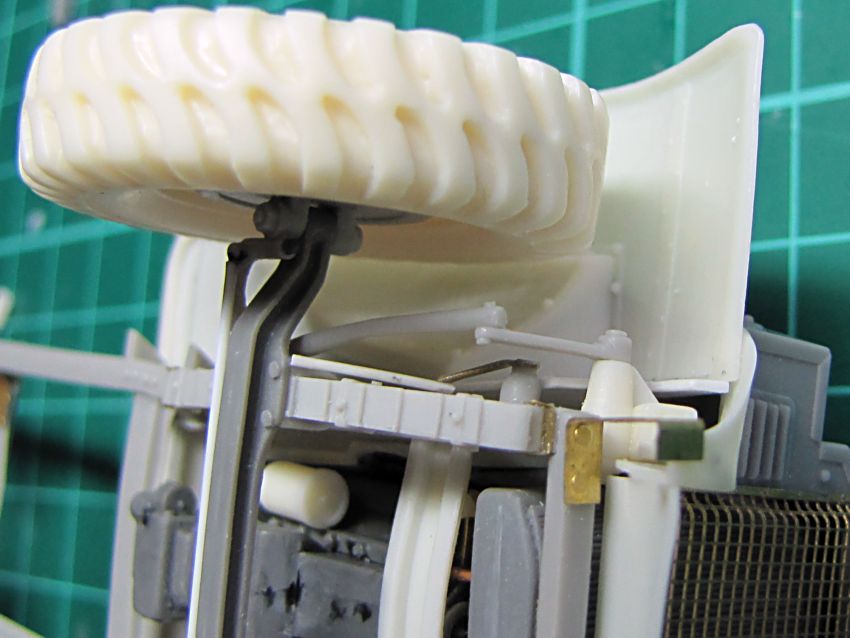
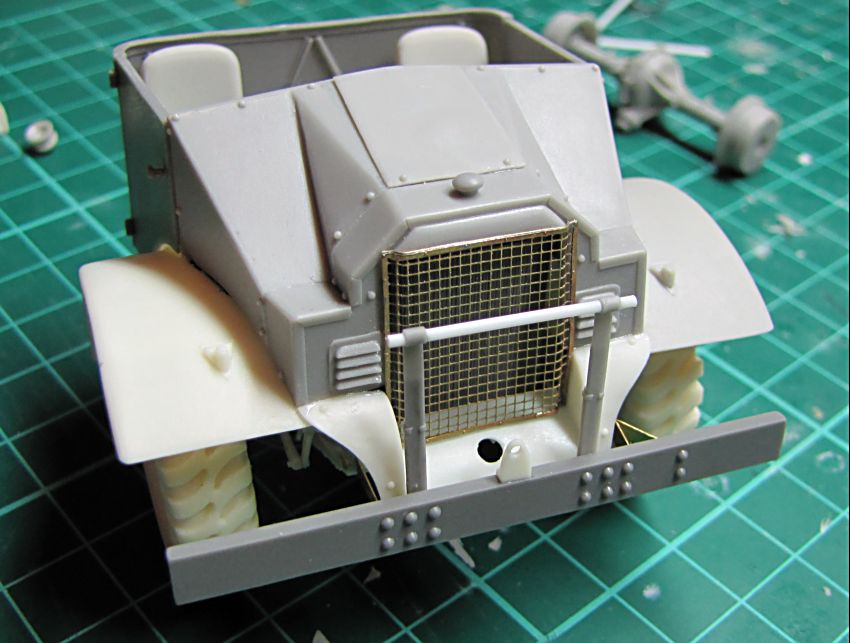
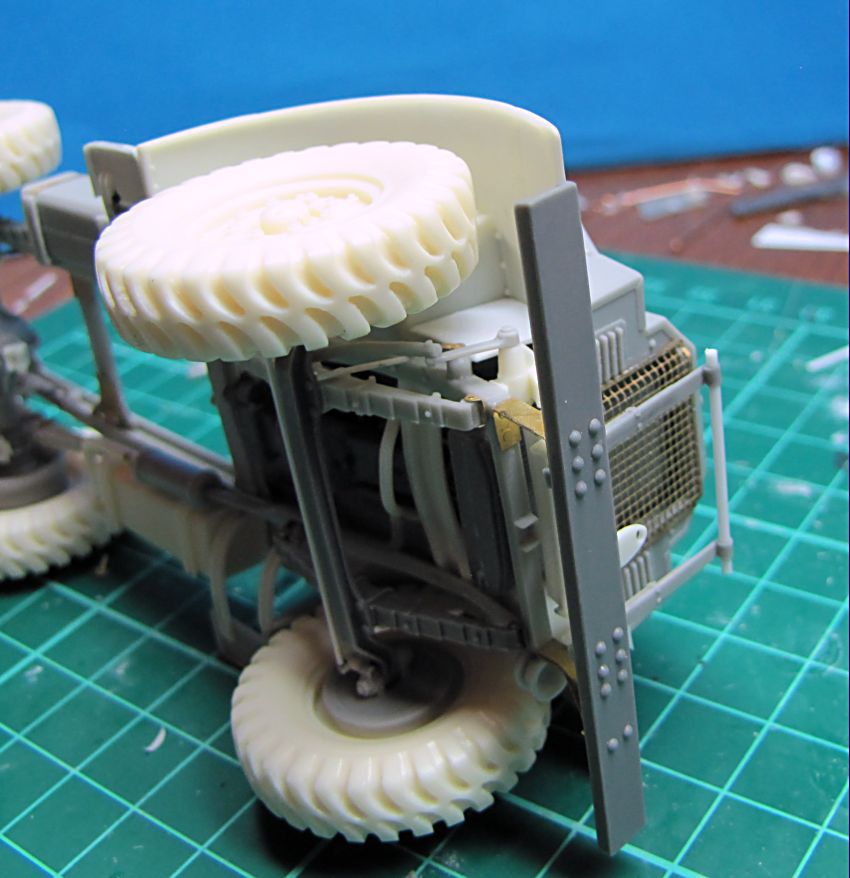
Business kept me busy in last few days, but finally I got back here. I have finished master for engine cover and cast it. The rest will be much easier and faster now. I used just spare mesh to check the fit, later I will assembly the proper one with its frame.
.
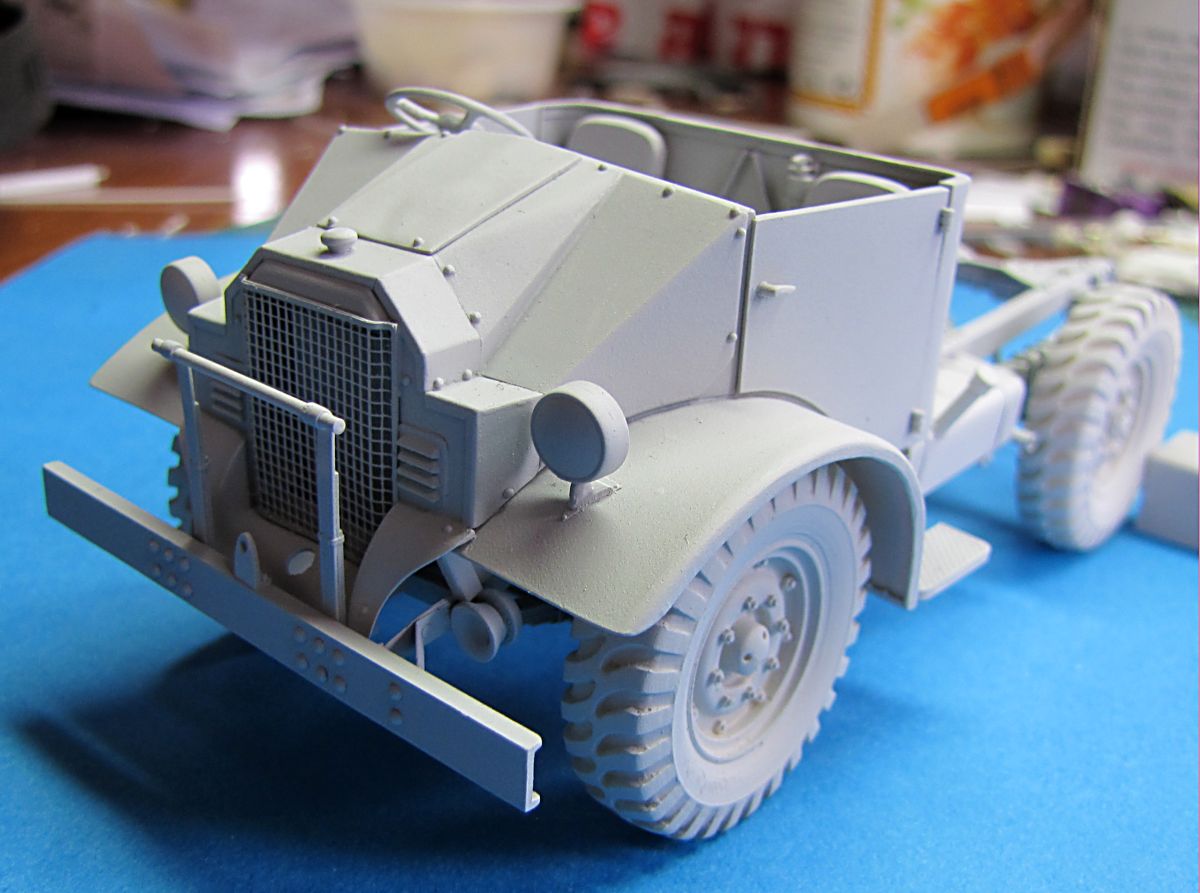
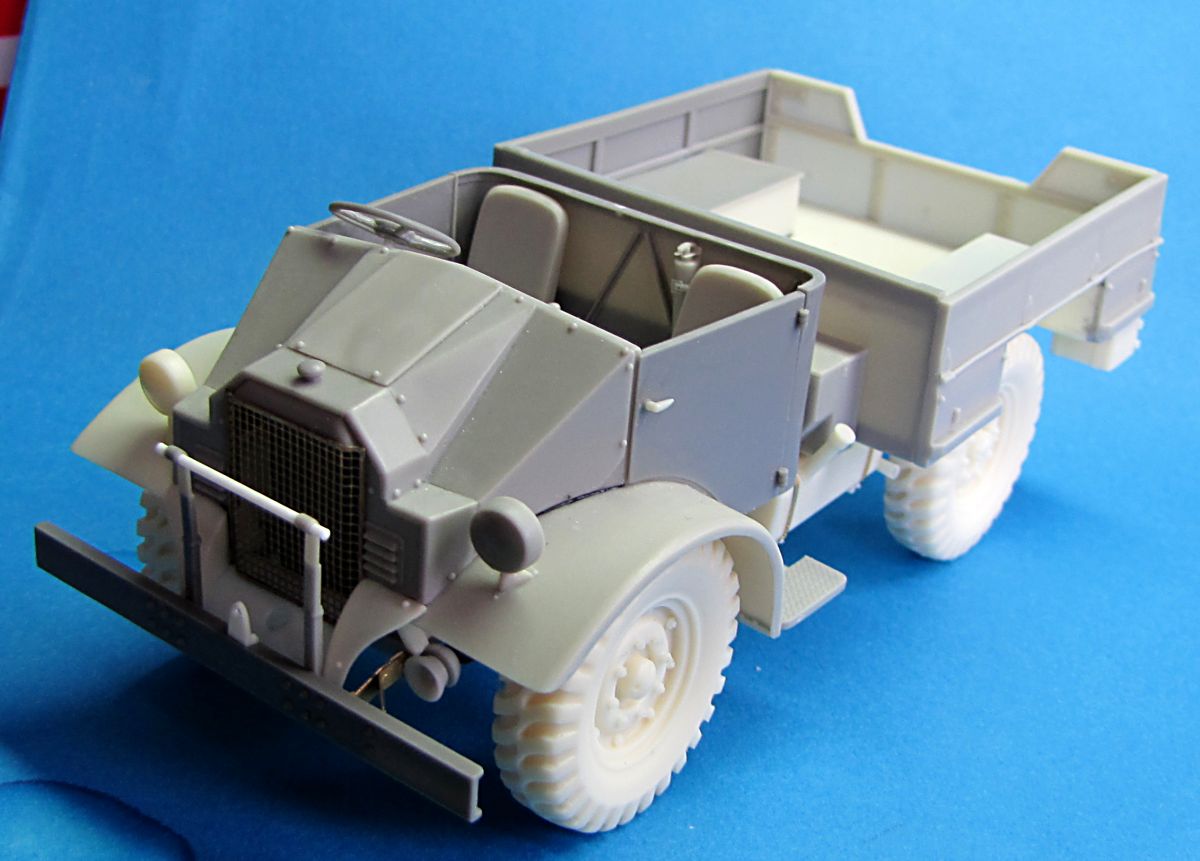
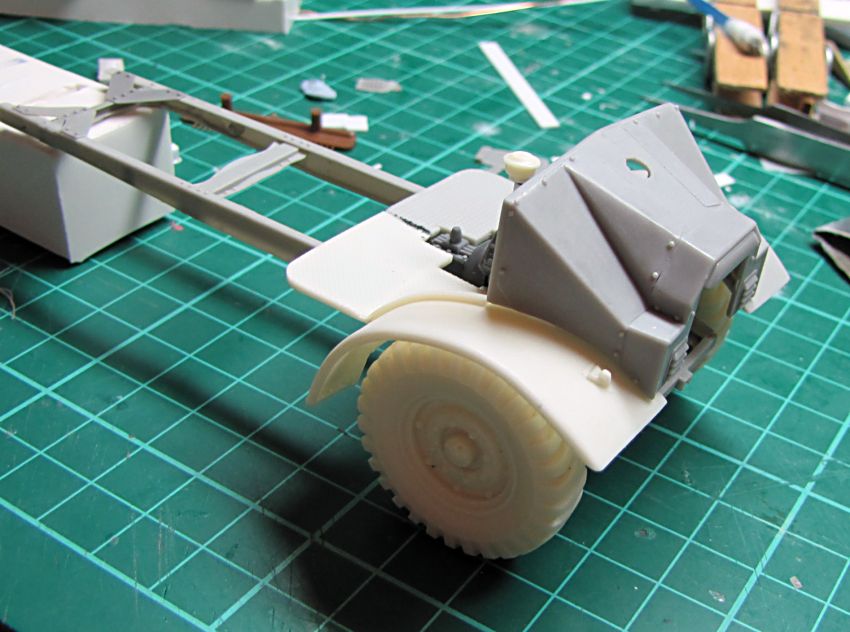
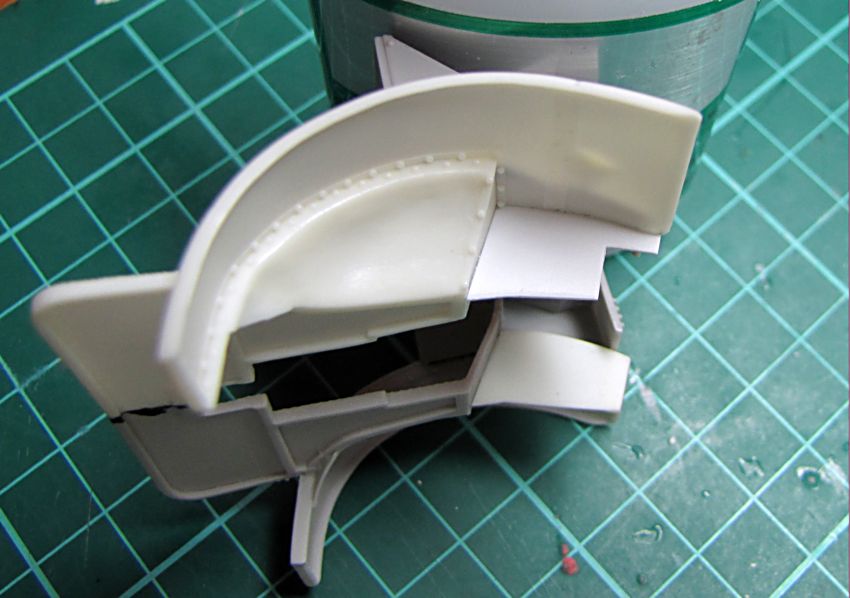
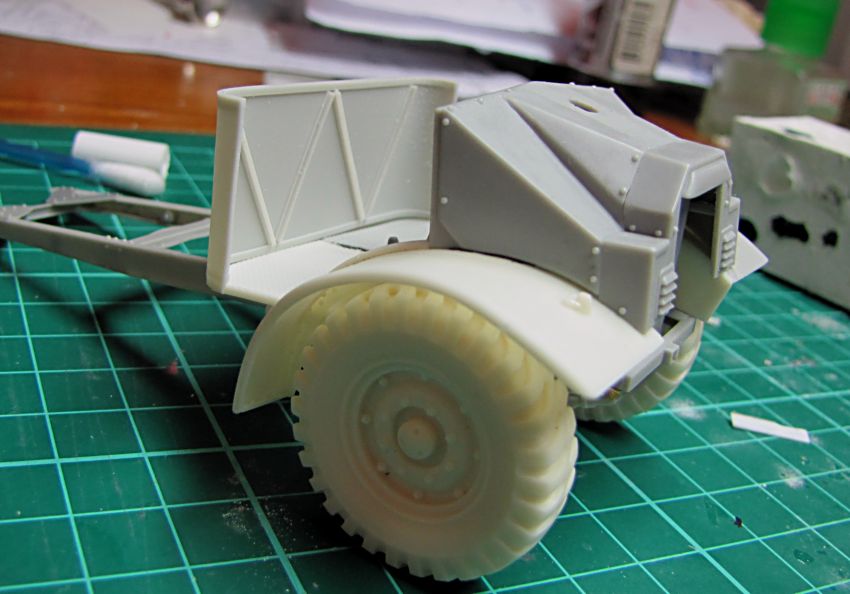
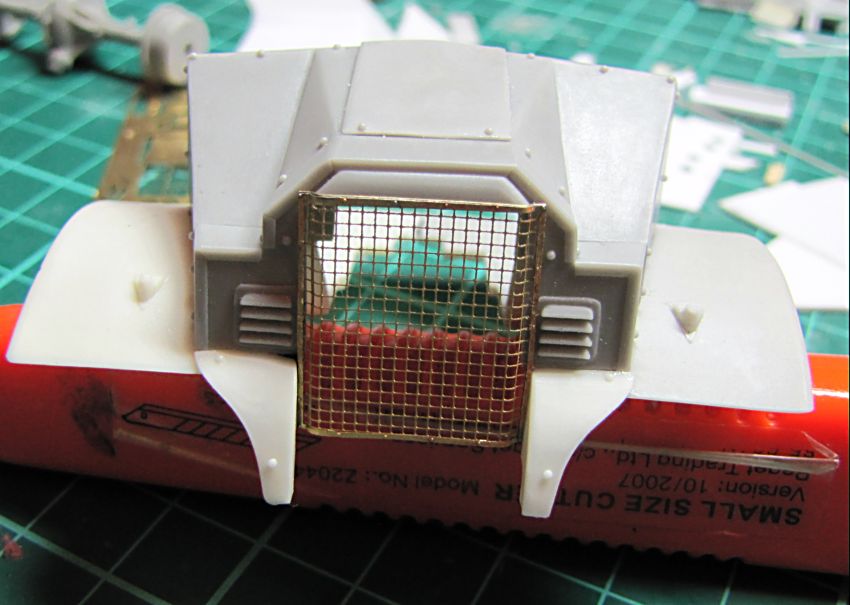
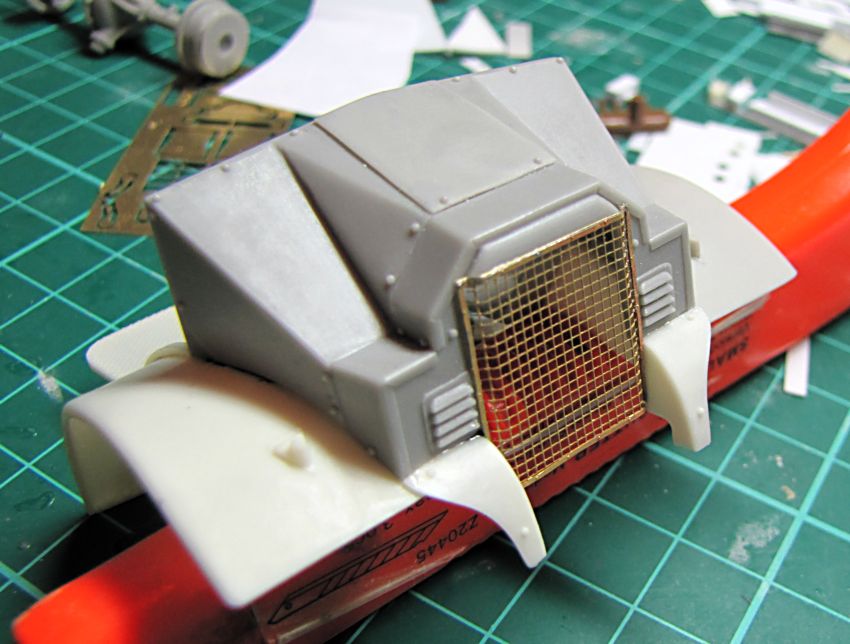
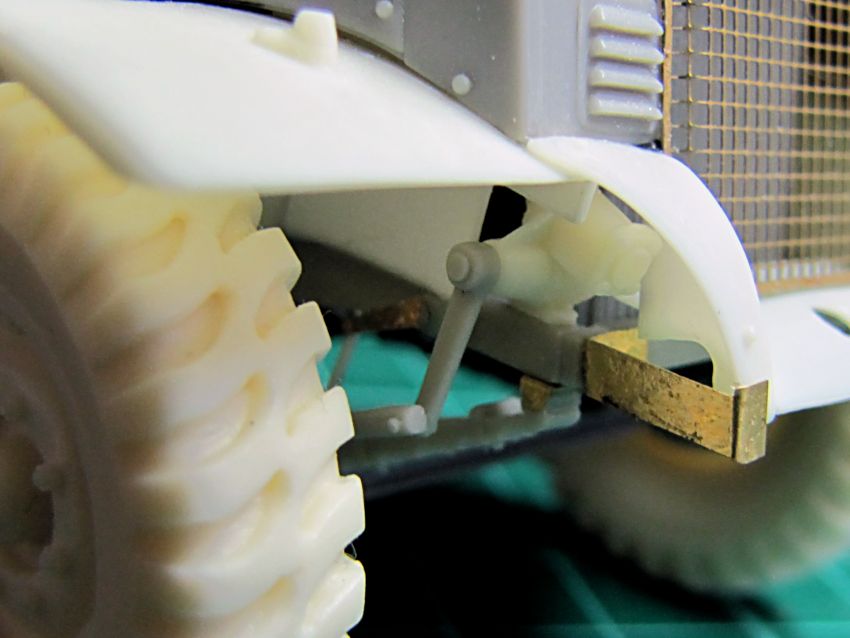
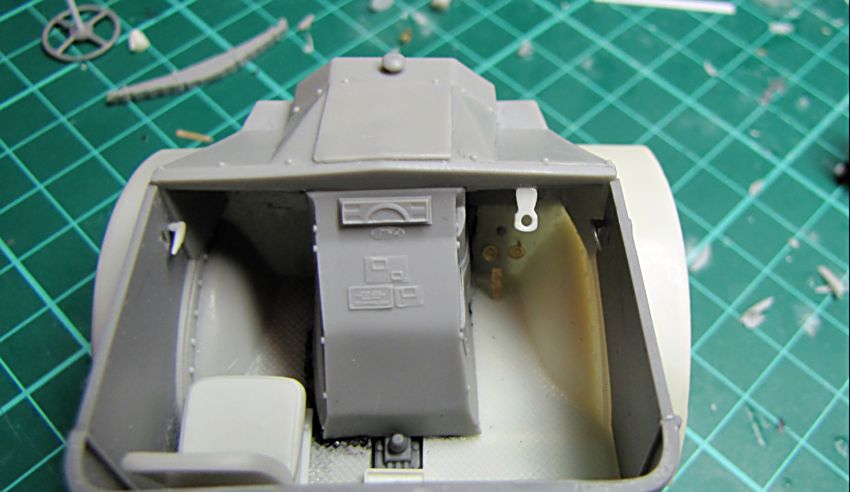
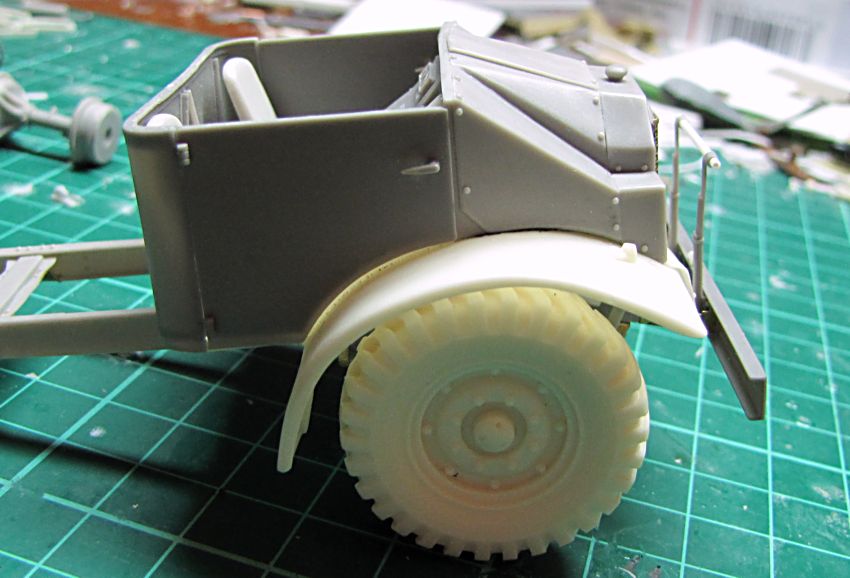
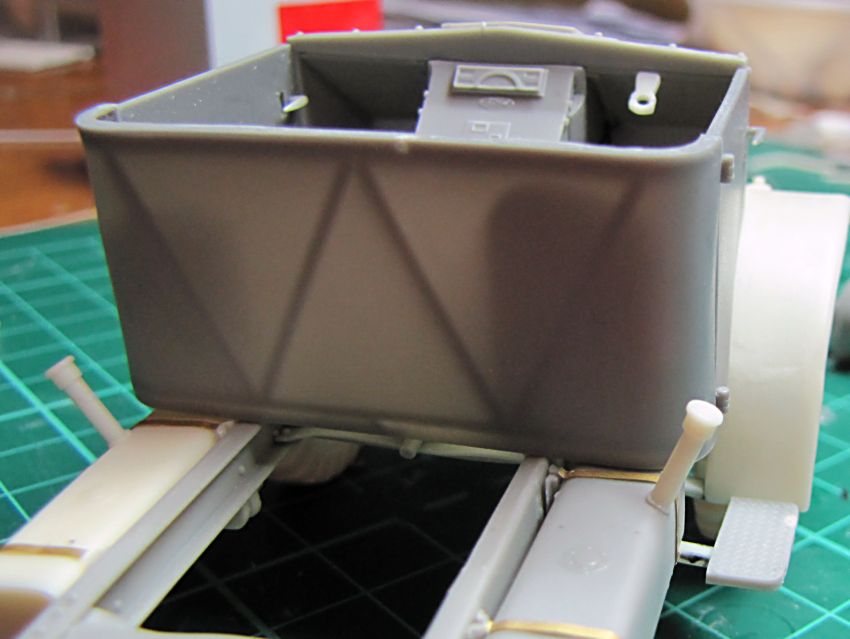
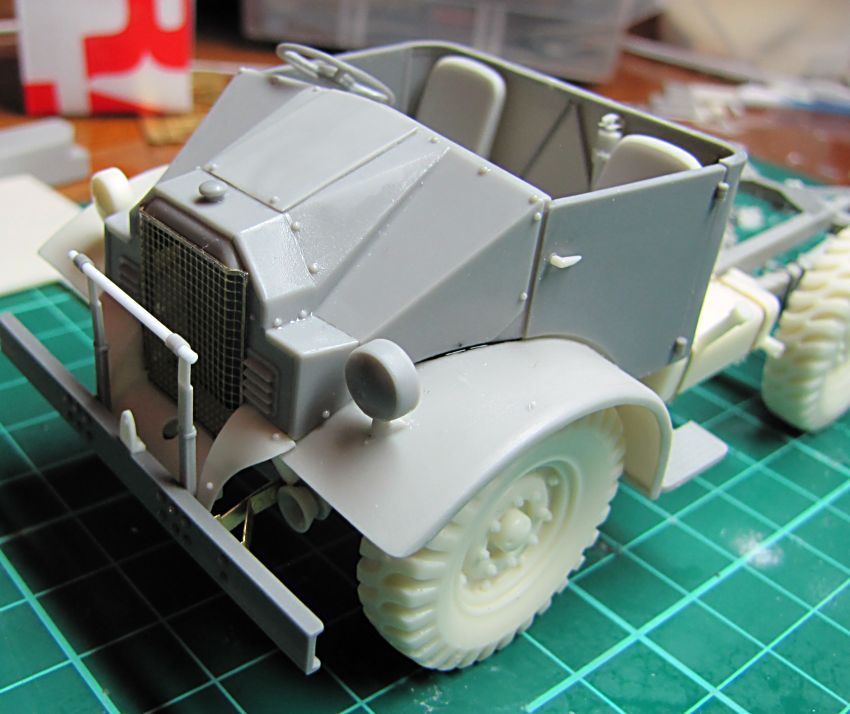
I glued on the engine cover. Then I used a bit fo putty to fill tiny gap inside, and also a drop of black C/A to fill tiny gaps between mudguards and engine cover, It was rather to get stronger hold than anything else, because there was always some space between them on real cab 11 and 12. Then I started master for cabin back wall. The base is almost done, just a few details to be added. Then I will focus on the doors and cab interior
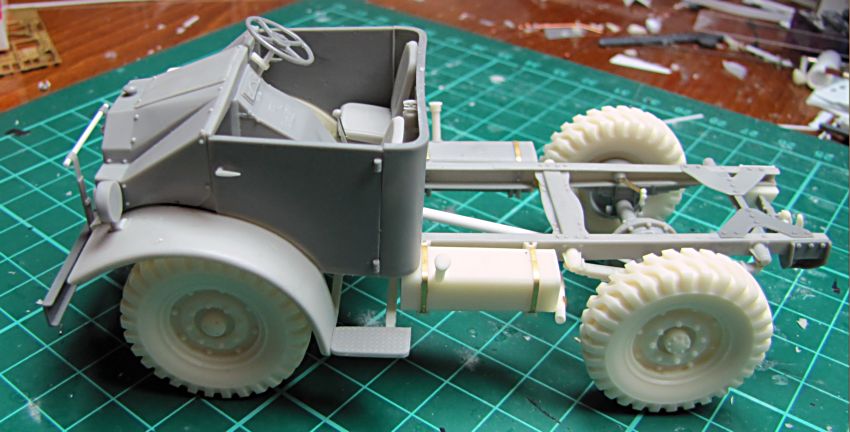
Continued on the cab and the rest of the truck


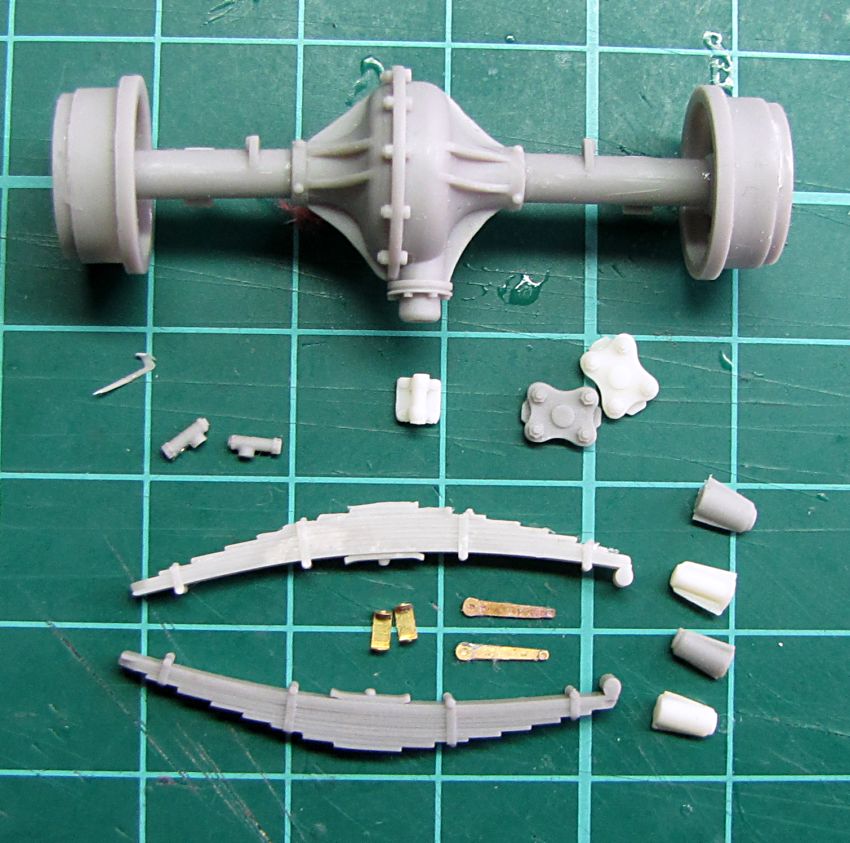


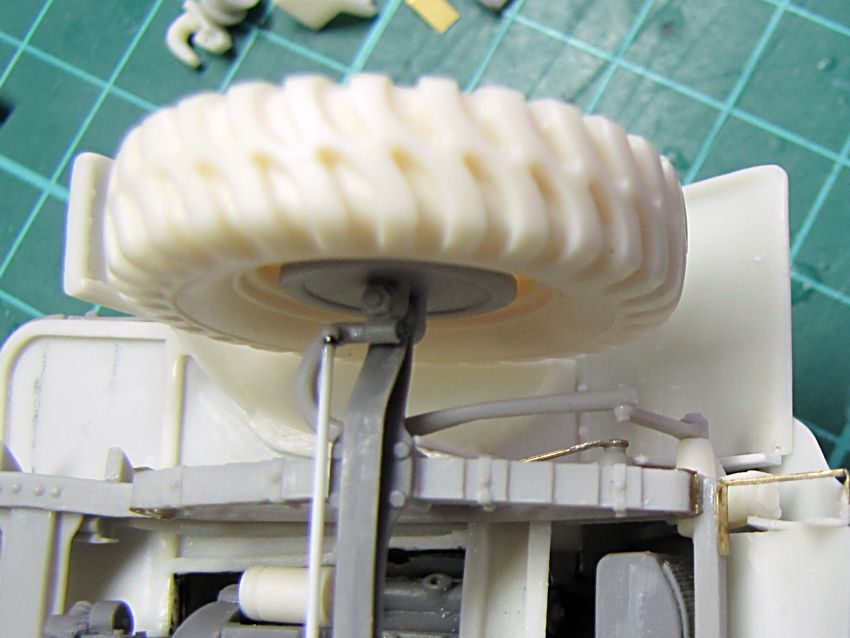


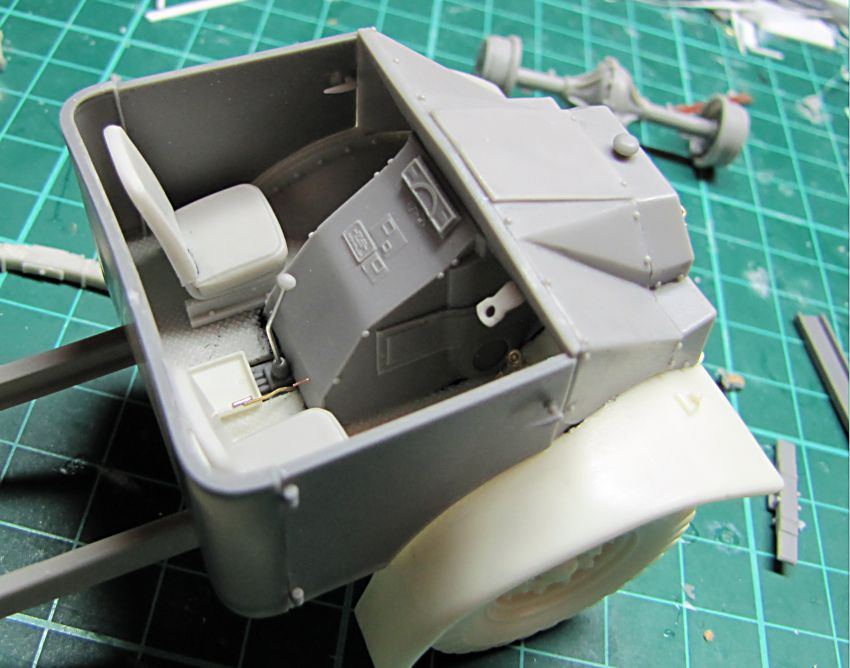
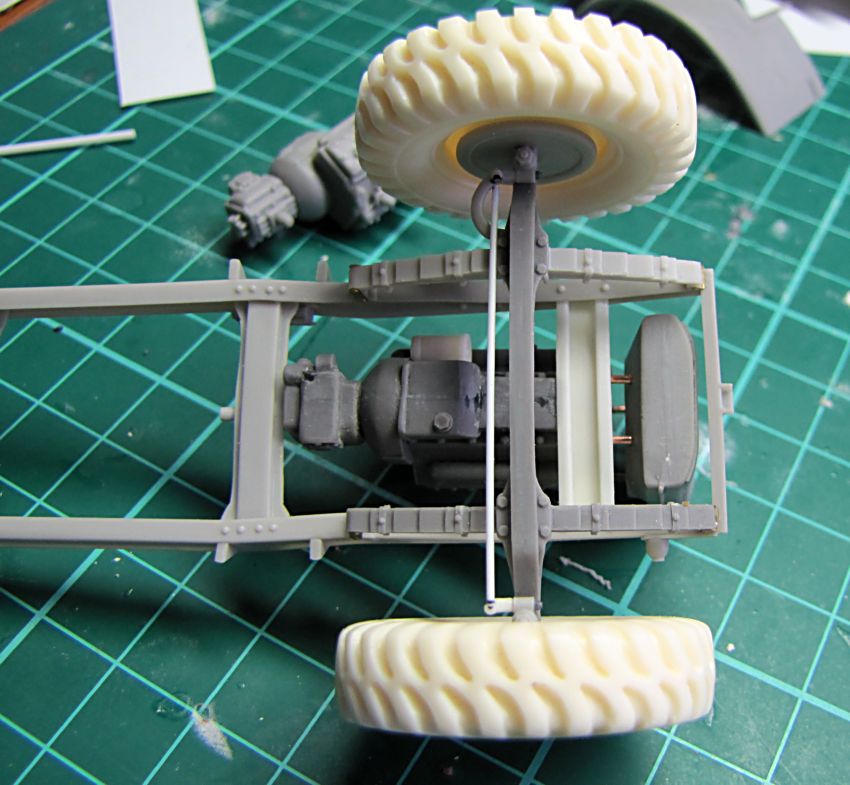
More details and rear axle. Maybe I should mention that the lights in the kit will be cast in clear resin :-)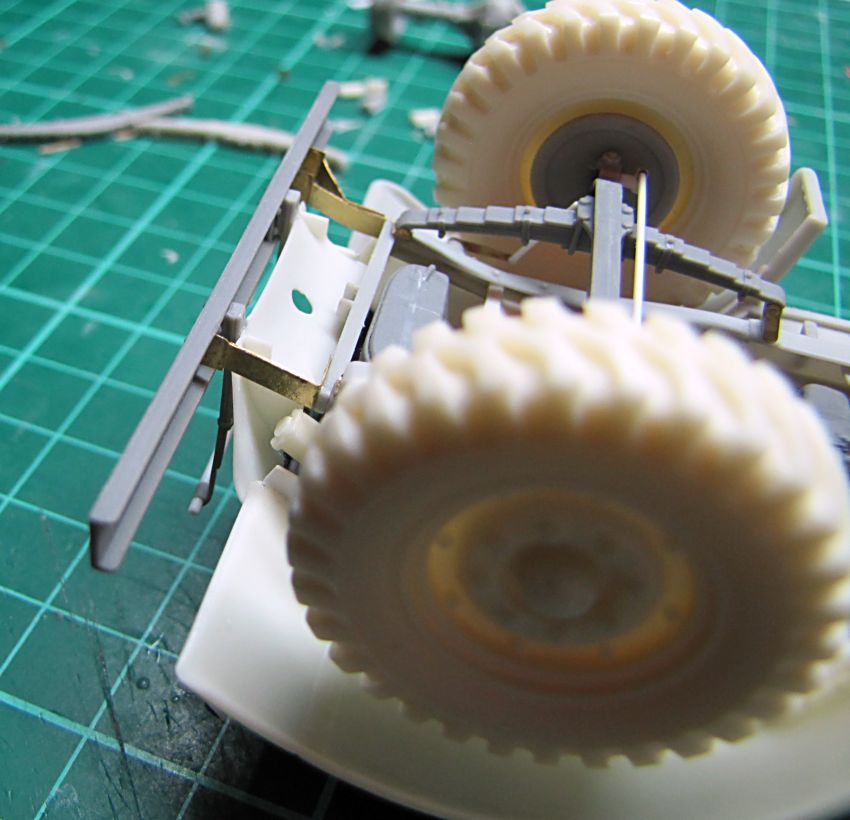


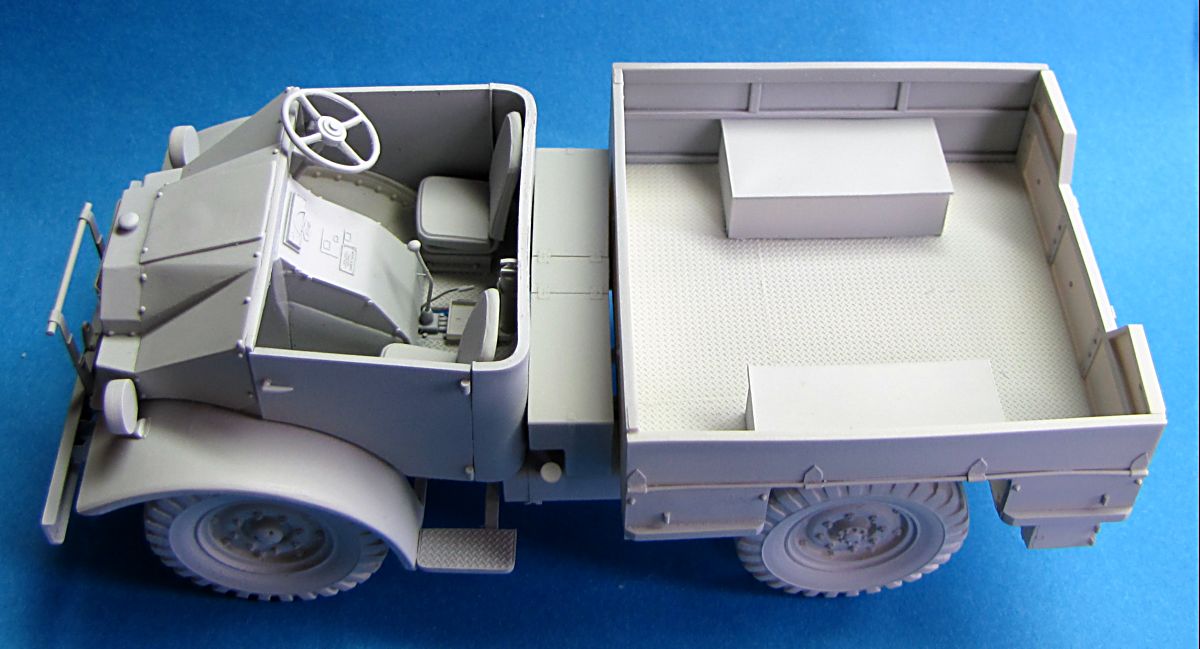
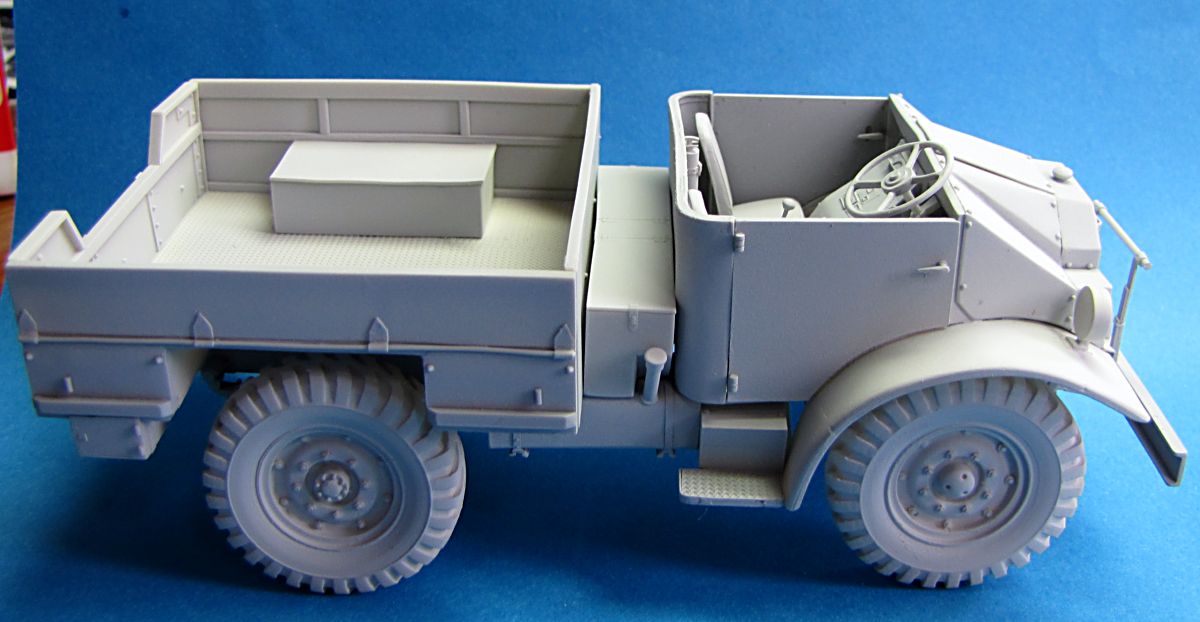
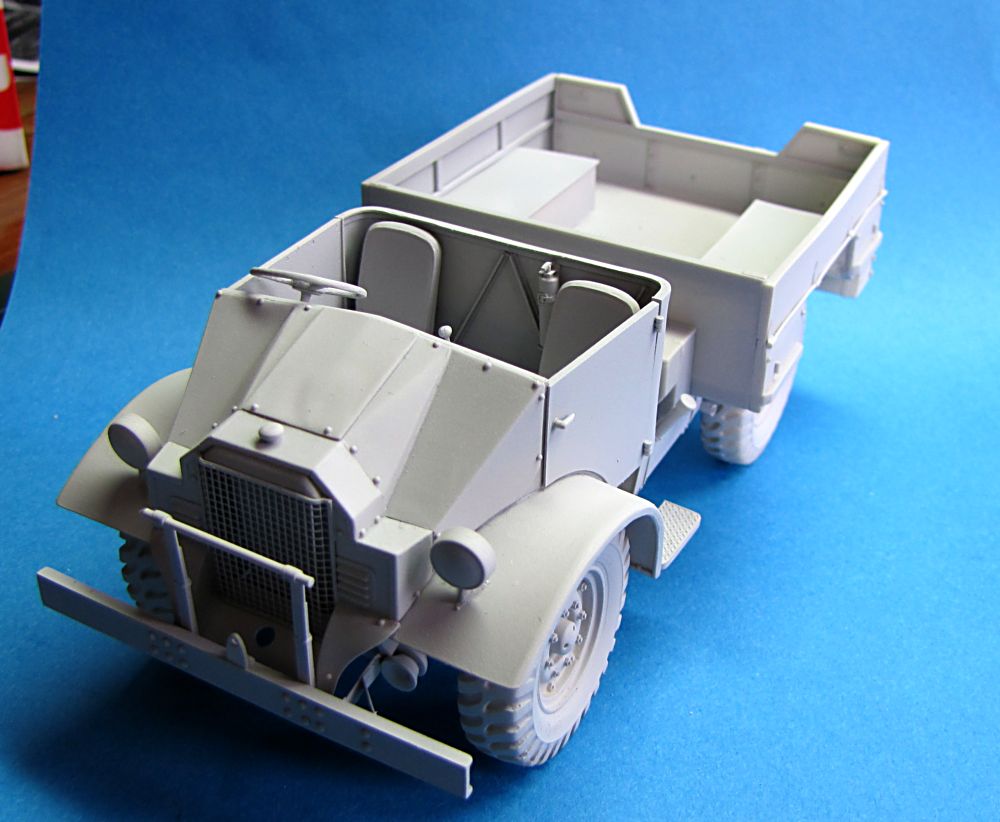
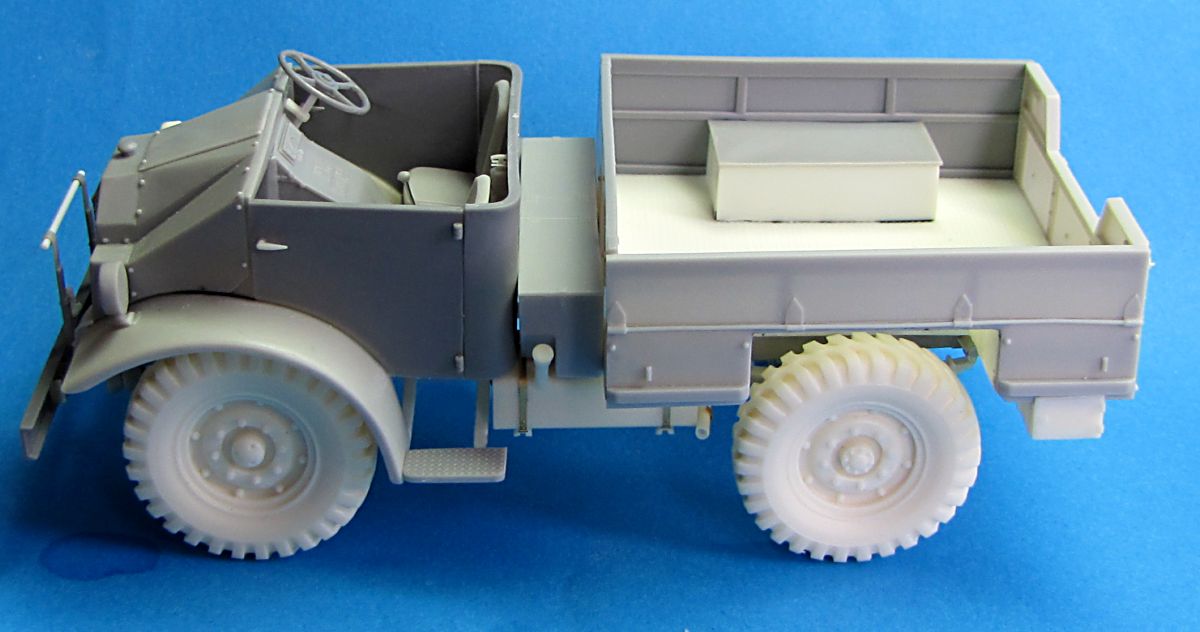
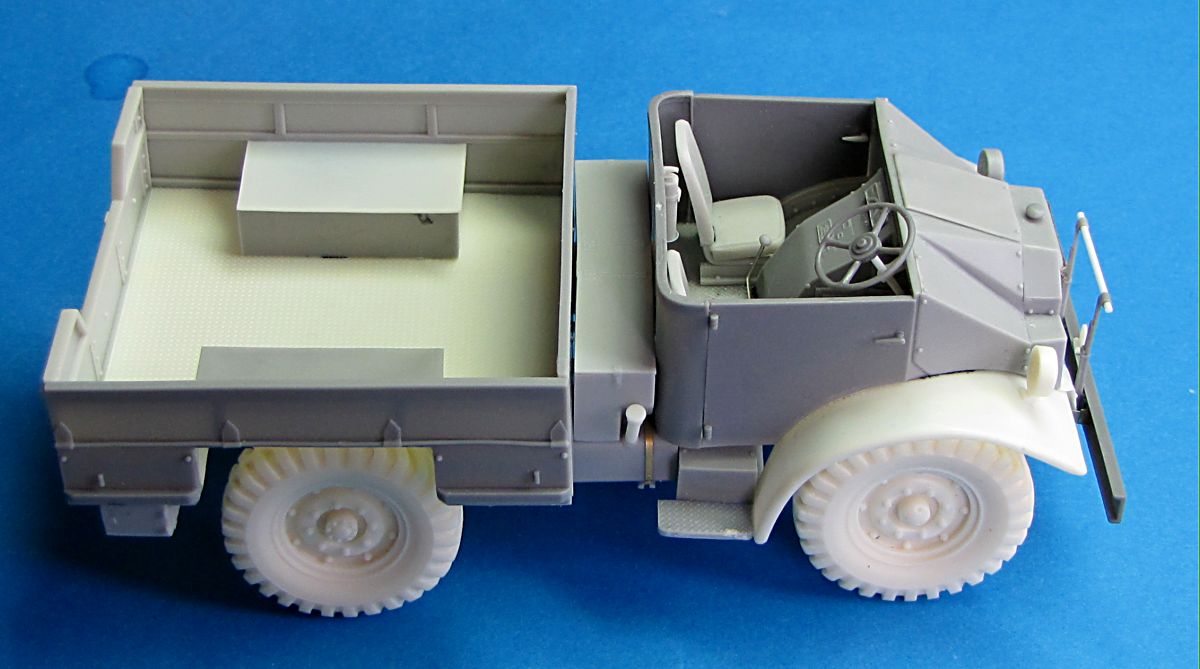
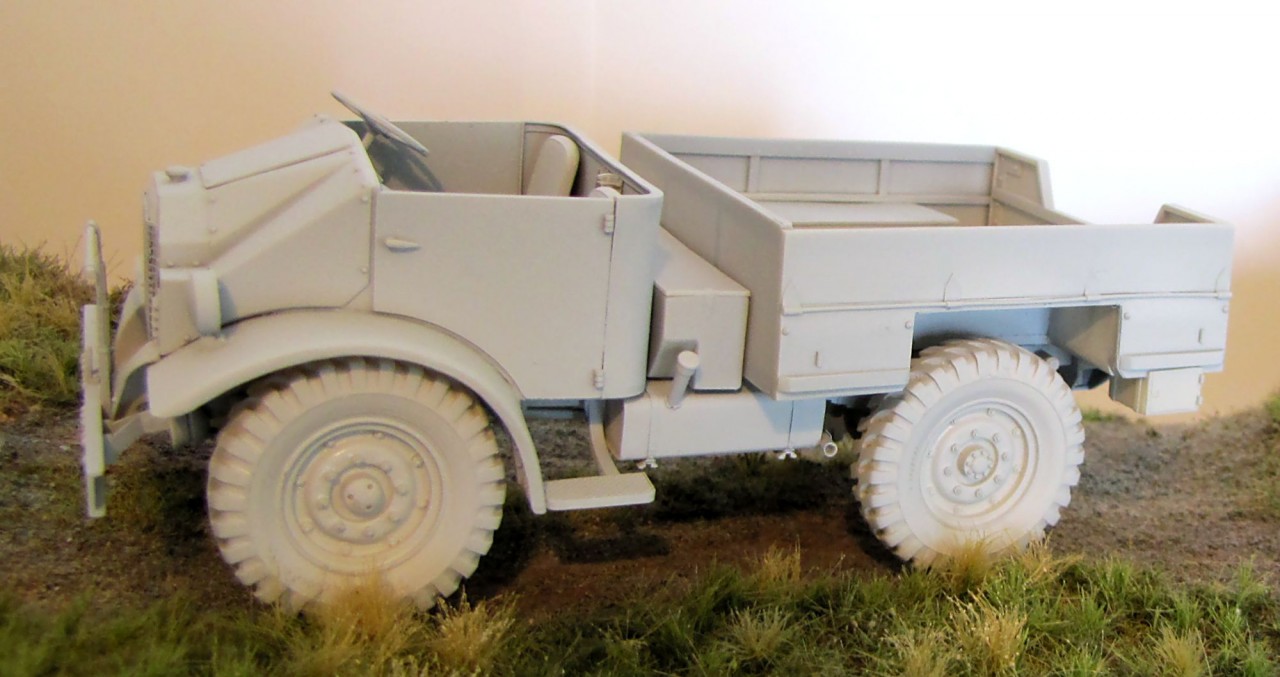
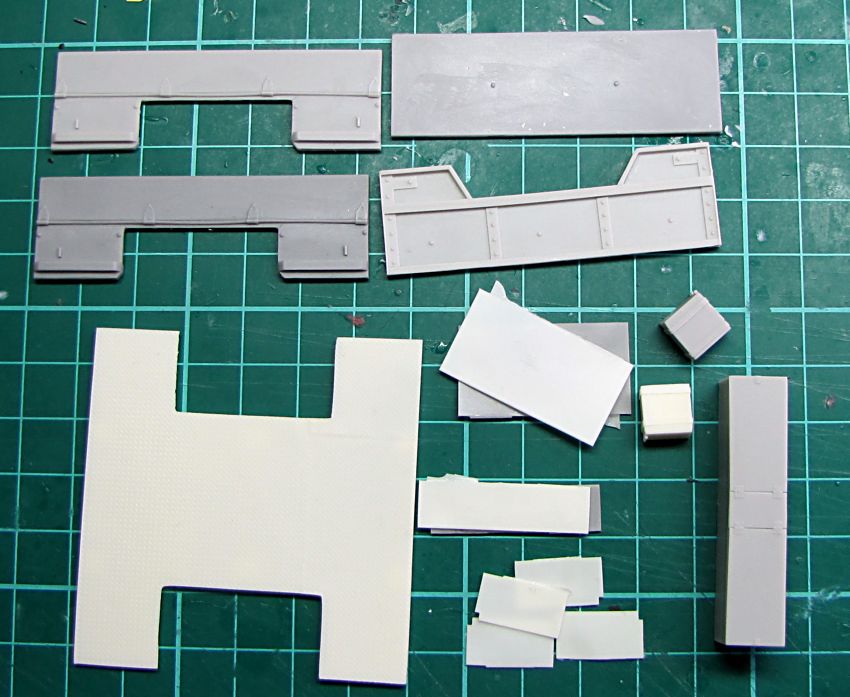
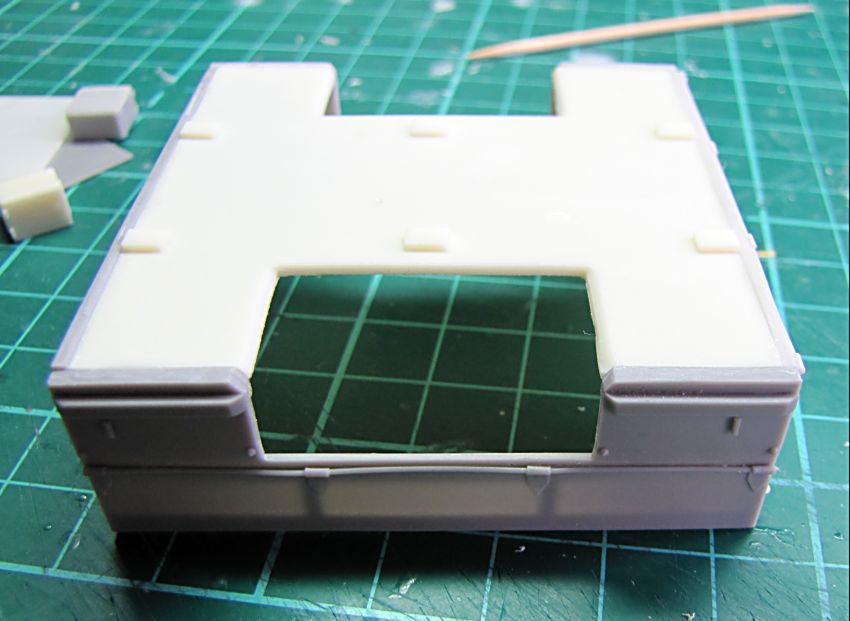
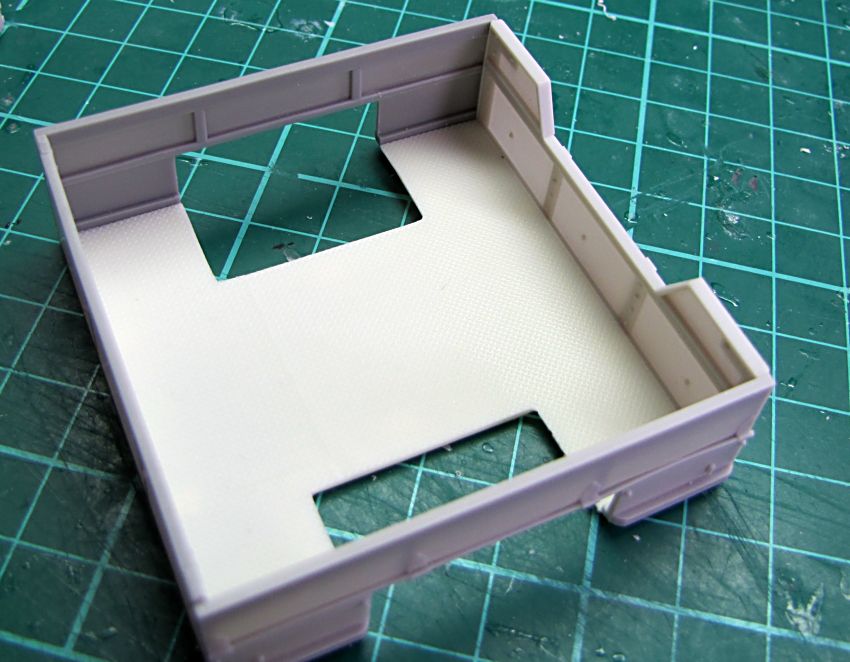
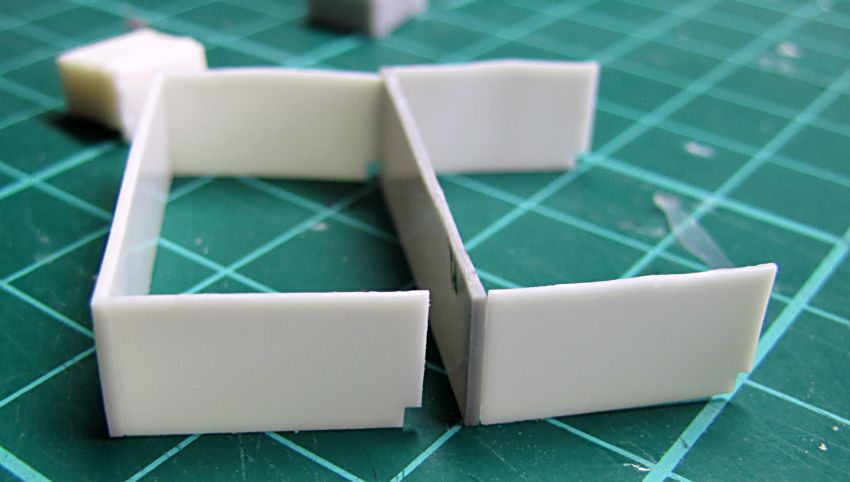
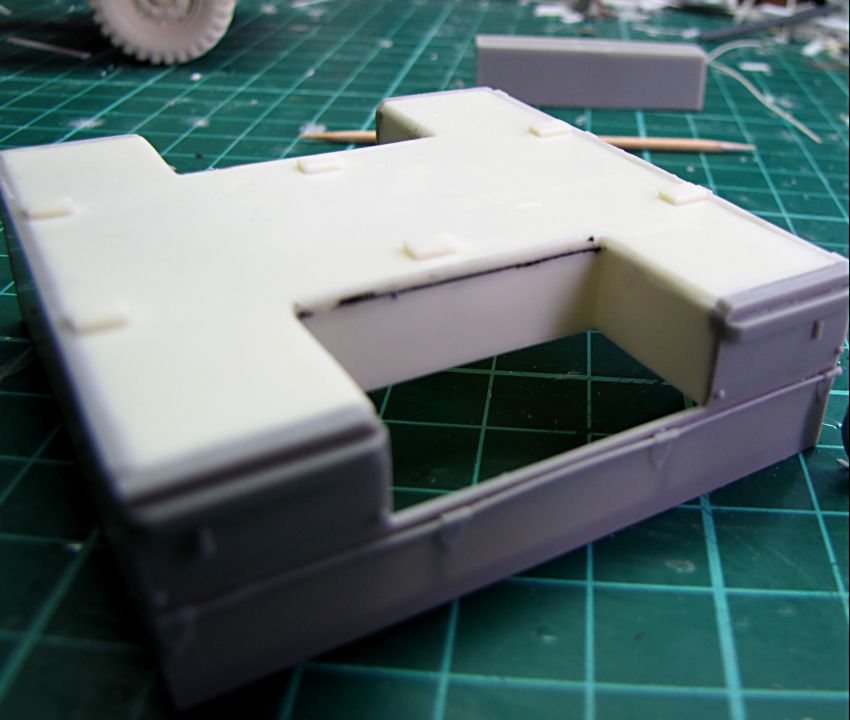
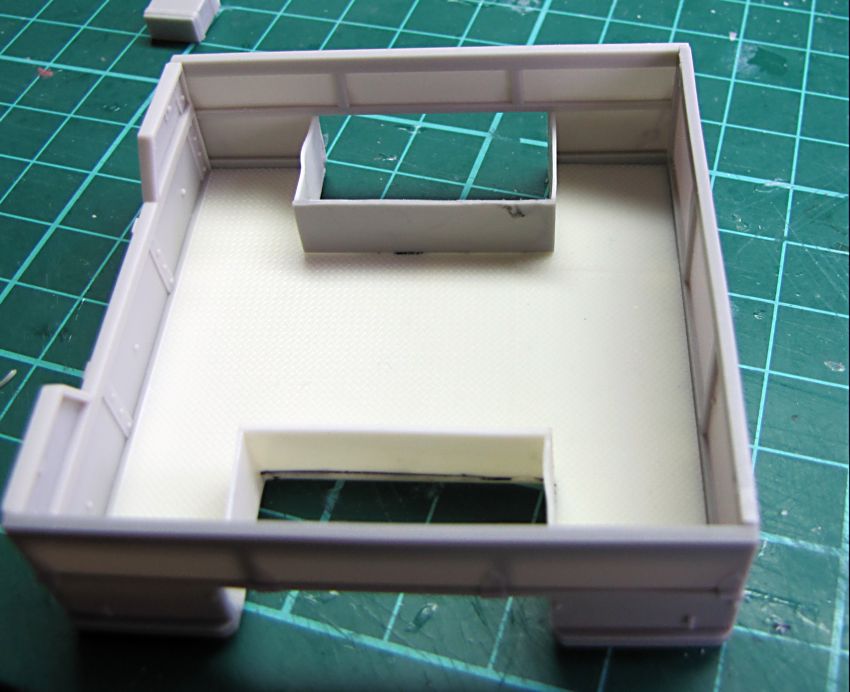
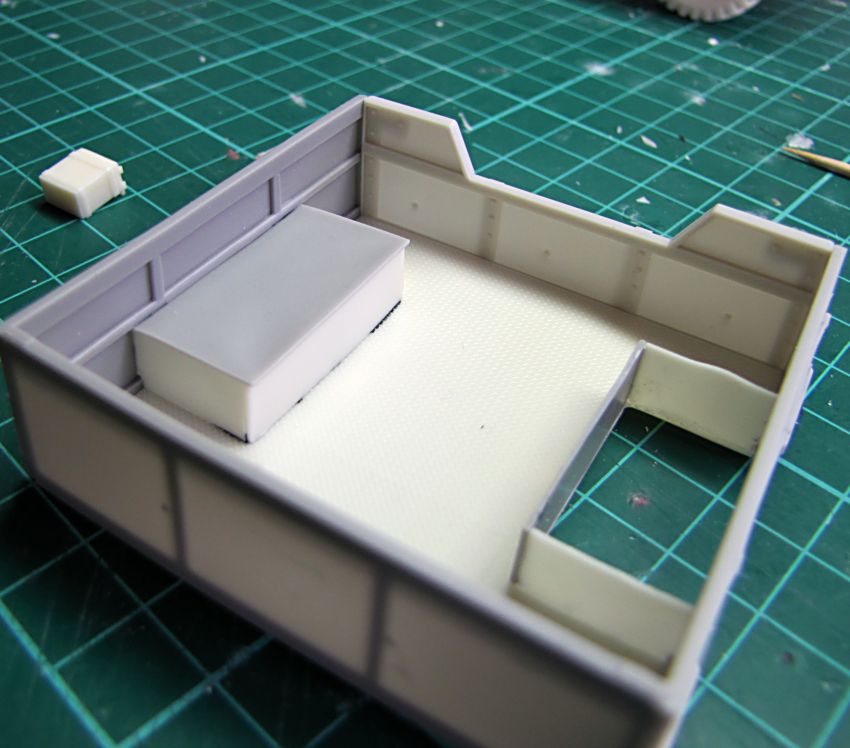
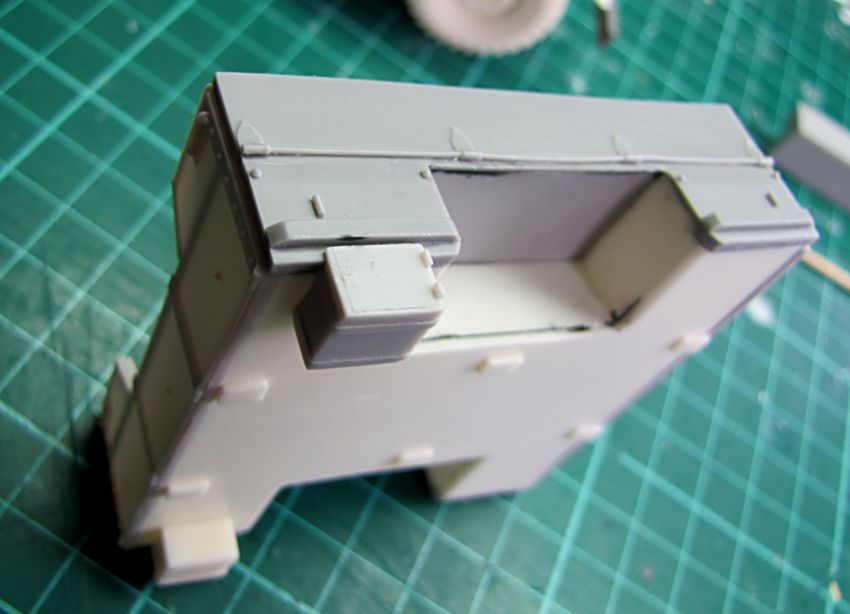
Body construction
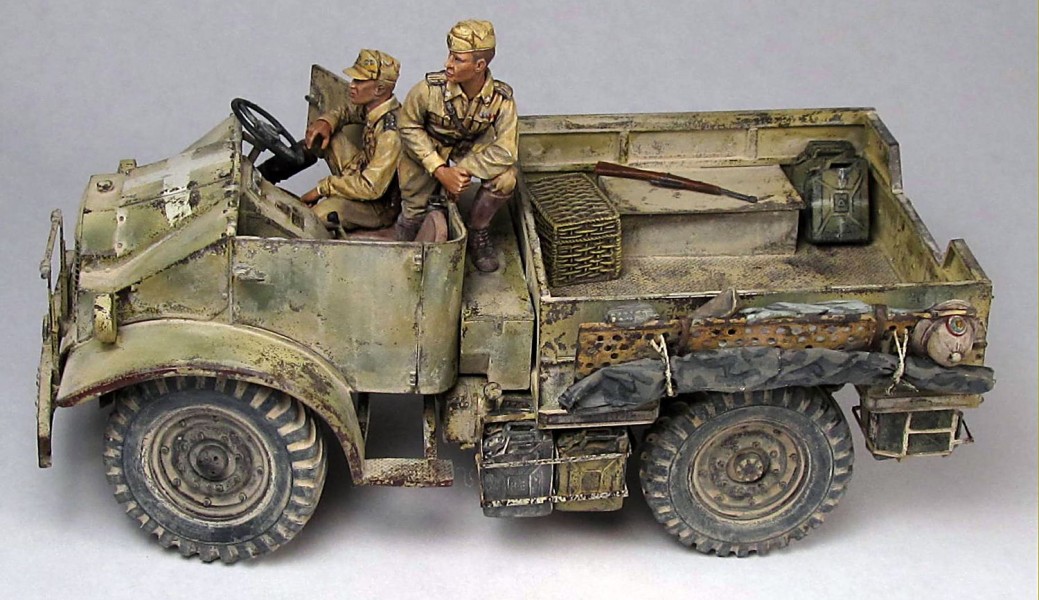
Basic variant is finished, soon I will complete Italian version of the gun truck with Breda mounted, and then German variant with Flak 30. Then I have in my mind vehicle with full CAB 11 and selection of bodies. Some pictures of the finished vehicle